Follow these steps to set up the project so that you can perform the steps described in the Create Your First Block guide.
Download the project
Download the ZIP with the static HTML project and unzip it on your computer.
Open the project in Pinegrow
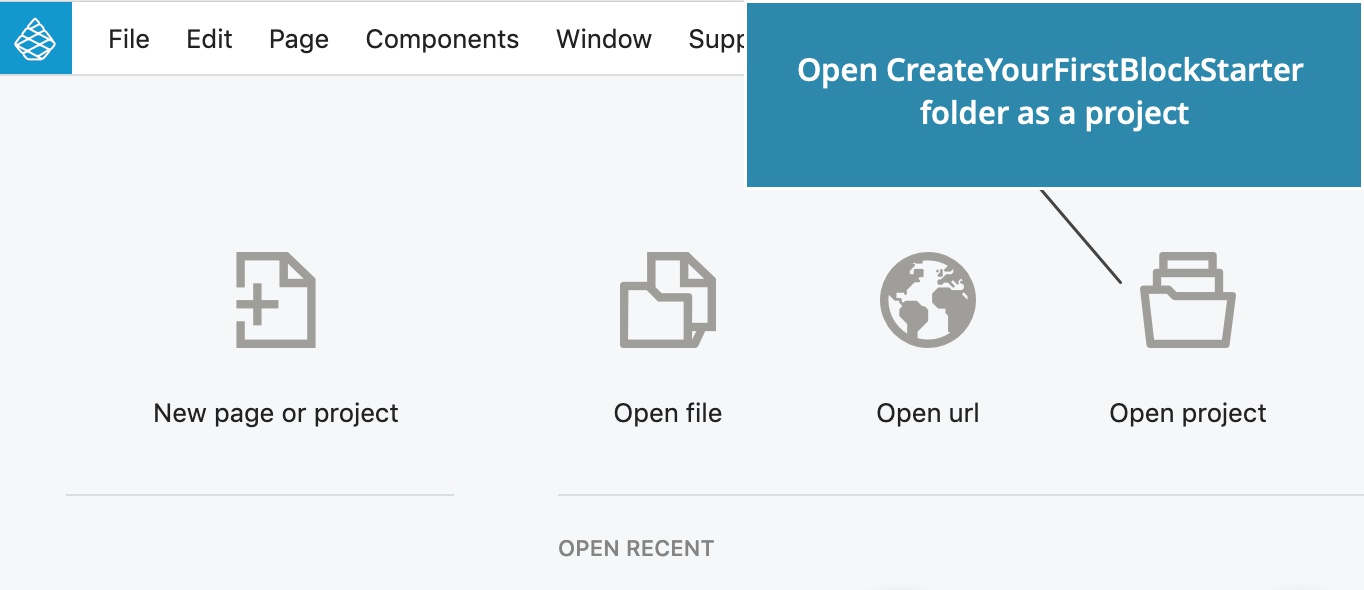
Start Pinegrow Web Editor and select Open project. Select the folder with the CreateYourFirstBlockStarter project.
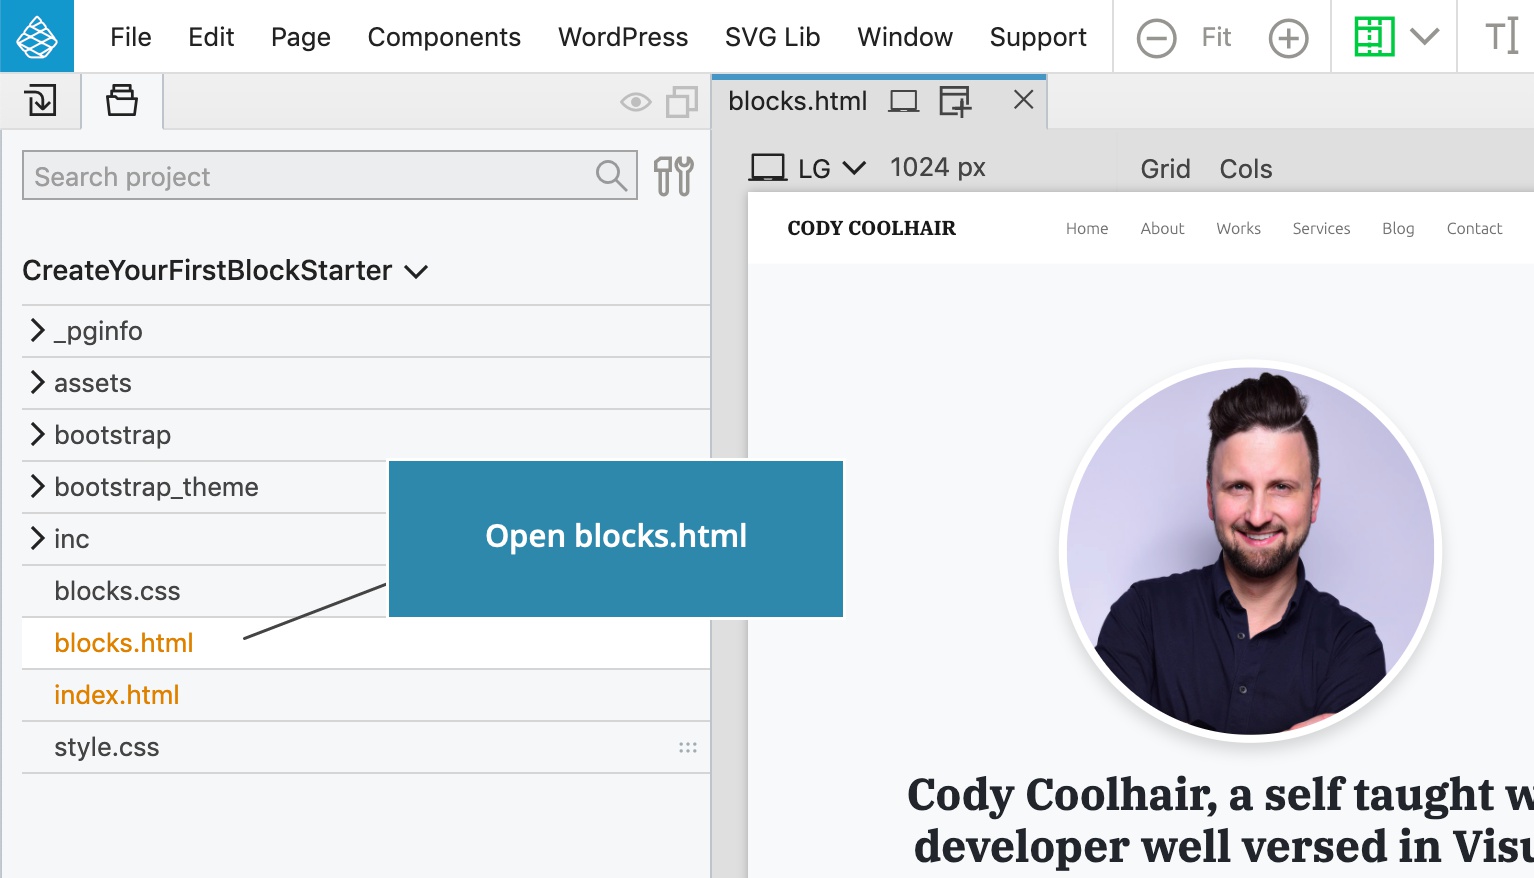
Open blocks.html
Click on blocks.html in the Project panel to open the page.
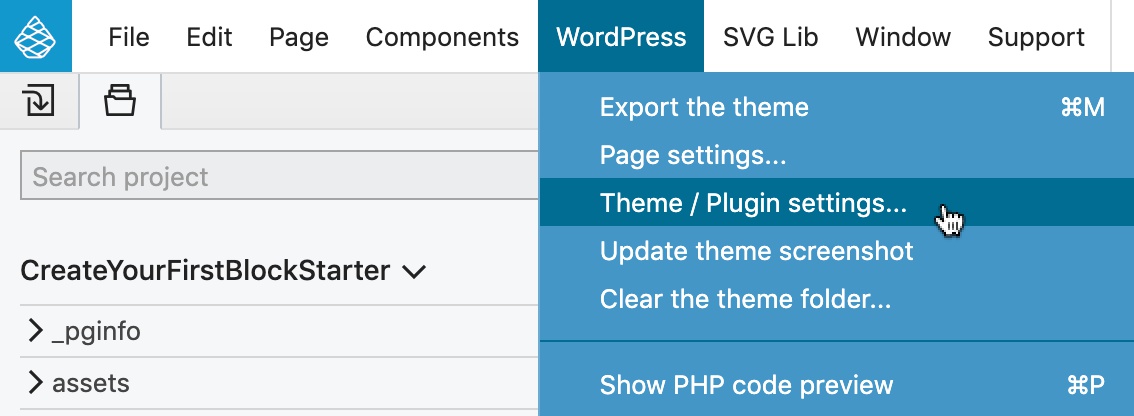
Theme settings
Open WordPress -> Theme / Plugin settings dialog:
Give your theme a name and a slug:
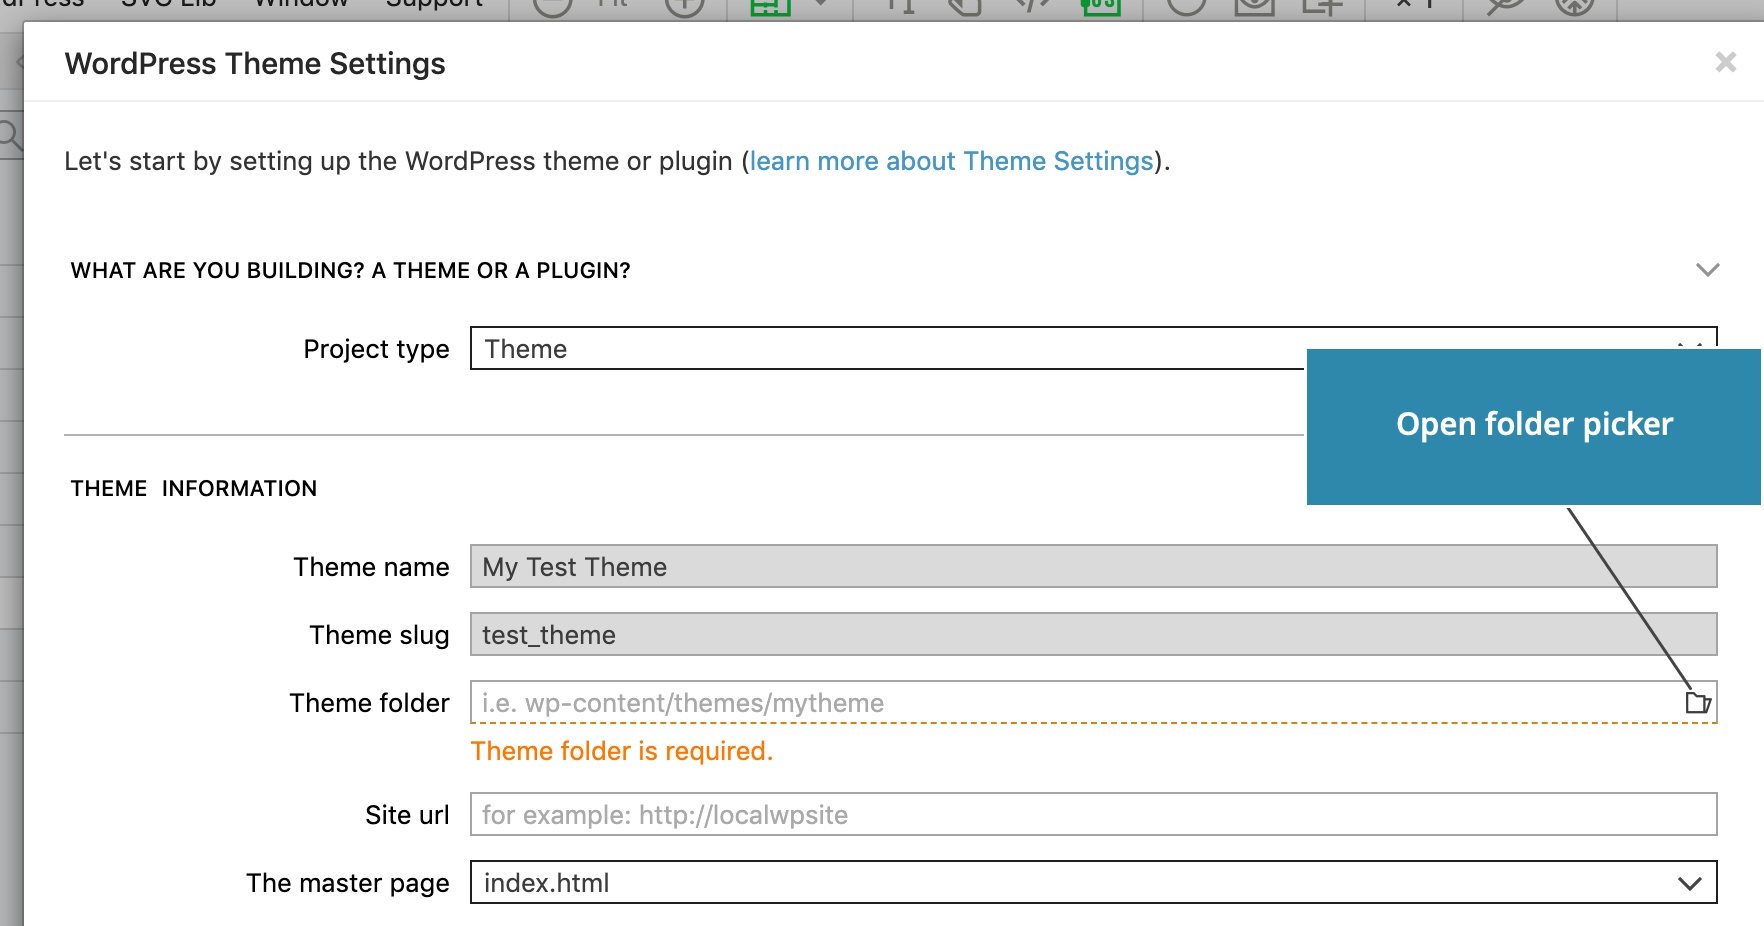
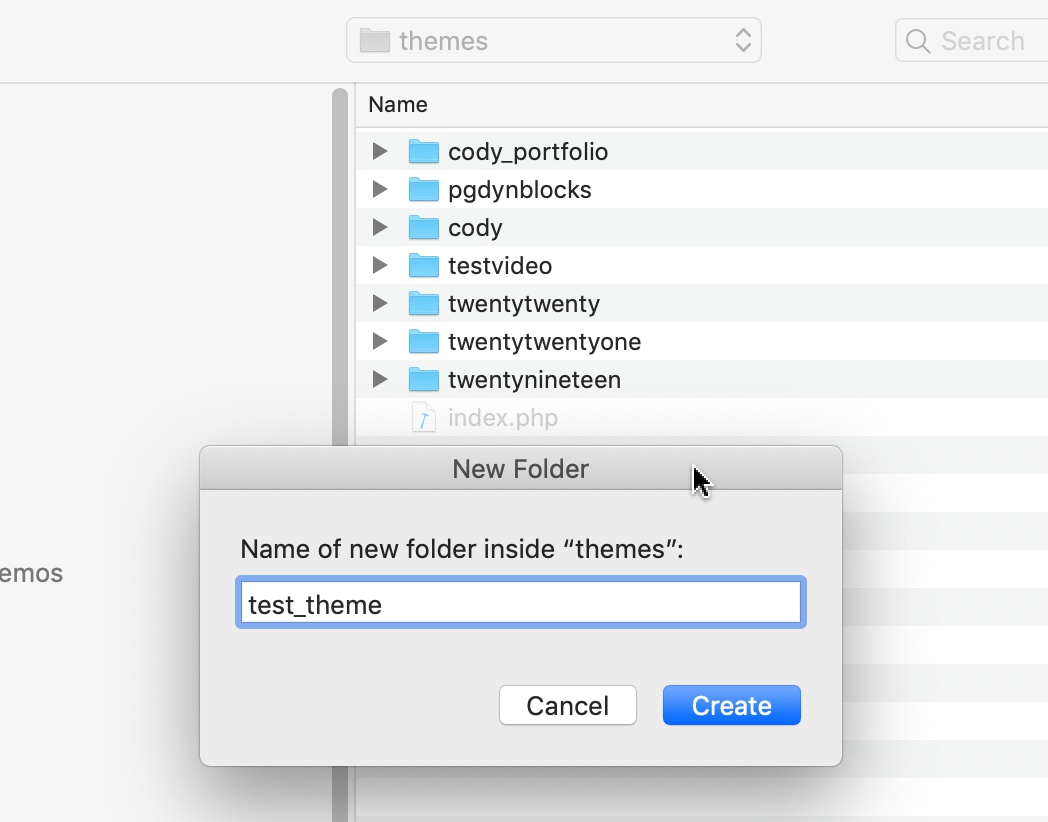
Next, select the folder where the WordPress theme will be exported. Normally, this should be a newly created folder inside wp-content/themes in your local WordPress installation.
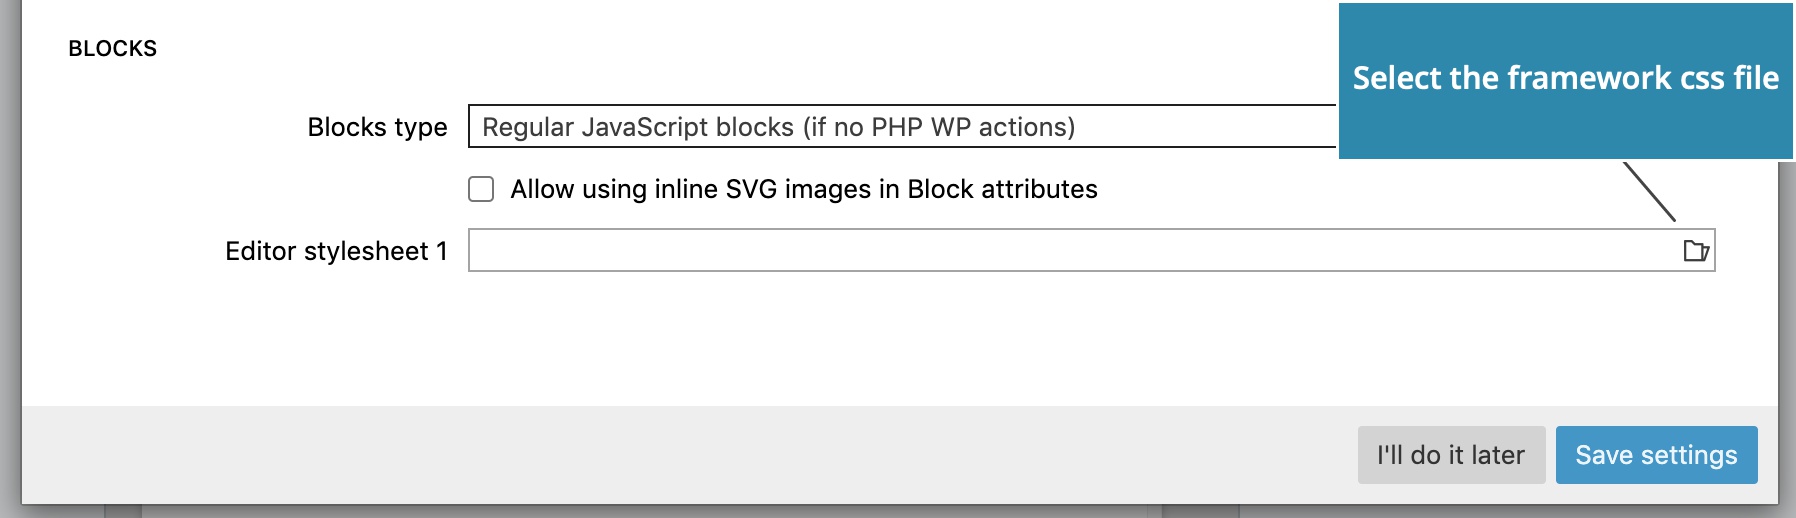
In the Blocks section of the Theme settings dialog, select the site stylesheet to load it in the block editor.
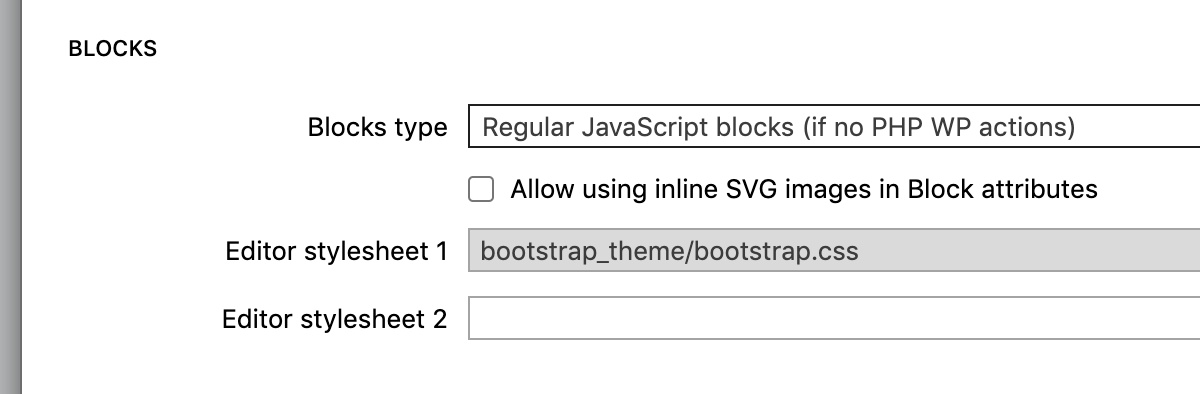
In our case this is bootatrap_theme/bootstrap.css.
Note, do not choose the default bootstrap.css in the bootstrap folder. Use the customized bootstrap.css from bootstrap_theme folder.
Click on Save settings.
Export the theme
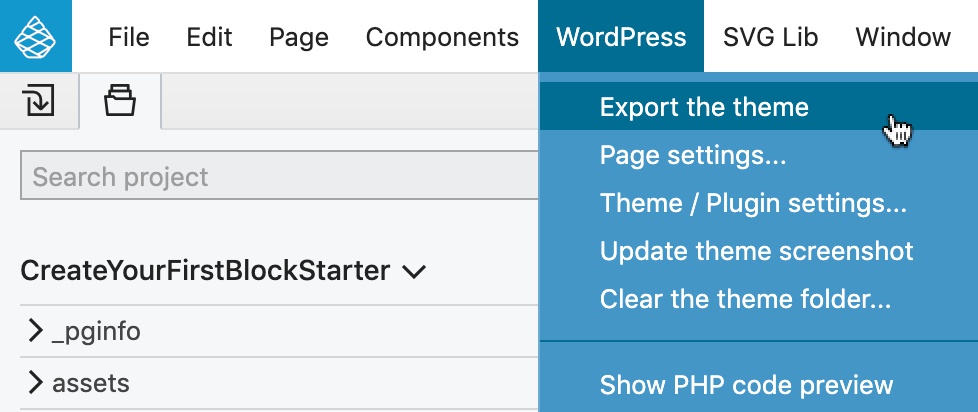
Use WordPress -> Export the theme (CMD + M) to export the theme.
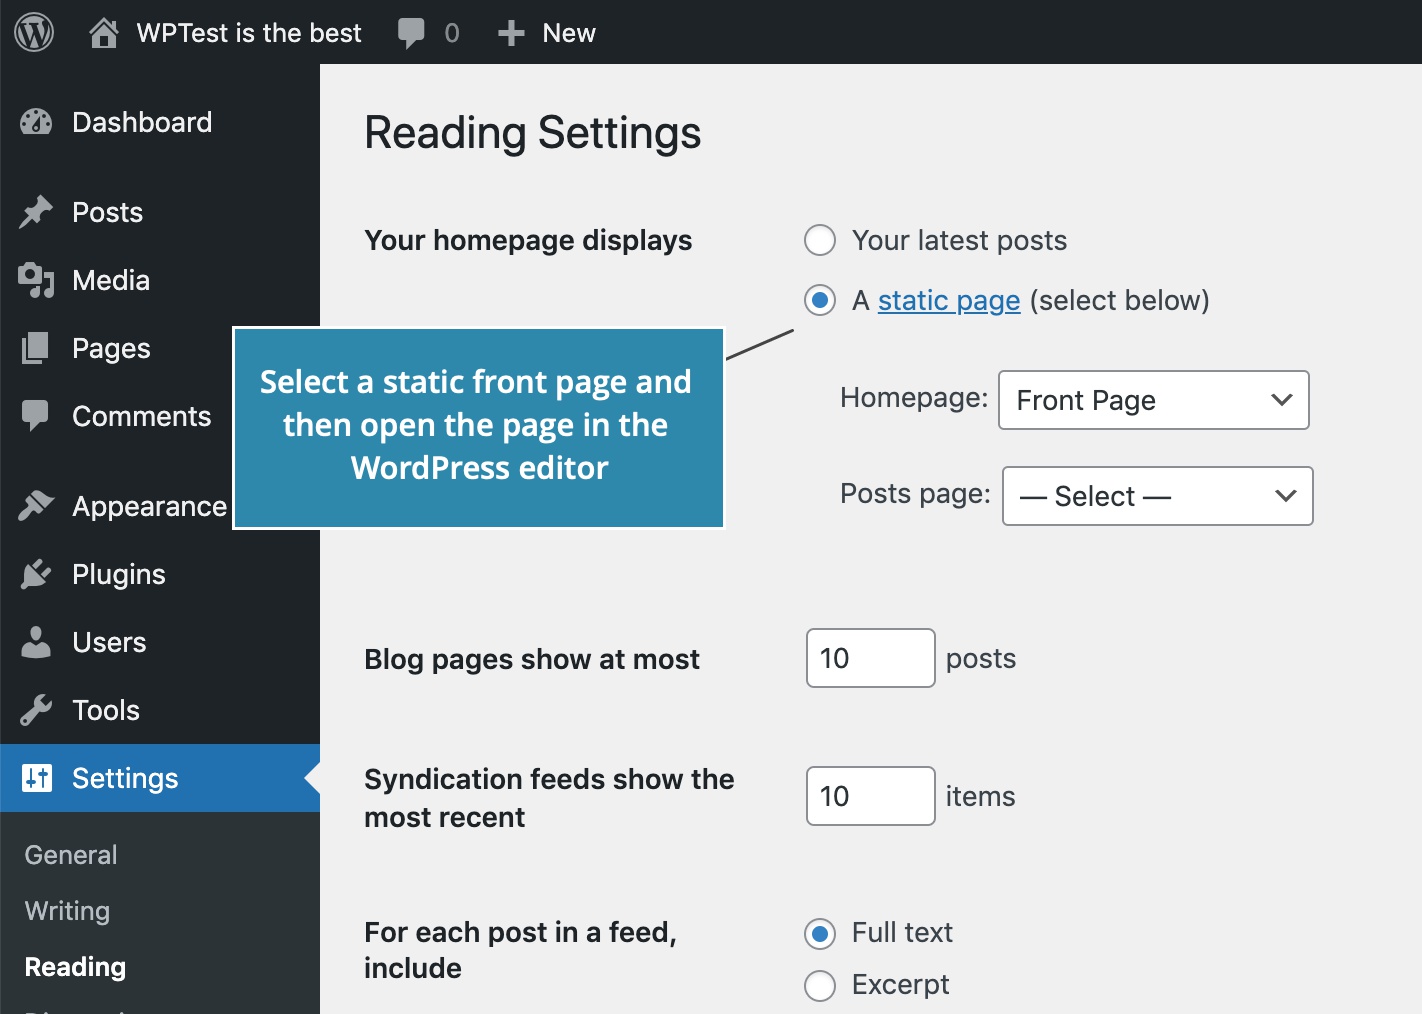
Set up the front page
In WordPress admin, use Settings -> Reading to select a static front page for the website.
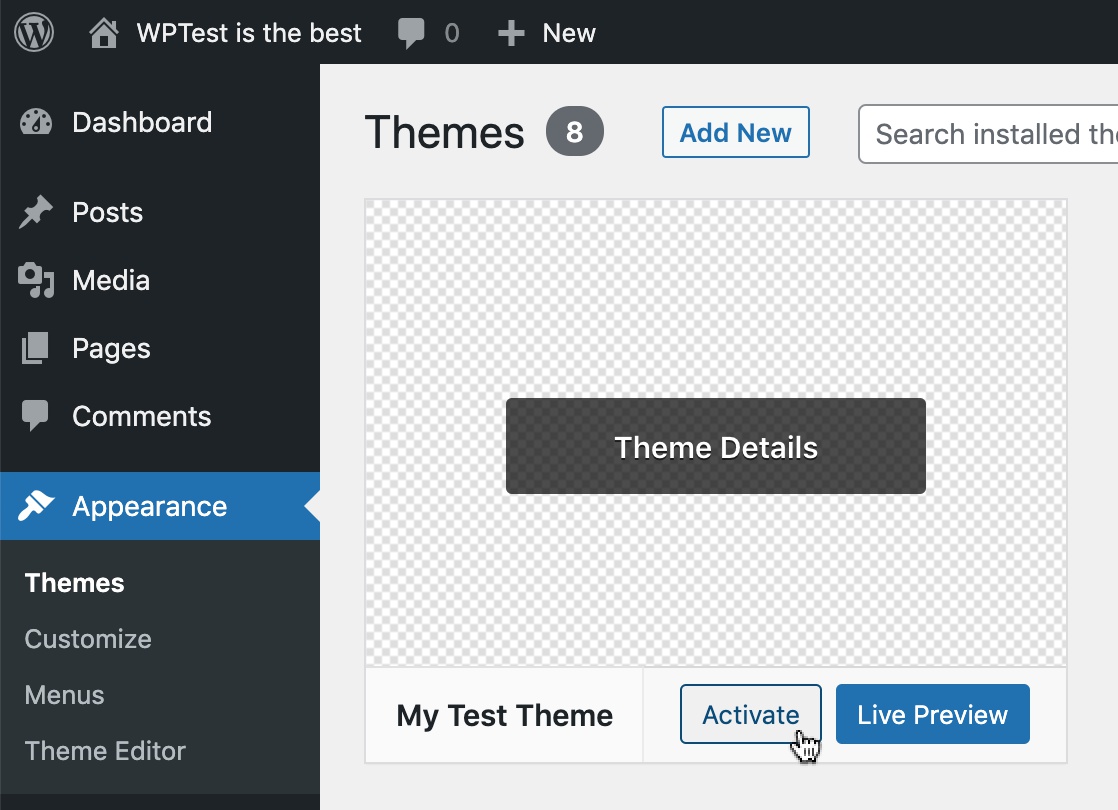
Activate the theme
In WordPress admin, activate the theme in Appearances -> Themes.
Go back to the guide
The project and the theme are now ready. Go back to the guide and follow the steps of creating your first custom block with Pinegrow.