Adding gradient and SVG backgrounds in Pinegrow
Gradient and SVG backgrounds can add a spark of visual appeal to your sites. Luckily, adding them in Pinegrow is easy!
When putting together pages, you want as many different tools in your belt as possible. In this tutorial I’m going to show you several different ways to add gradient backgrounds in Pinegrow, including how to use Scalable Vector Graphics, or SVG, as backgrounds.
As always, Pinegrow strives to give you choices about how to put your pages together, using just the visual builder or also using standard CSS. This means that it is really easy to take advantage of a wide variety of resources on the internet. We will look at a few of these for generating both gradients and SVG backgrounds.

Let’s get started!
Download the project files
Download the website that is used in this tutorial and play along.
Prefer to read? Scroll past the video.
This tutorial is available in video and textual form. Watch the video, or continue reading if you prefer to read. Of course, you can also do both!
Video Adding Backgrounds in Pinegrow
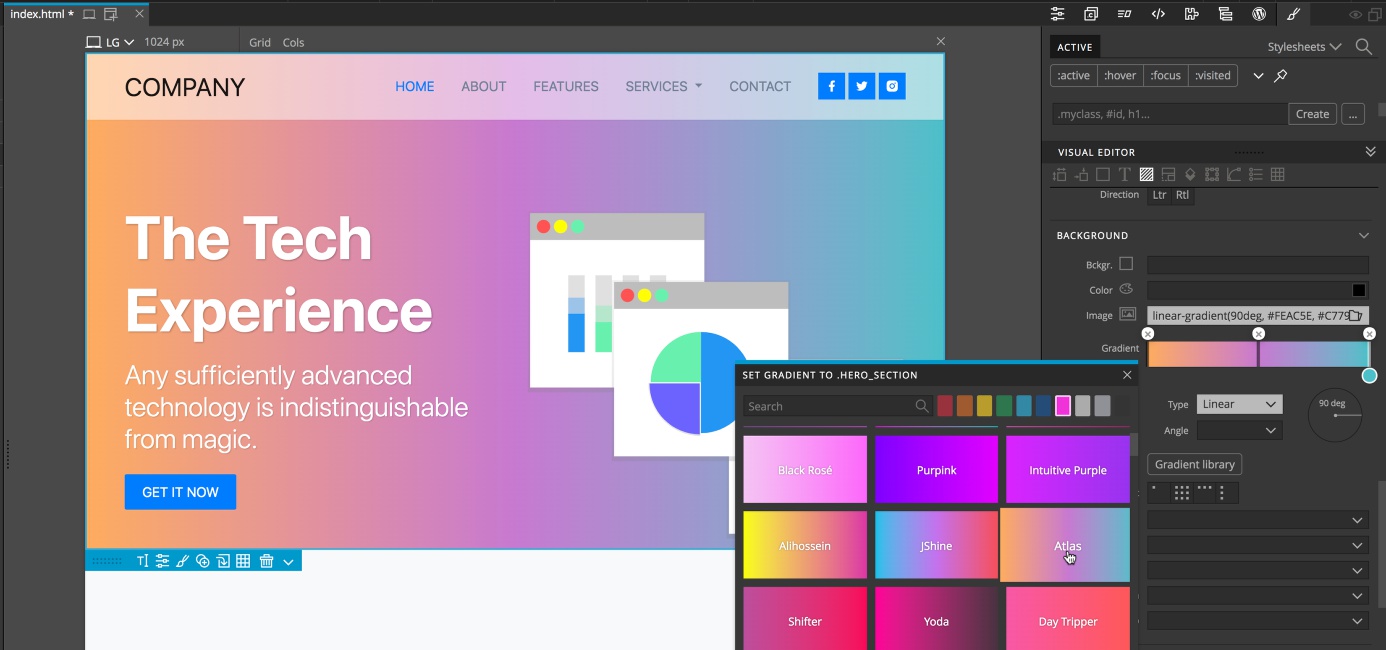
Adding a gradient background to our Hero
We are going to start with a really basic Bootstrap page which you can download here. This page has a top hero section that currently has a solid background. At the bottom of the Page is a testimonial carousel that we can also modify. As with most of the tutorials, the techniques we will be demonstrating can be applied to any page, not just our demo page.
Right now the hero section has a simple background color set through inline styling. We can see this if select the hero section in either the Tree panel or the Page View, and the open the Style panel. We have a couple of choices about how to change this.
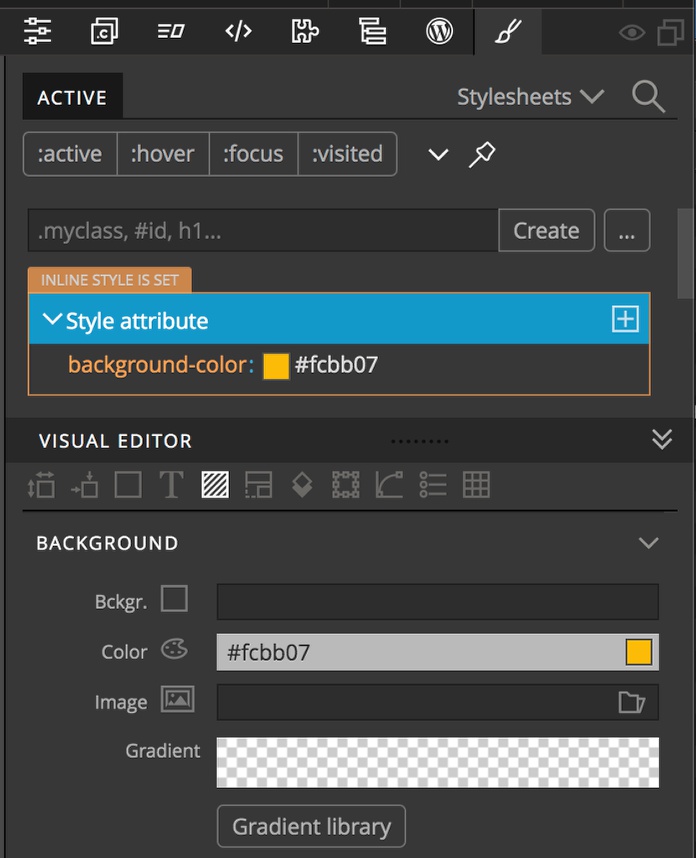
One way is to manually enter our desired gradient into the “Gradient” input bar of the “Background” section of the visual editor.
We are going to create a new rule for our styling on our stylesheet rather than putting the new styling inline.
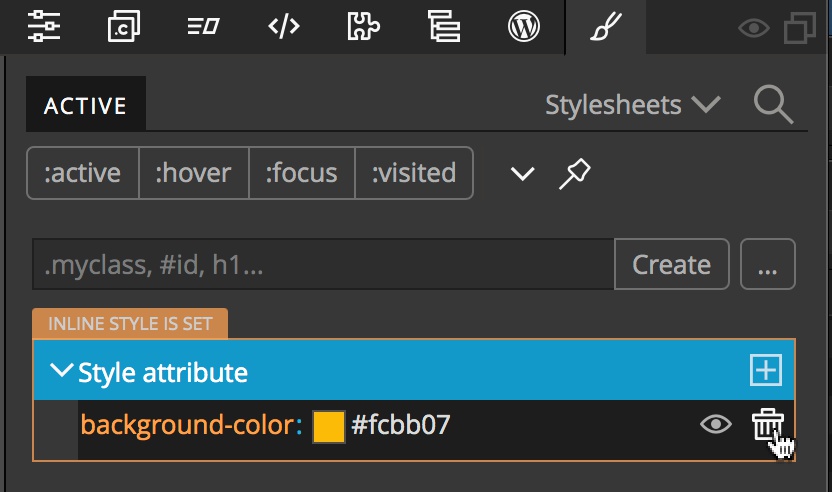
- Make sure the hero section is still selected and then within the Style panel hover to the right of the “background-color” property. A set of icons will appear, click on the trash can to get rid of the inline style. Remember,inline styles have a very high specificity and can only be overruled by using an ‘!important’ declaration in our stylesheet.
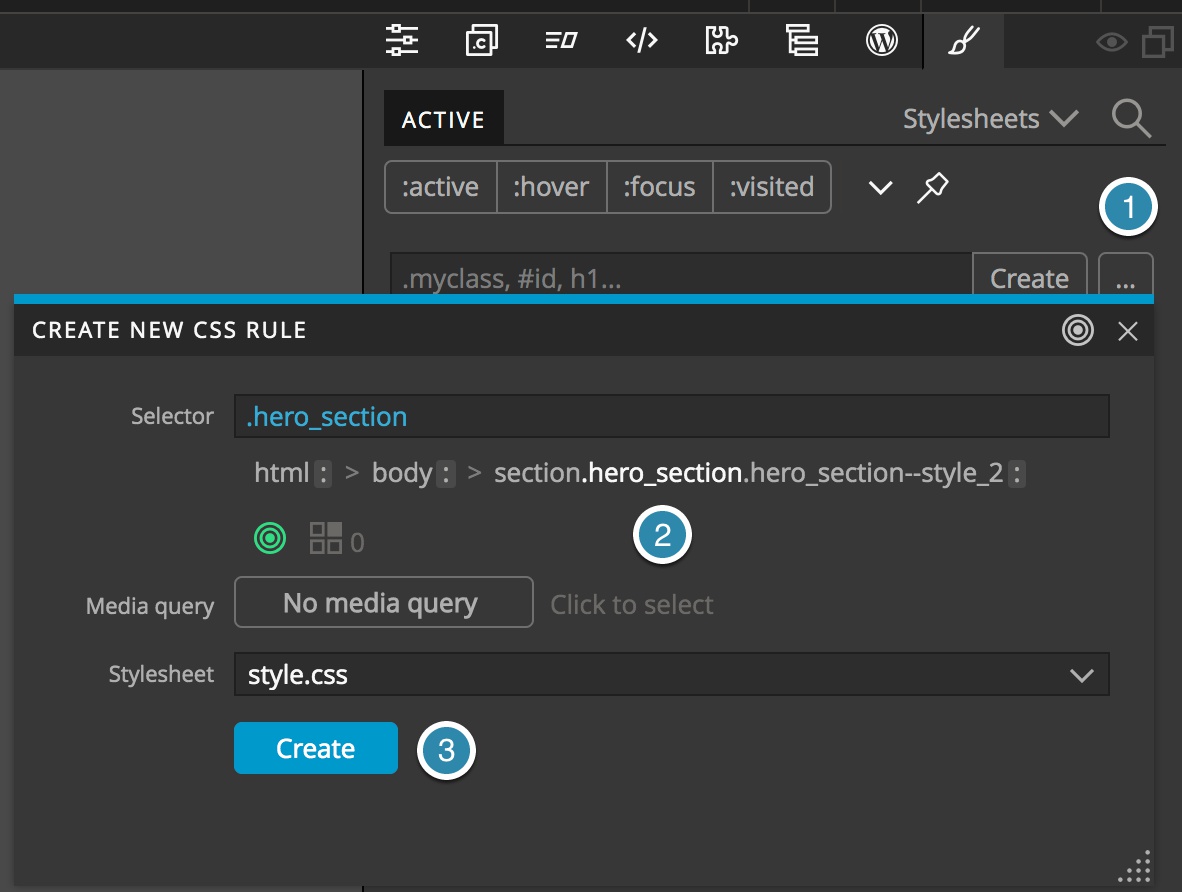
- In the same panel click on the ellipses button (three dots) to the right of the “Create”button, next from the selector list click on the ‘.hero_section’ class name, then click on the “Create” button.
- Scroll down to the “Background” section in the visual editor. You can click on the hashed square icon to jump to the section.
- Click anywhere in the “Gradient” bar to set a first stop. Then click the circle below the stop to change it to the desired color. Because there is only one stop, the entire bar will change to the selected color.
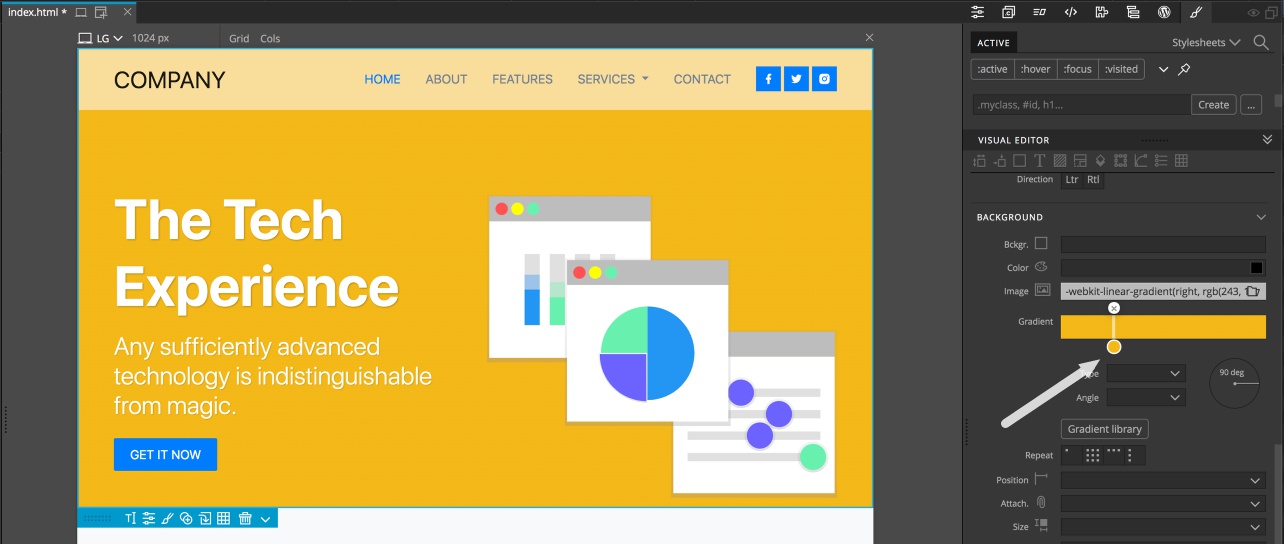
- Now click anywhere else in the bar and select another color. Now the bar will be your first color up to the first stop, the second color after the second stop, and a transition between the two colors in between the stops.

You can add as many stops as you would like!
- To vary the design, Pinegrow gives us a couple more controls in the visual editor. To have our gradient emanate from a central point, we can use the “Type” drop-down menu and select “Radial”. The “Angle” drop-down lets us set the origin point, for example, “Bottom”.
Note: The angle drop-down also works for the linear gradient, or we can use the custom angle dial to the right of the drop-downs.
Sometimes getting the look we want takes some fussing, but Pinegrow has an easier way – a built-in library of gradients!
Below the drop-downs is a button labelled “Gradient library”. Clicking this brings up a selection modal.
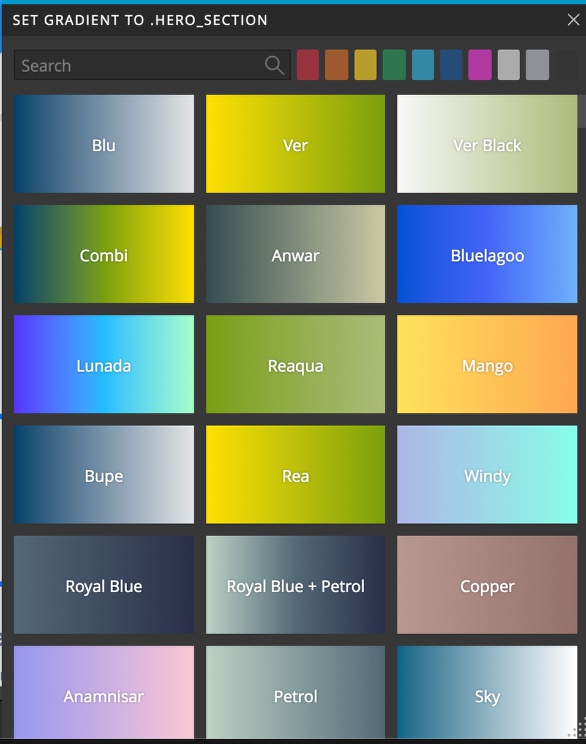
Clicking on any of the gradients will add it to the selected rule. There is also a search box at the top if you know the name of the gradient and a set of color swatches that will scroll the selection list to the gradients where that tone is dominant.
Pinegrow applies the gradient change immediately, allowing you to decide if it is the right fit. Just like with our manually entered gradients we can change the type and angle.
Adding a gradient background to our testimonials
Next, we should apply a background to the testimonials at the end. If we want the same gradient, we can simply make a small CSS change, so let’s do that.
If we select the section in either the Page View or the Tree panel we can see from the Properties panel that it has a class of “testimonial_section”.
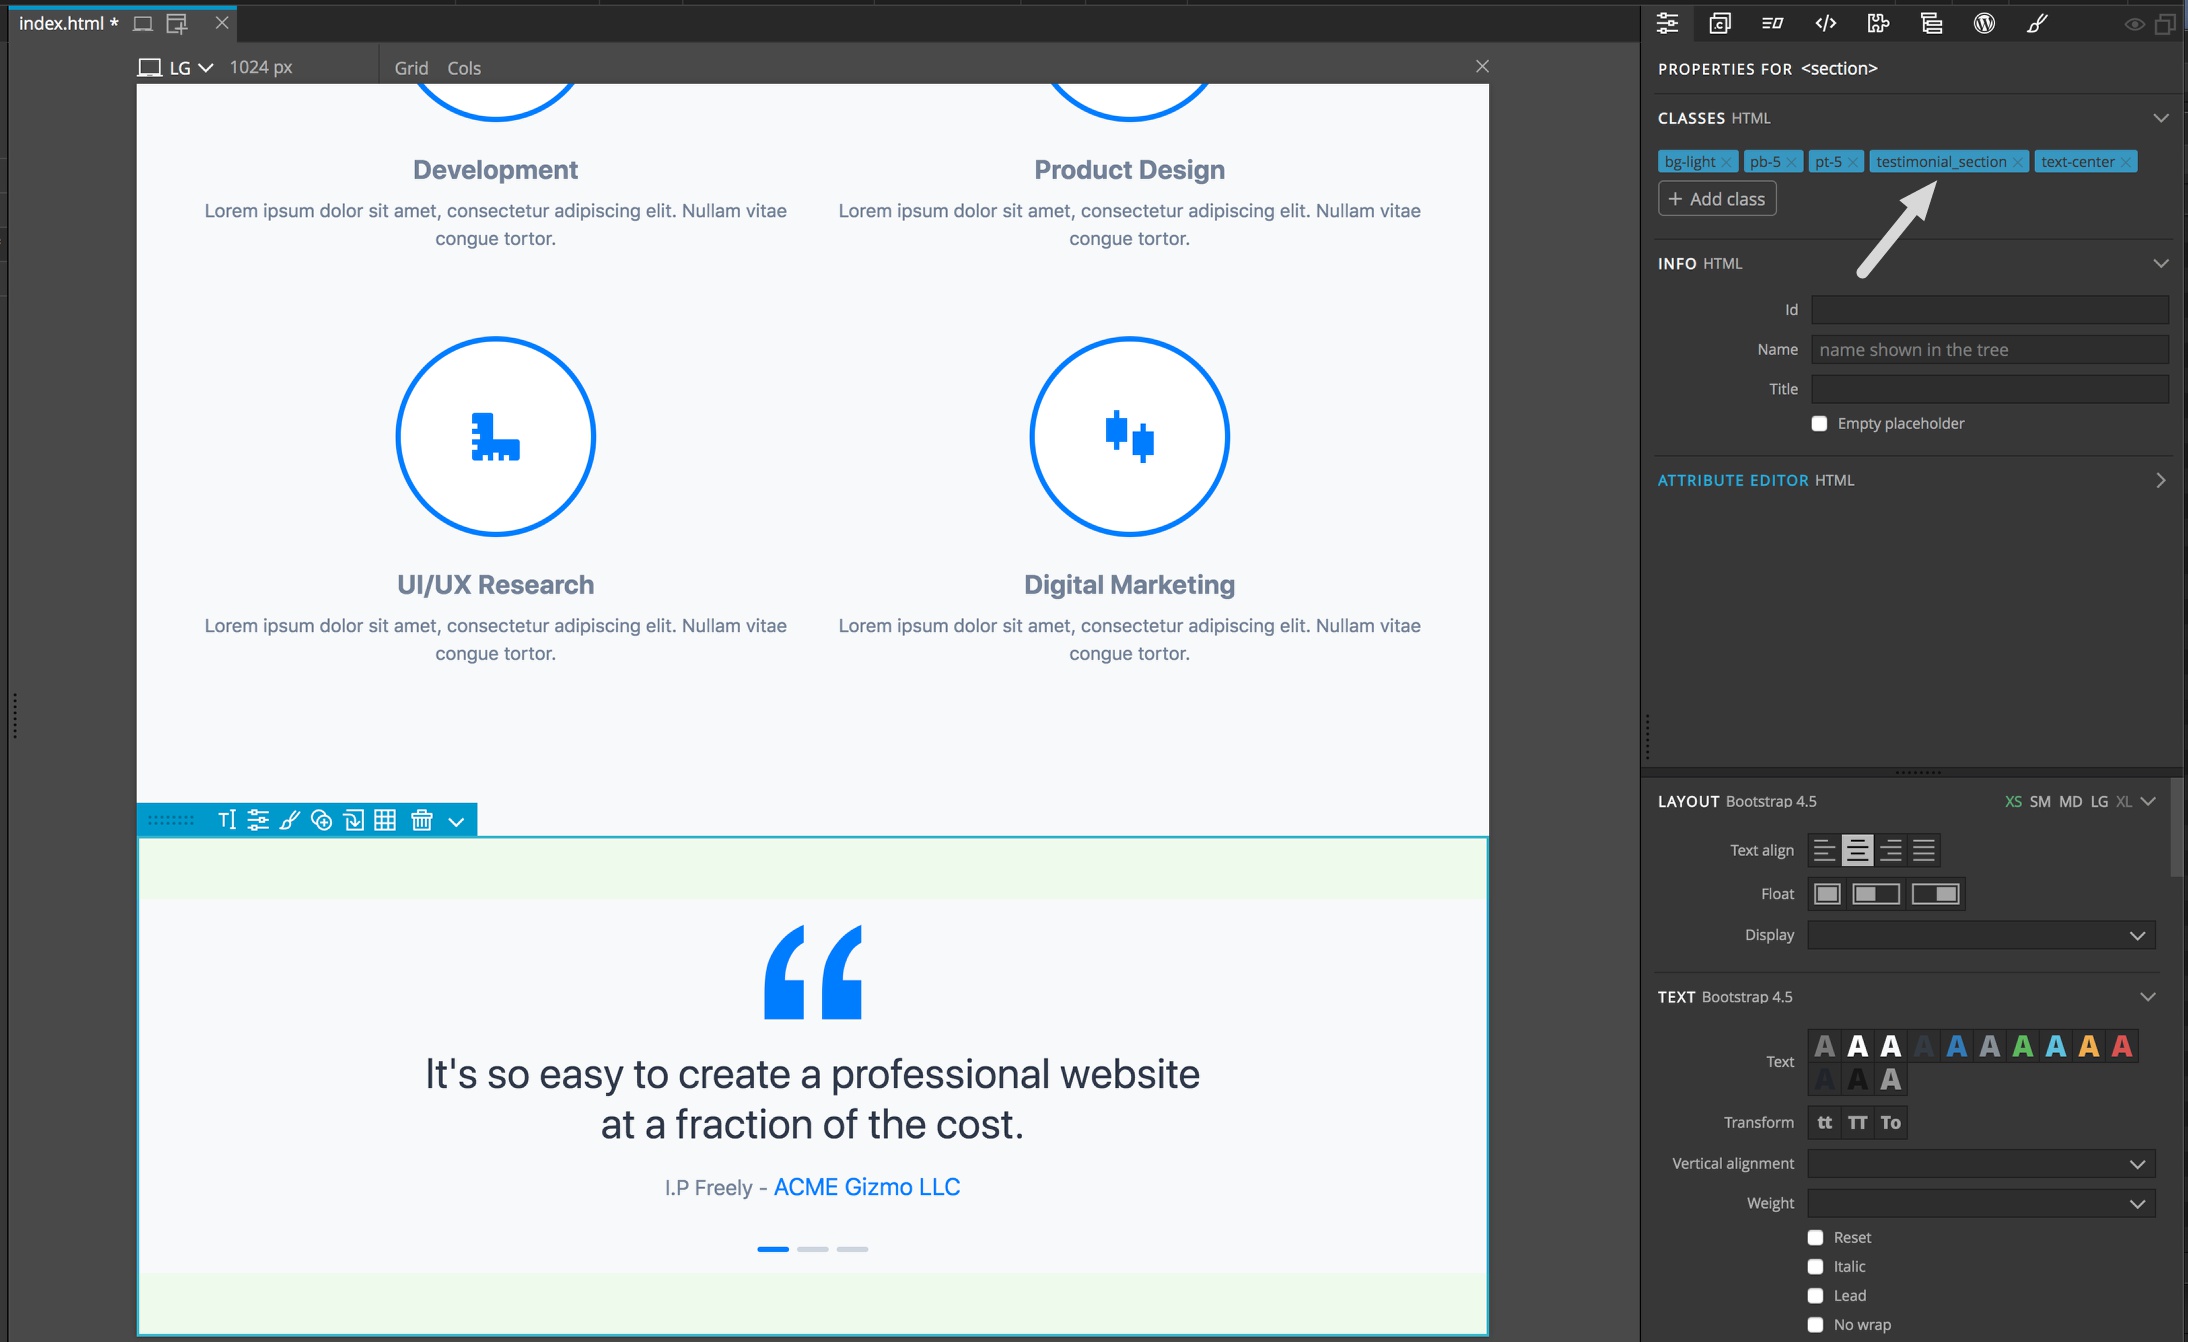
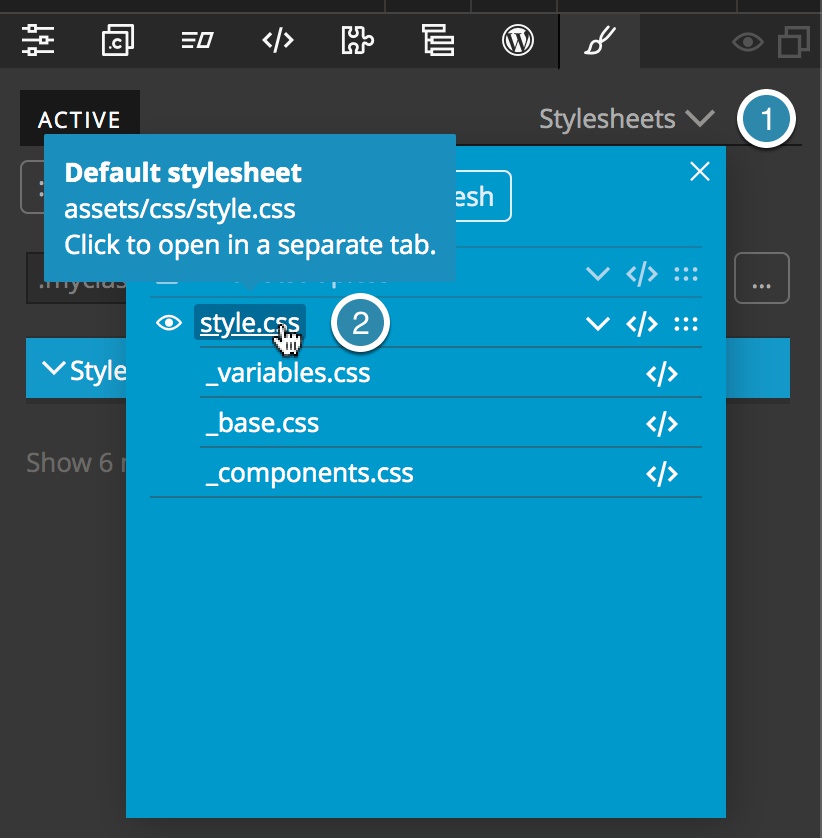
To modify the original rule, we can either reselect the “hero_section” code, or we can click on the stylesheets dropdown and then click on the stylesheet name.
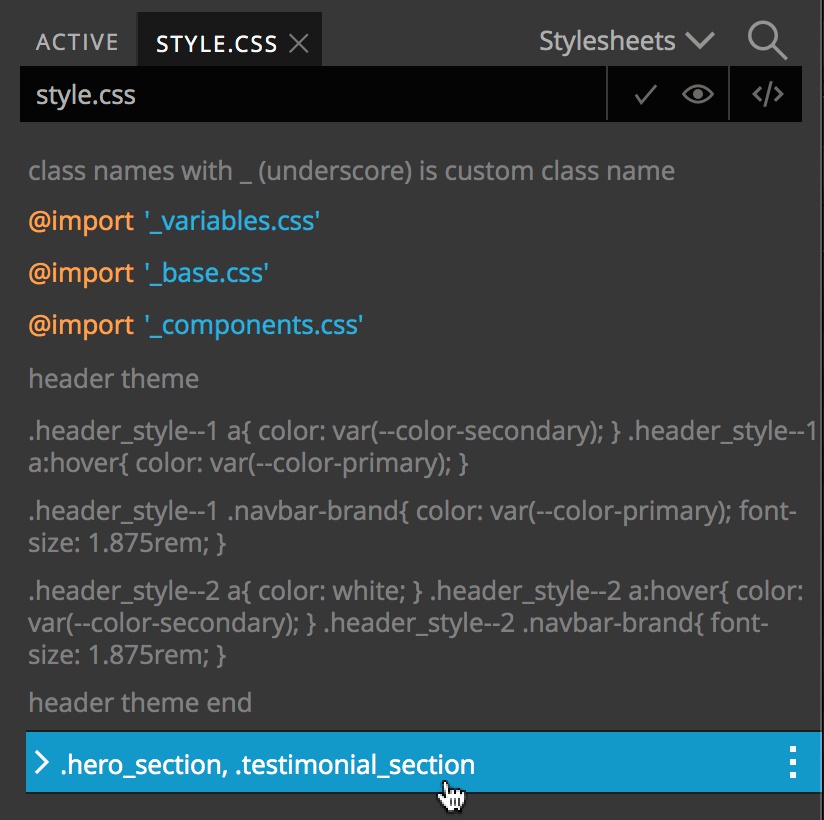
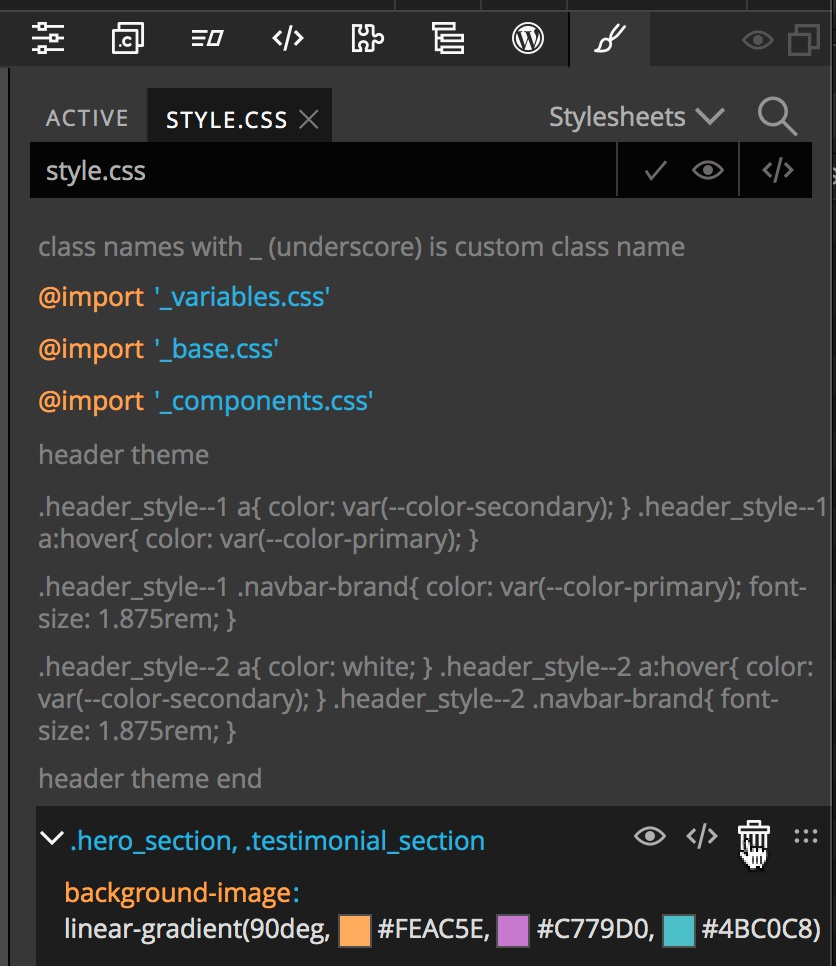
With our ruleset opened up, we can click on the “.hero_section” rule and change it to “.hero-section, .testimonial_section” to target both sections.
Looking at our testimonial section we can see it has nicely updated!

Using online gradient generators
There are a multitude of online CSS gradient generators. Most all of them allow you to enter multiple stops and choose between linear and radial gradients. At least one I found from colorzilla also has support for SASS if you are using that in a project. For the majority of these sites, you enter your gradient stops and colors, or select from some pre-defined gradients. The site then outputs some CSS for you to copy.
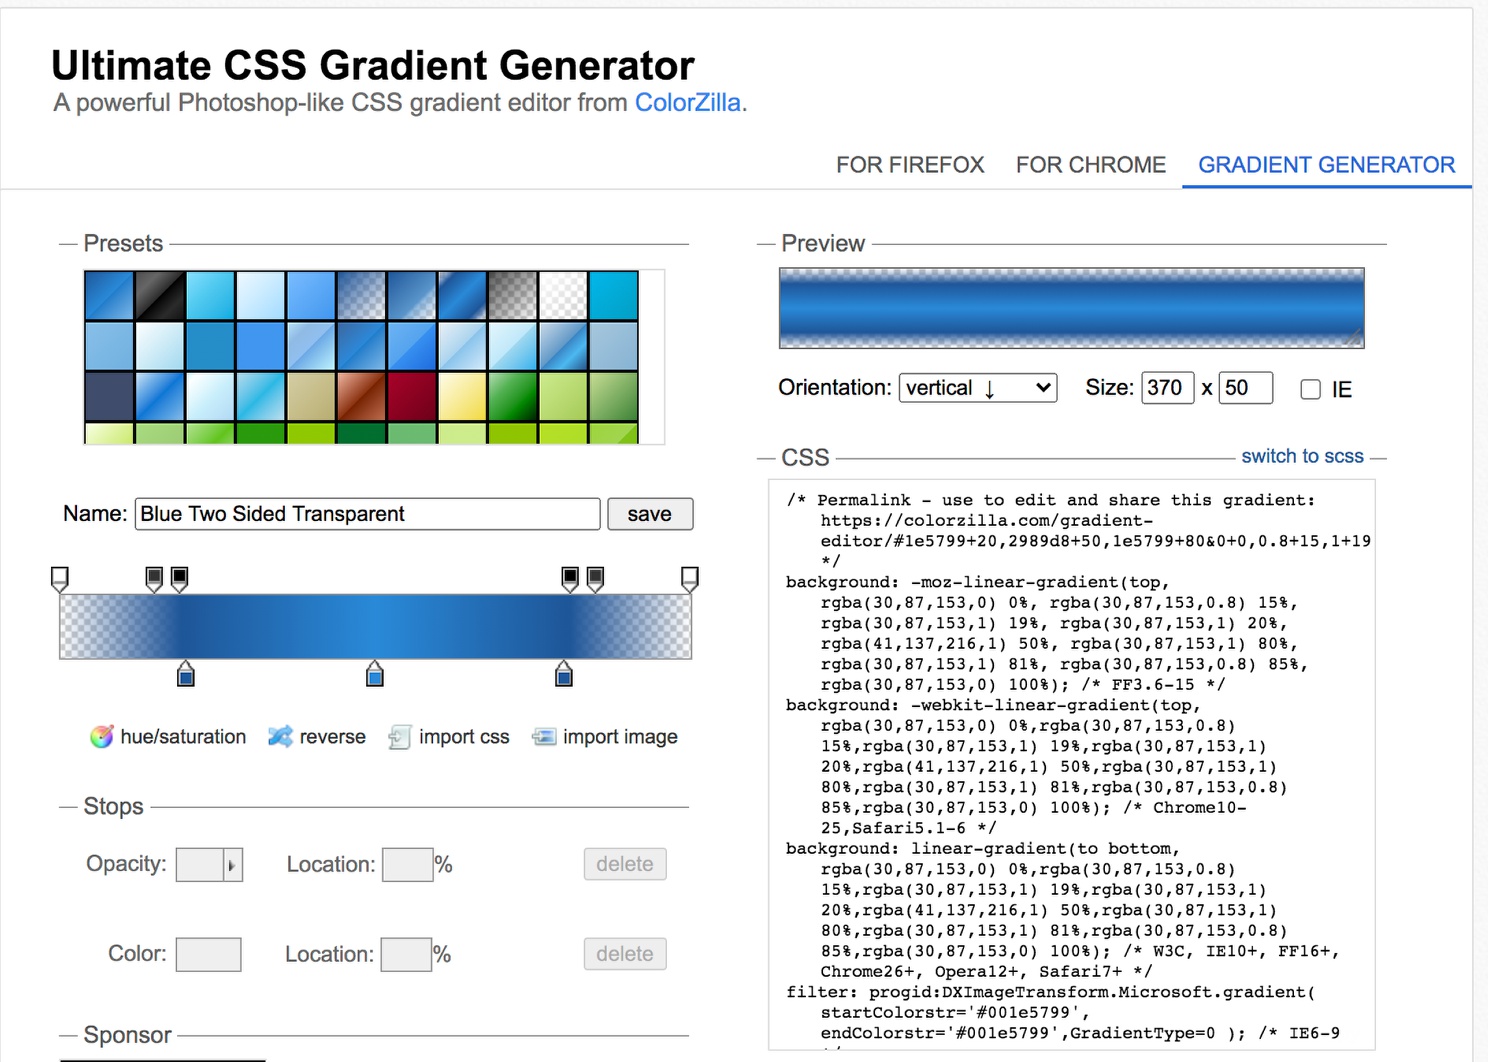
ll we have to do to add this gradient to our page is copy the CSS output and then open the ruleset by clicking on the stylesheets dropdown in the Style panel and then the stylesheet name, as we did to change the rule name.
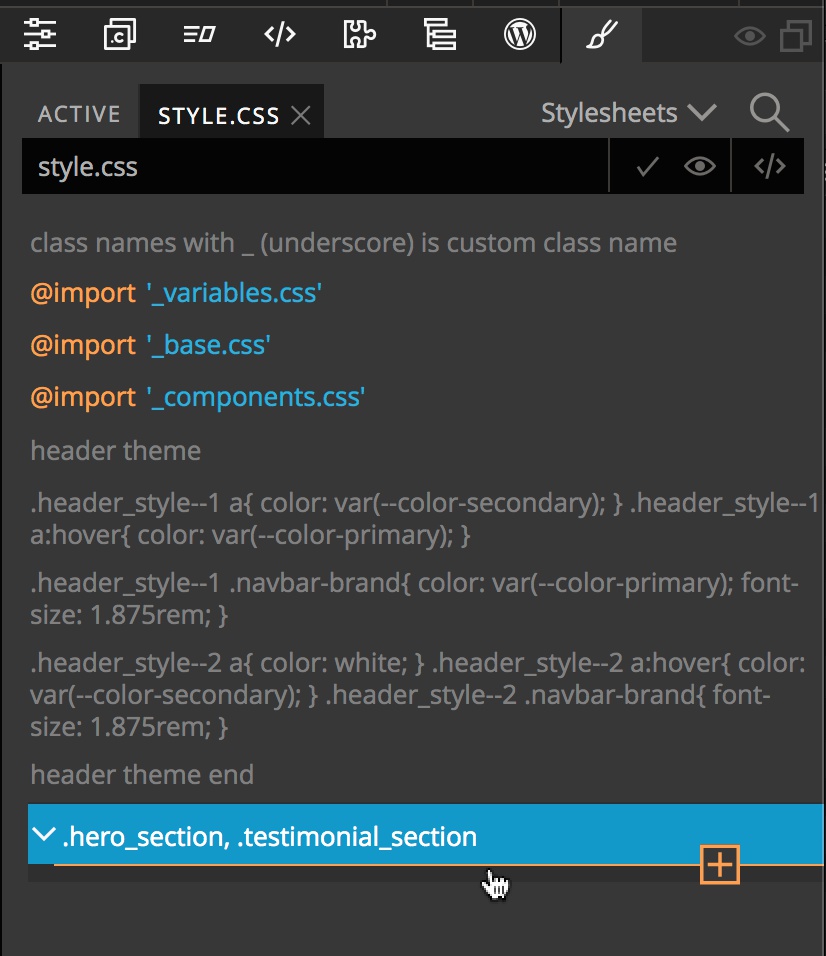
Next, hover to the right of any existing background properties to get the trash can to appear and then delete them.
Finally, hover just below the ruleset to get an orange insertion line to appear, then click. Once the insertion cursor appears, paste your copied CSS.
One thing that you will notice about the online CSS generators is that they produce a lot more CSS. This is because they generally add in vendor prefixes for every browser, including many that aren’t really in use any longer. For example, the ‘linear-gradient’ property is supported, unprefixed, by >95% of current browsers being used. If file size is a concern you can likely delete any of the ‘-moz-‘, ‘-webkit-‘, and ‘filter’ rules.
Adding an SVG background to our sections
Gradient are great, but you can only accomplish certain designs. Enter SVGs!
In addition to a lot of design tools like Adobe Illustrator and Inkscape being able to output custom SVGs that you design, there are a lot of online resources. For example, SVGBackgrounds and SVGeneration. Both of these sites have a number of different patterns to choose from and customize.
Adding them to your site is as easy as adding CSS from the online gradient generators.
- Open the SVG generator site – here I’m going to use SVGBackgrounds


- Select an appropriate background and modify color if needed. I like the “Sun Tornado” design. In addition to changing color you can also move the location of the stripes.

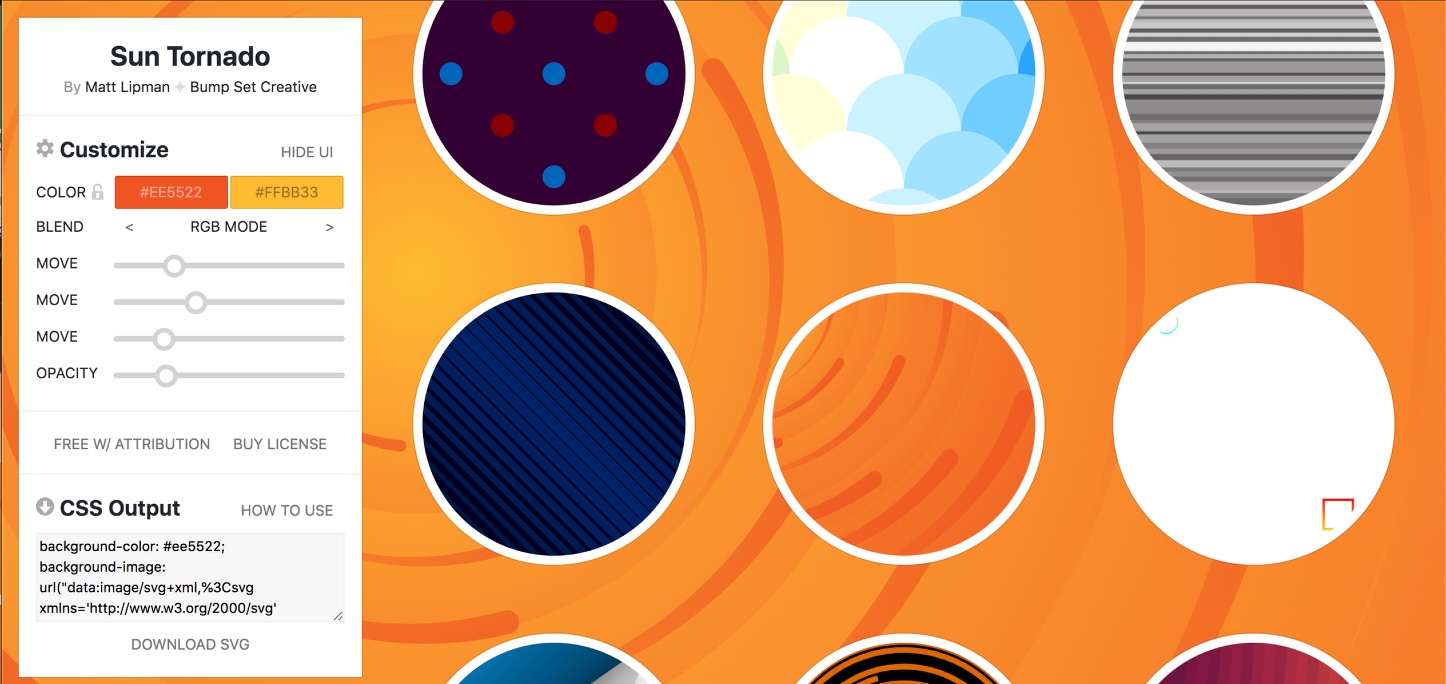
- Once the CSS has been generated you can double-click in the output box to select it all and copy it to your clipboard.
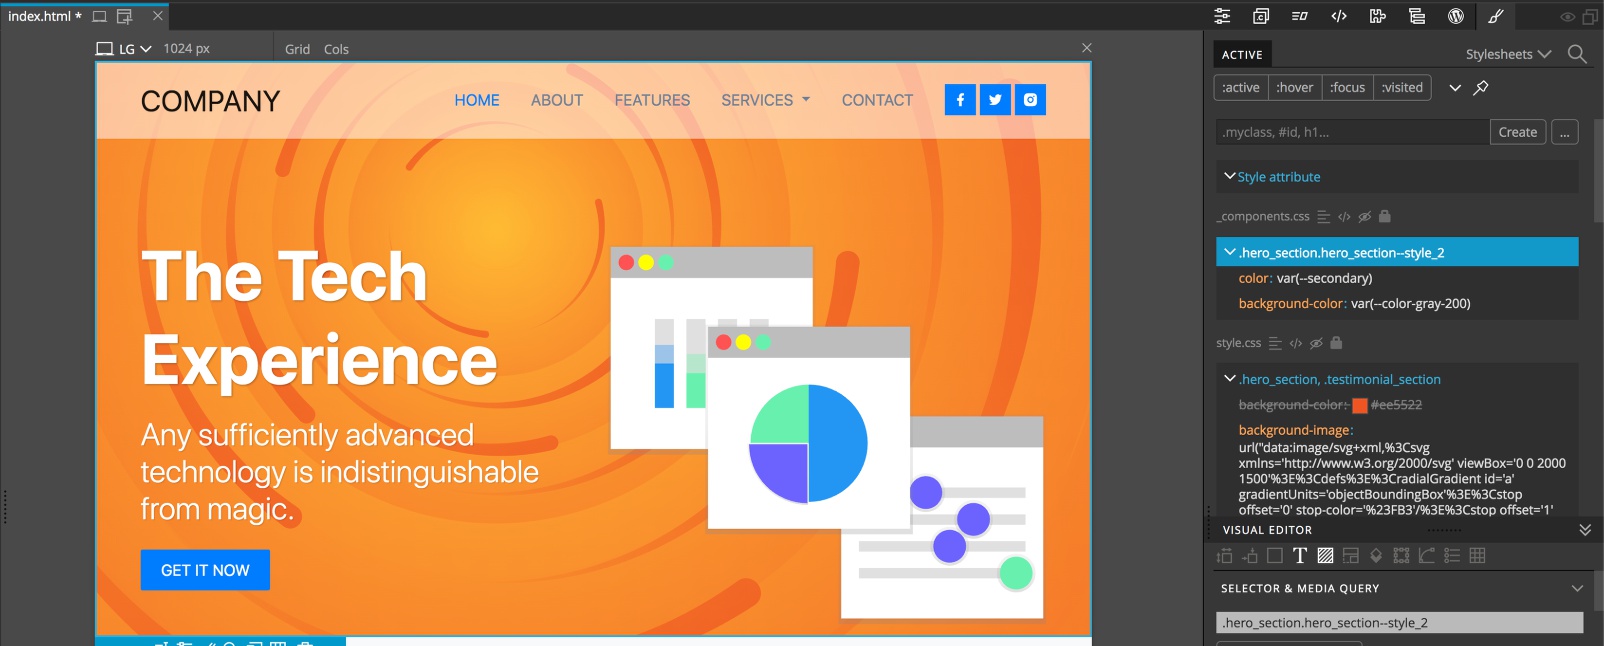
- Once again, open the ruleset and delete any old rules that apply to the background, followed by pasting our new rule in.
 One thing to note: In this case you can see that the “background-color” property we pasted in is crossed out. This is because the existing rule set by the “.hero_section.hero_section-style_2” rule has greater selector specificity. In this case, the SVG is solid, so we don’t see an impact. However, this background color is a fallback in case the browser doesn’t support SVG. In this case we should increase the specificity of our new ruleset by adding additional classes or maybe an id if needed.
I hope I’ve demonstrated that adding some flair to your site with gradient or SVG backgrounds using Pinegrow is easy! If you are new to gradients, Pinegrow is a great tool to visually learn how changes in your code impact the look of your site. I hope this tutorial has been instructive and helps you put your webpages together a little quicker with some extra touches.
Discuss this tutorial
Have questions or comments about this tutorial? Let’s talk about it on our forum.
Get in touch
Would you like to see your favorite theme or blocks library featured in the next tutorial? Let us know in the forum or by email!