Post Field action displays one or more post field values on different parts of the element.
This action can only be used together with Show Posts action.
Posts in WordPress can have custom fields, in addition to standard fields like title, content, excerpt and so on.
Custom fields are the best way to extend the range of information associated with different post types.
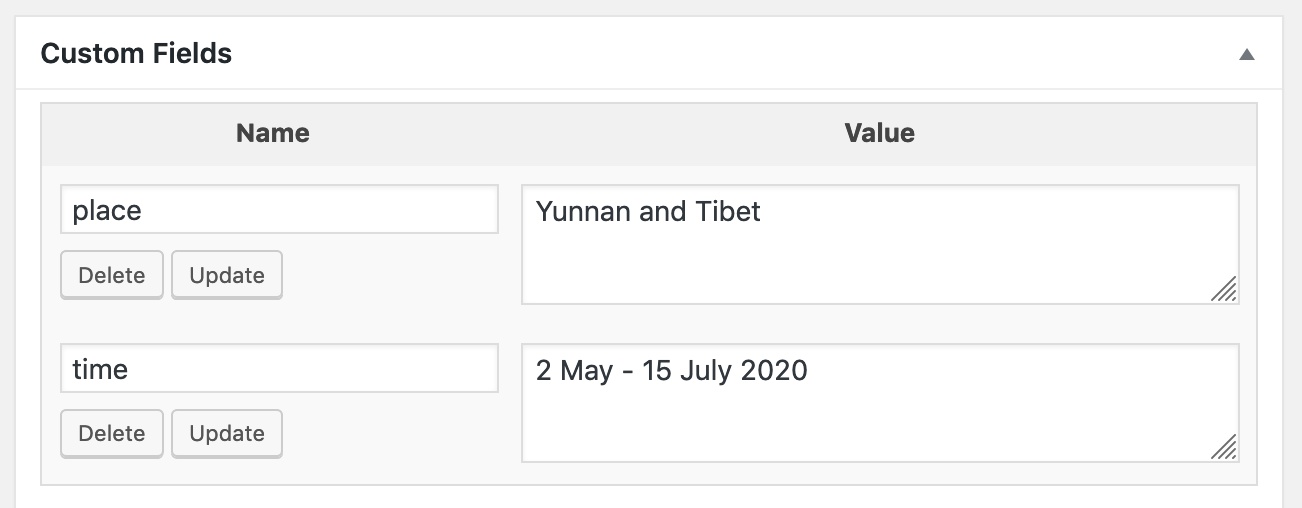
Field values are edited in the Edit post / page view in the WordPress admin. WordPress has a built-in UI for editing field values that is quite awkward:
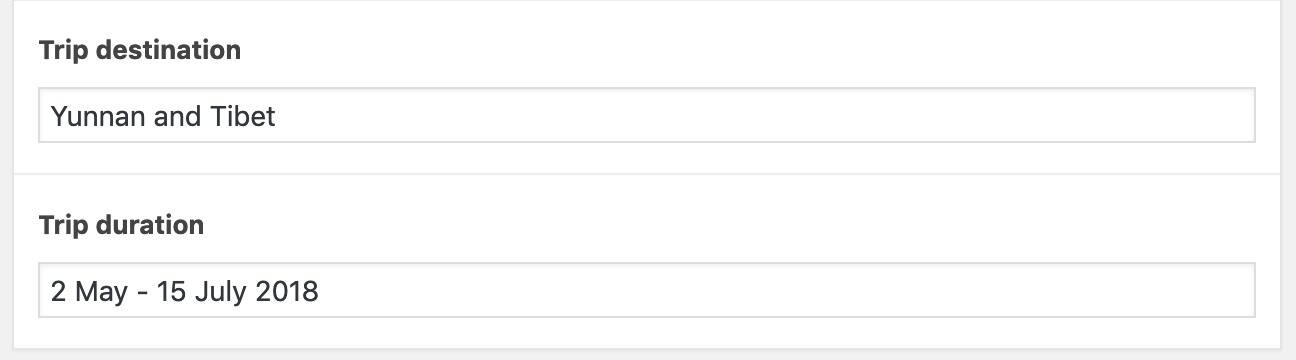
One of best alternatives is free Advanced Custom Fields (ACF) plugin that lets us define different field groups for different post types. ACF adds a user-friendly UI for editing post fields to WordPress admin:
Post Field action can use Advanced Custom Fields (ACF) to fetch the value of the field. By default WordPress built-in method is used to access field values.
In the end, it doesn’t matter much which method is used because both ACF and WordPress use post meta fields to store values.
Note that using ACF to get field values requires that ACF is activated on the theme. Otherwise PHP will report a run-time error.
Using multiple field values on a single element
When using Post Field action, multiple field values can be used on a single element.
For example, let’s say we have a link button and want to control its label and URL address with fields “button_label” and “button_url”:
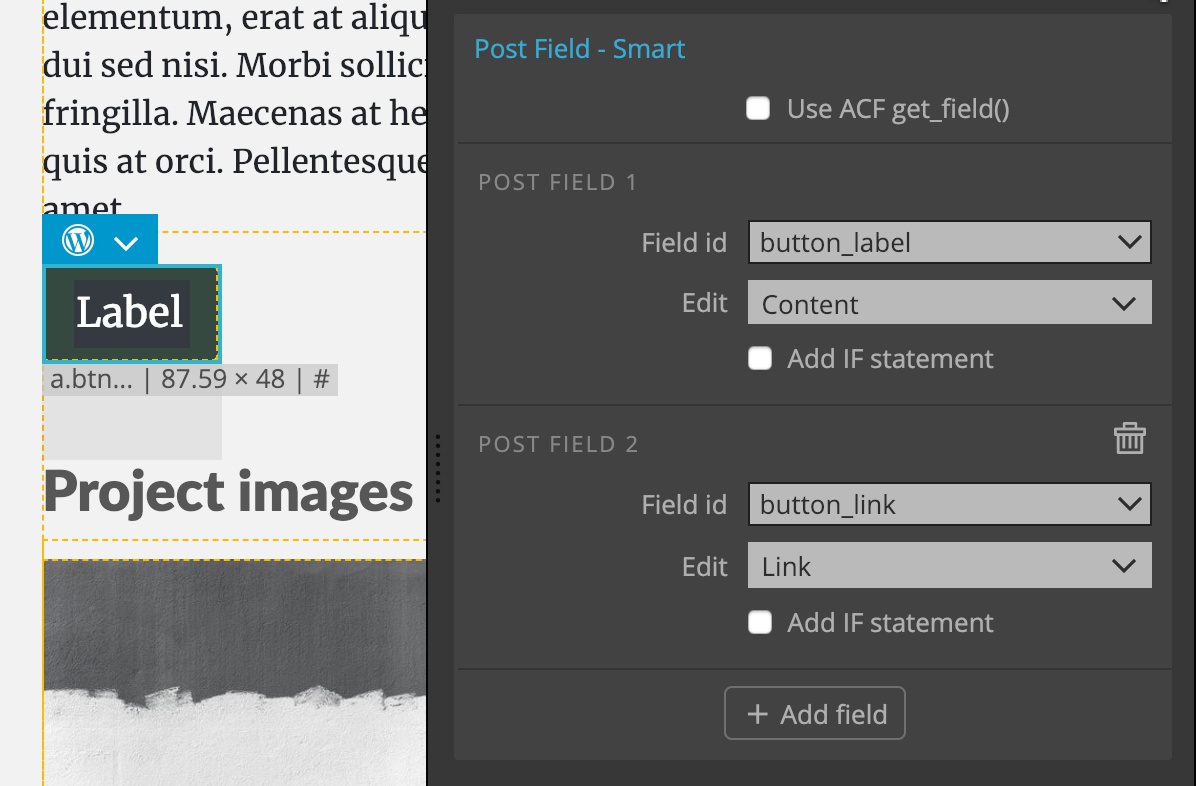
This will generate the PHP code:
<a class="btn btn-dark btn-lg" href="<?php echo get_post_meta( get_the_ID(), 'button_link', true ); ?>"><?php echo get_post_meta( get_the_ID(), 'button_label', true ); ?></a>Post Field action lets us add additional fields with “Add field” button.
Field settings
Each field has the following settings:
Field id
Field id is the computer-friendly name of the field, for example “button_label”, as used when defining the field in ACF or adding a meta field.
How to use the value?
Next, we decide where on the element we want to show the field value:
Content will display the field value in the inner content of the element.
Image will set the URL of the image to the src attribute of the element. This requires that the element with Post Field action is an \<img> image and that the field stores an image, either as url or as id.
Background image sets the image stored in the field as element’s background using the inline style attribute. The field must contain an image, either as url or as id.
Using either of the two image options gives us the chance to select the image size we want to show.
Link sets the URL stored in the field to the href attribute of the element.
Style sets the selected inline style property, for example background color.
Attribute assigned the field value to the selected attribute.
Showing the element only if value is set
We can check the “Add IF statement” to show the element only if the field value is defined.
Checking “Add IF statement” on our button example will wrap the element with the conditional statement. The element will only be displayed if the value is set:
<?php if ( get_post_meta( get_the_ID(), 'button_label', true ) ) : ?>
    <a class="btn btn-dark btn-lg mb-5" href="<?php echo get_post_meta( get_the_ID(), 'button_link', true ); ?>"><?php echo get_post_meta( get_the_ID(), 'button_label', true ); ?></a>
<?php endif; ?>
Examples
Let’s take a look at some examples:
Displaying the value
Here, we’ll display values of fields Trip destination (“place”) and Trip duration (“time”). We’ll use two separate Post Field actions because we’ll display the values on two separate elements:
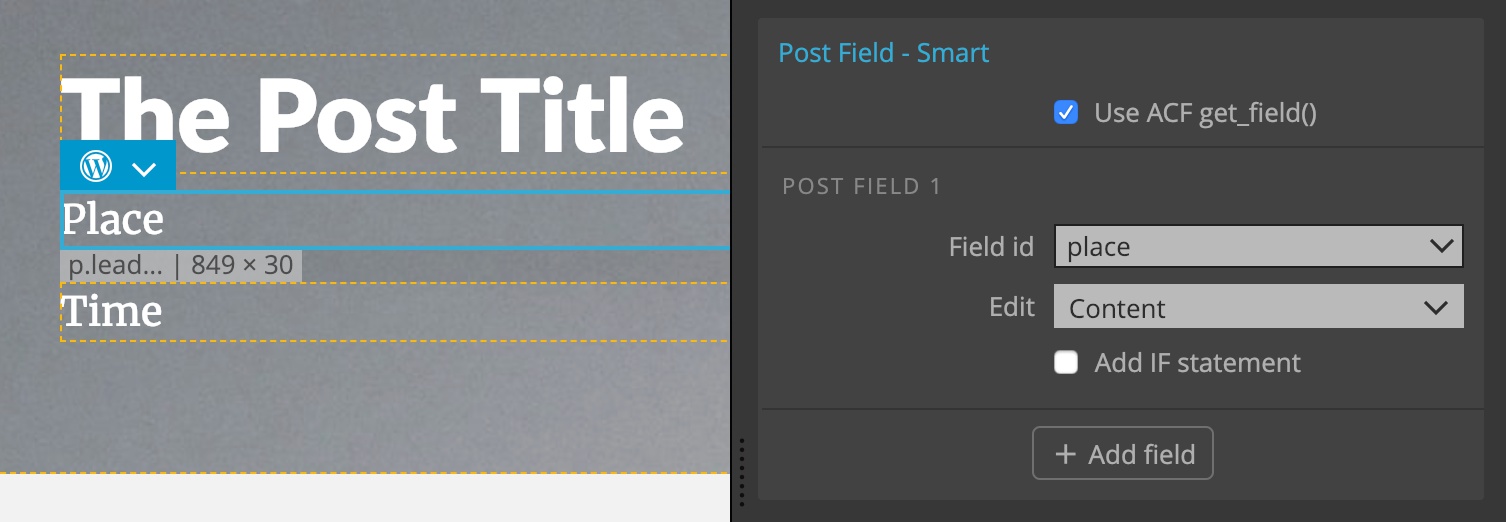
This will output both fields:
Using the PHP code:
<p class="lead text-white"><?php echo get_field( 'place' ); ?></p>
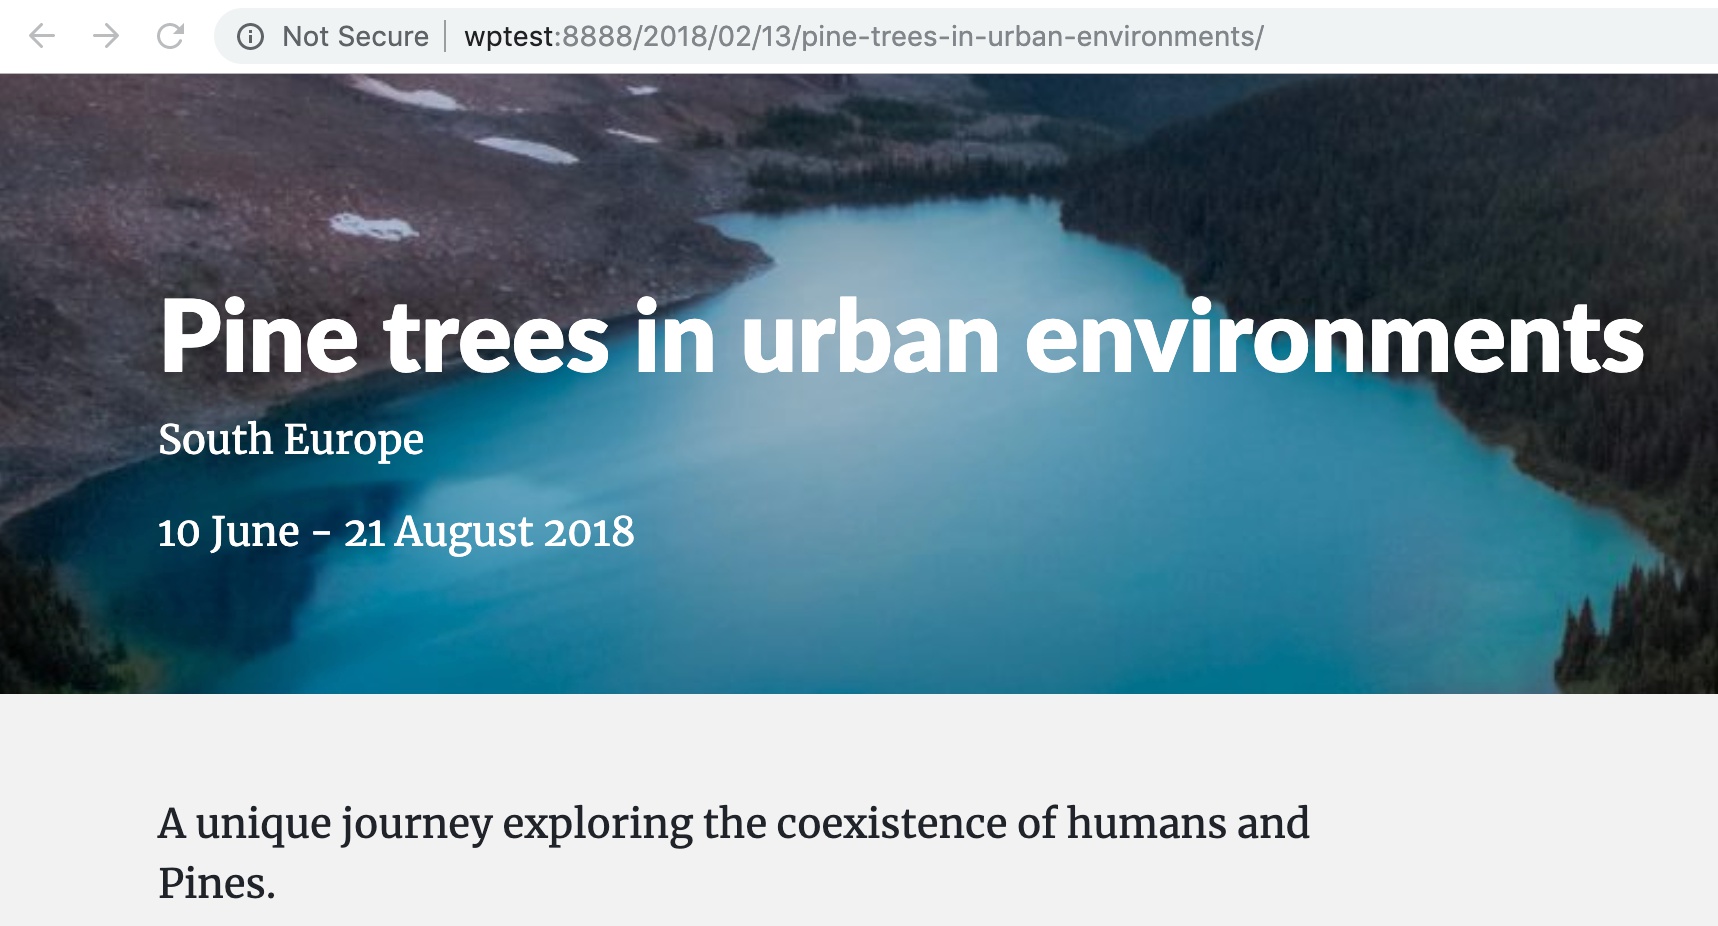
<p class="lead text-white"><?php echo get_field( 'time' ); ?></p>Project image
Displaying an image stored in the field “project_image” on the selected image element:
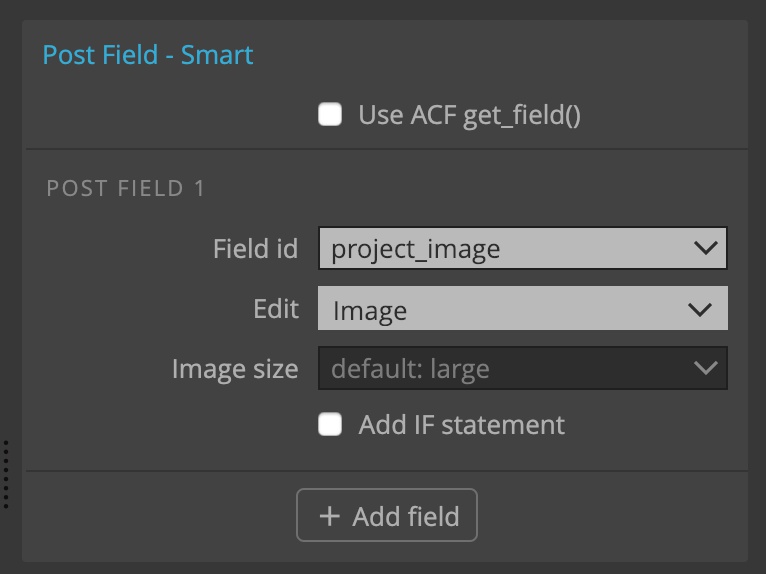
PHP code:
<img src="<?php echo PG_Image::getUrl( get_post_meta( get_the_ID(), 'project_image', true ), 'large' ) ?>">PG_Image::getUrl() is a helper function that returns the url of the requested image.
Using the “project_image” as a background of the header element:
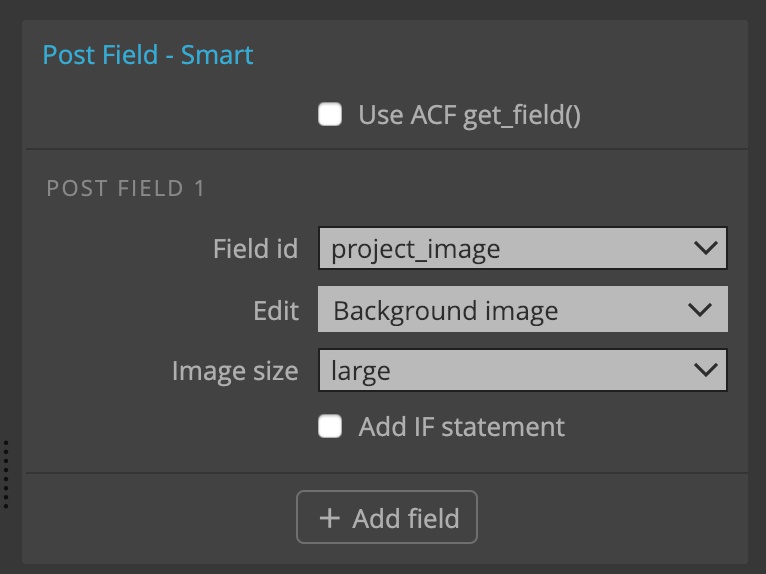
PHP code:
<header style="background-image:<?php echo 'url('<?php echo esc_url( get_template_directory_uri() ); ?>/.PG_Image::getUrl( get_post_meta( get_the_ID('), 'project_image', true ), 'large' ).')' ?>;">
...
</header>
To customize how this action works, click on the icon next to the action name to change it into regular WordPress actions.