Looking at the WordPress theme projects created with Pinegrow or Pinegrow Theme Converter and submitted for review to our technical support, we have discovered that the very useful Site content action/feature is almost never used.
The Site content action purpose is to set the main content of the page. Everything before that is the header, and Everything after that is the footer. This is a Pinegrow specific feature.
Learn with the Starter Theme 2
The illustrations in this tutorial are screenshots of the STARTER THEME 2, our free WordPress starter theme that you can use to learn how to create themes with Pinegrow and Pinegrow Theme Converter BUT that you can also use as a starting point for creating your custom WordPress theme.
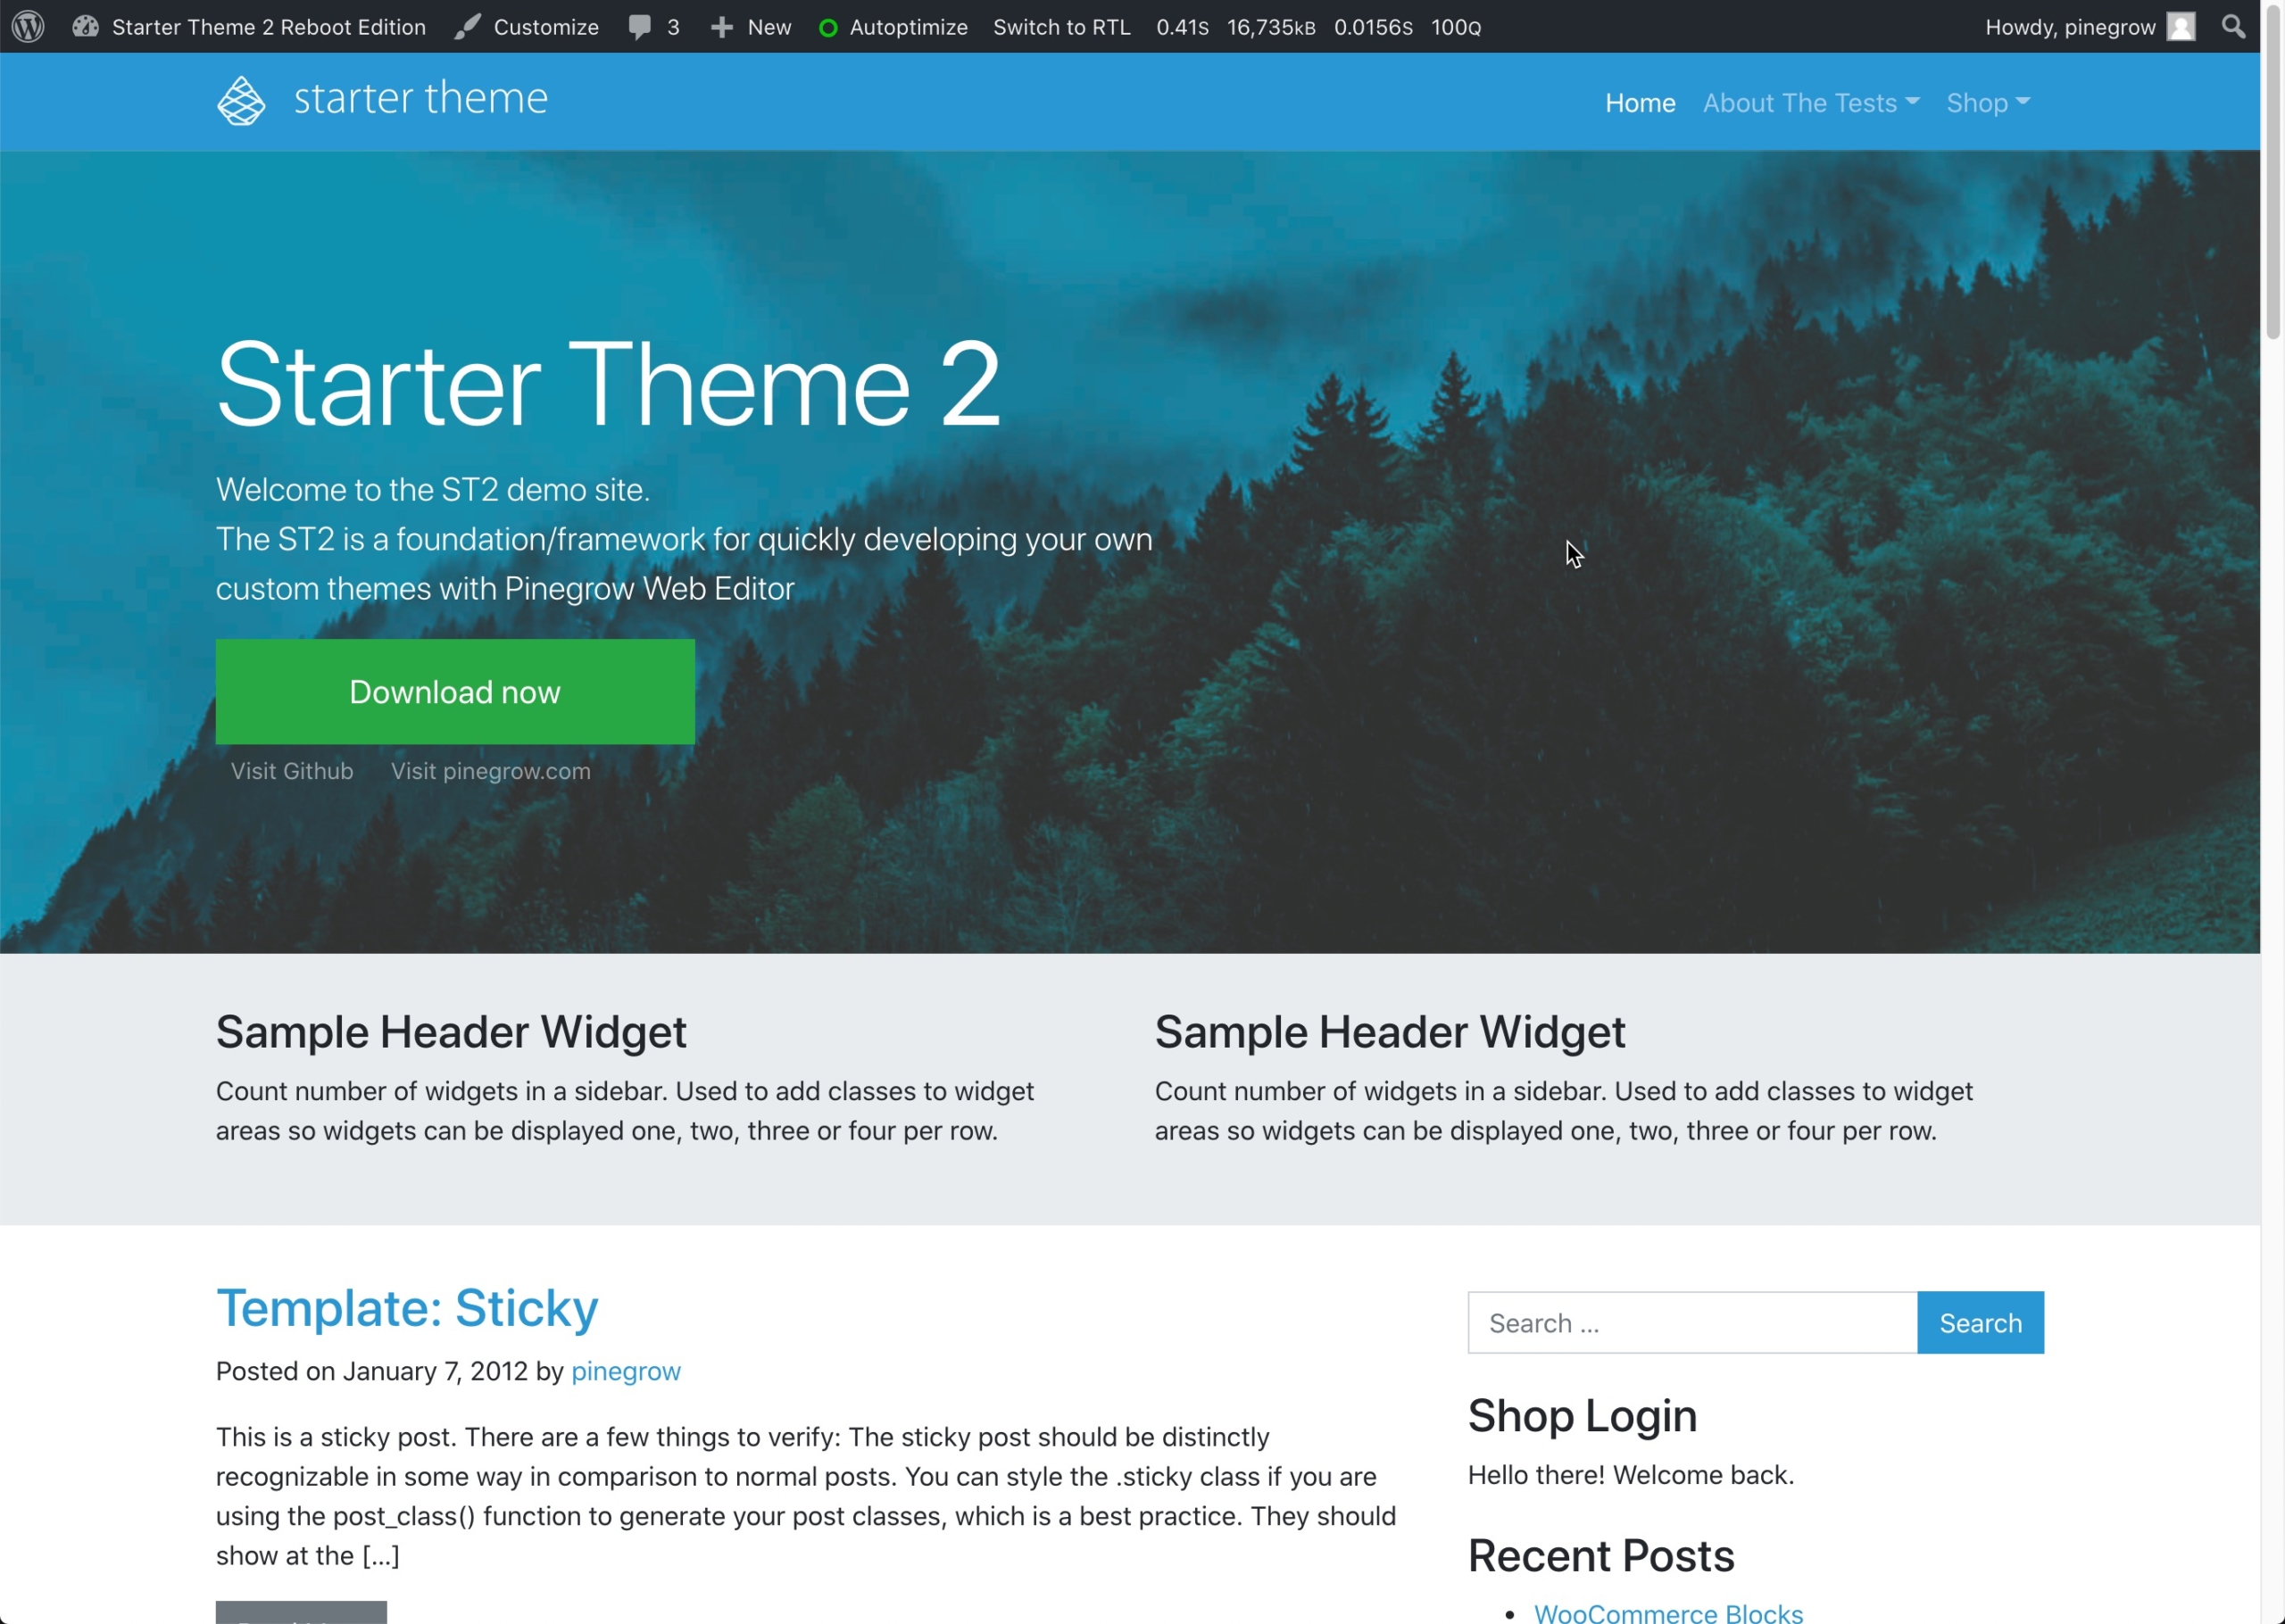
In this tutorial, we use the terms HTML document and WordPress template. The former refers to the raw (HTML) document used to design your WordPress theme (which you edit in Pinegrow by adding specific WordPress smart actions etc.), the latter refers to the theme file (PHP) produced during the theme export process and which is present in the theme folder of your WordPress installation.
Template fundamentals
Ideally, when you design a WordPress theme with Pinegrow, except in rare cases, each HTML document intended to become a WordPress template should be designed and architected as follows:
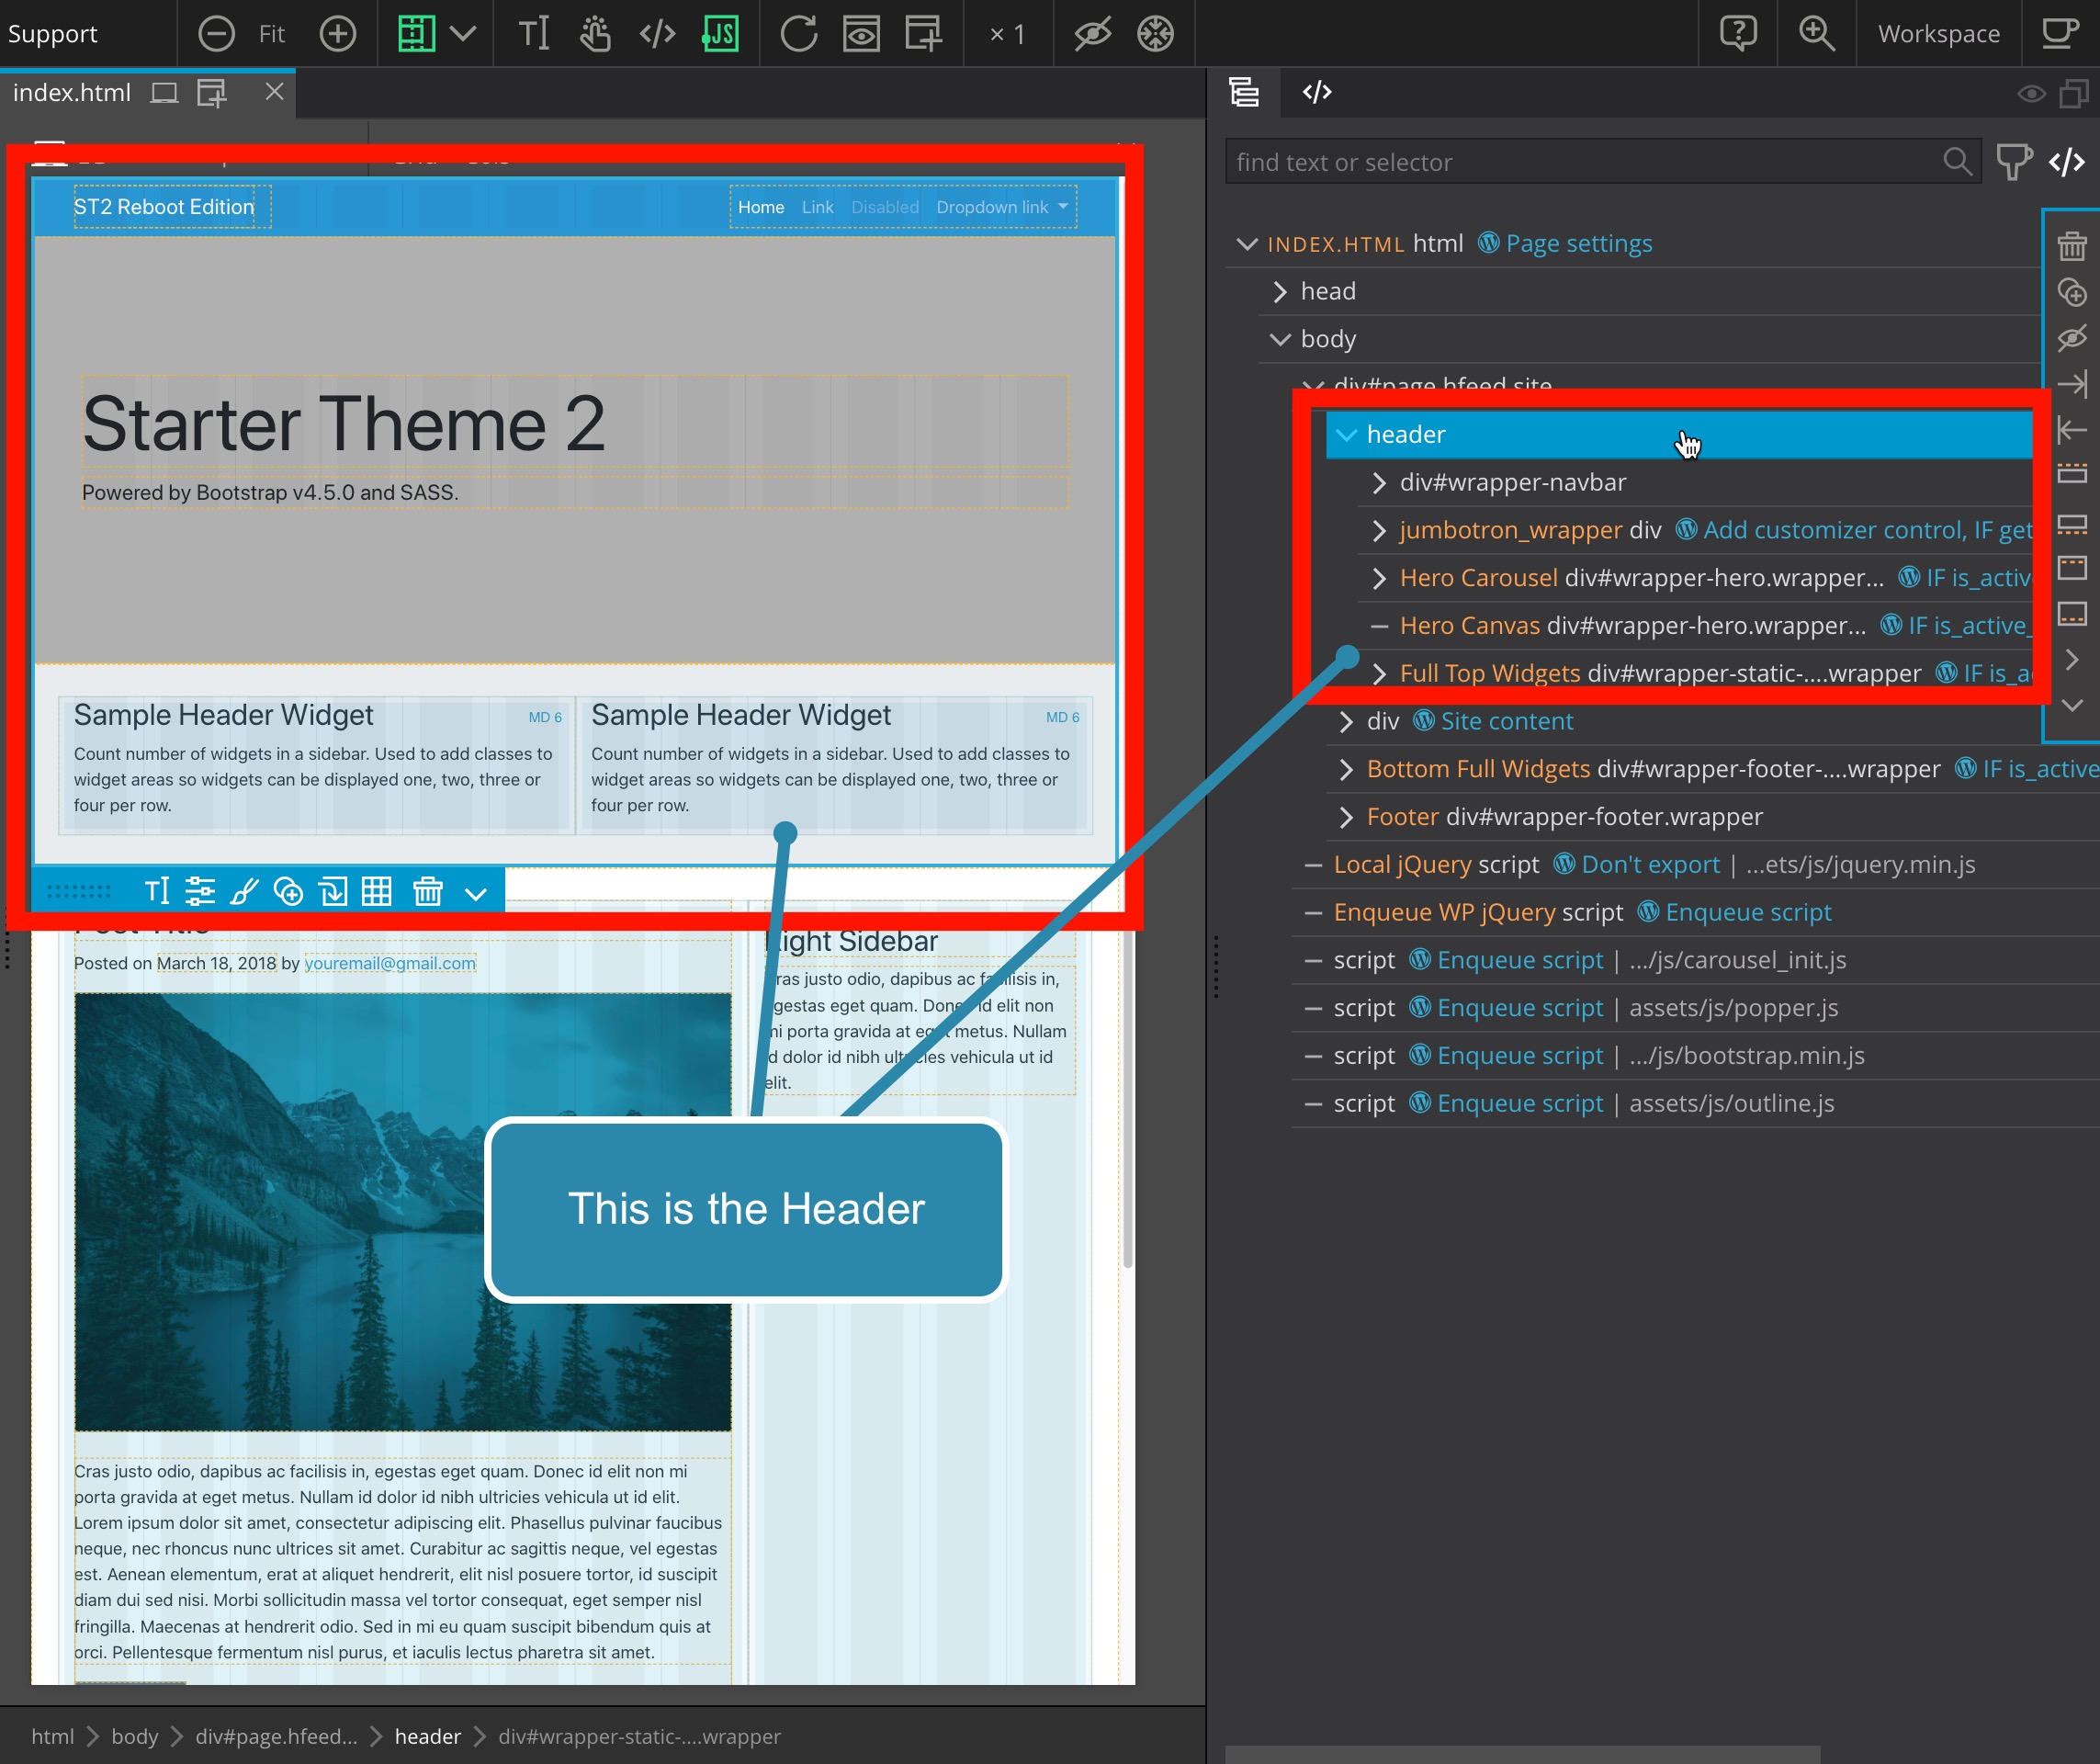
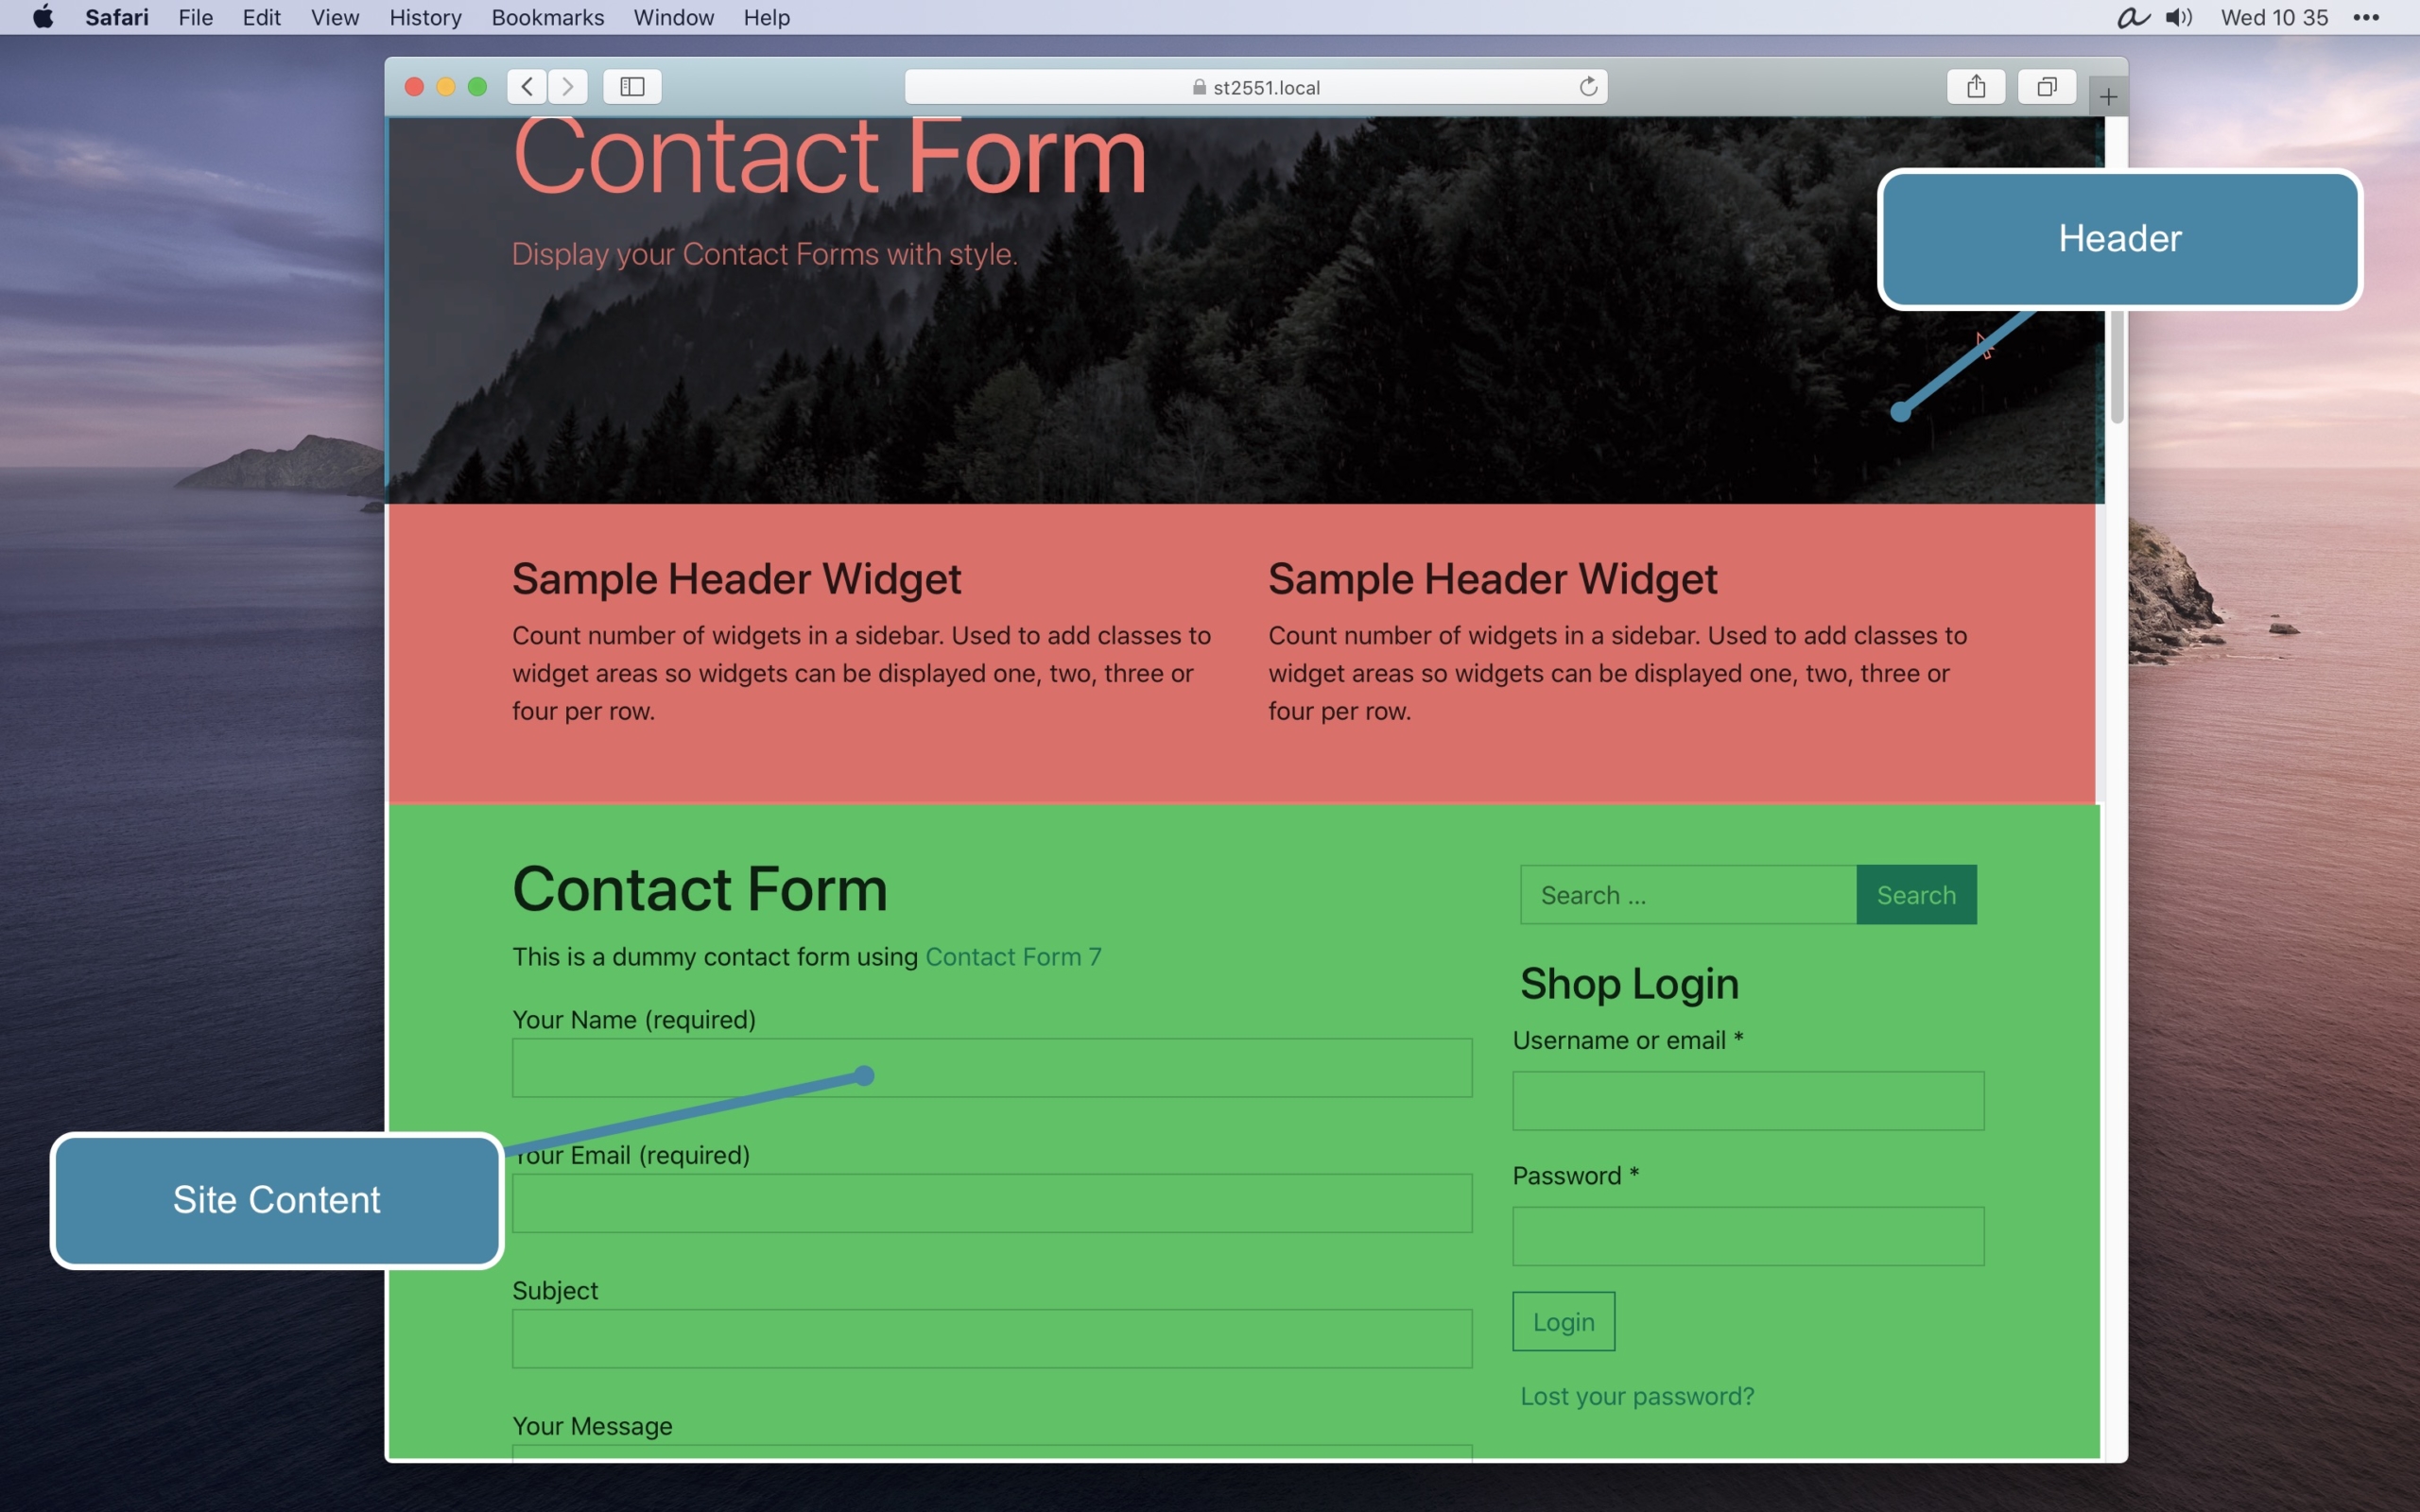
A HEADER part
As its name indicates, this is the part that will contain the elements of the header. Logo, navigation bar etc …
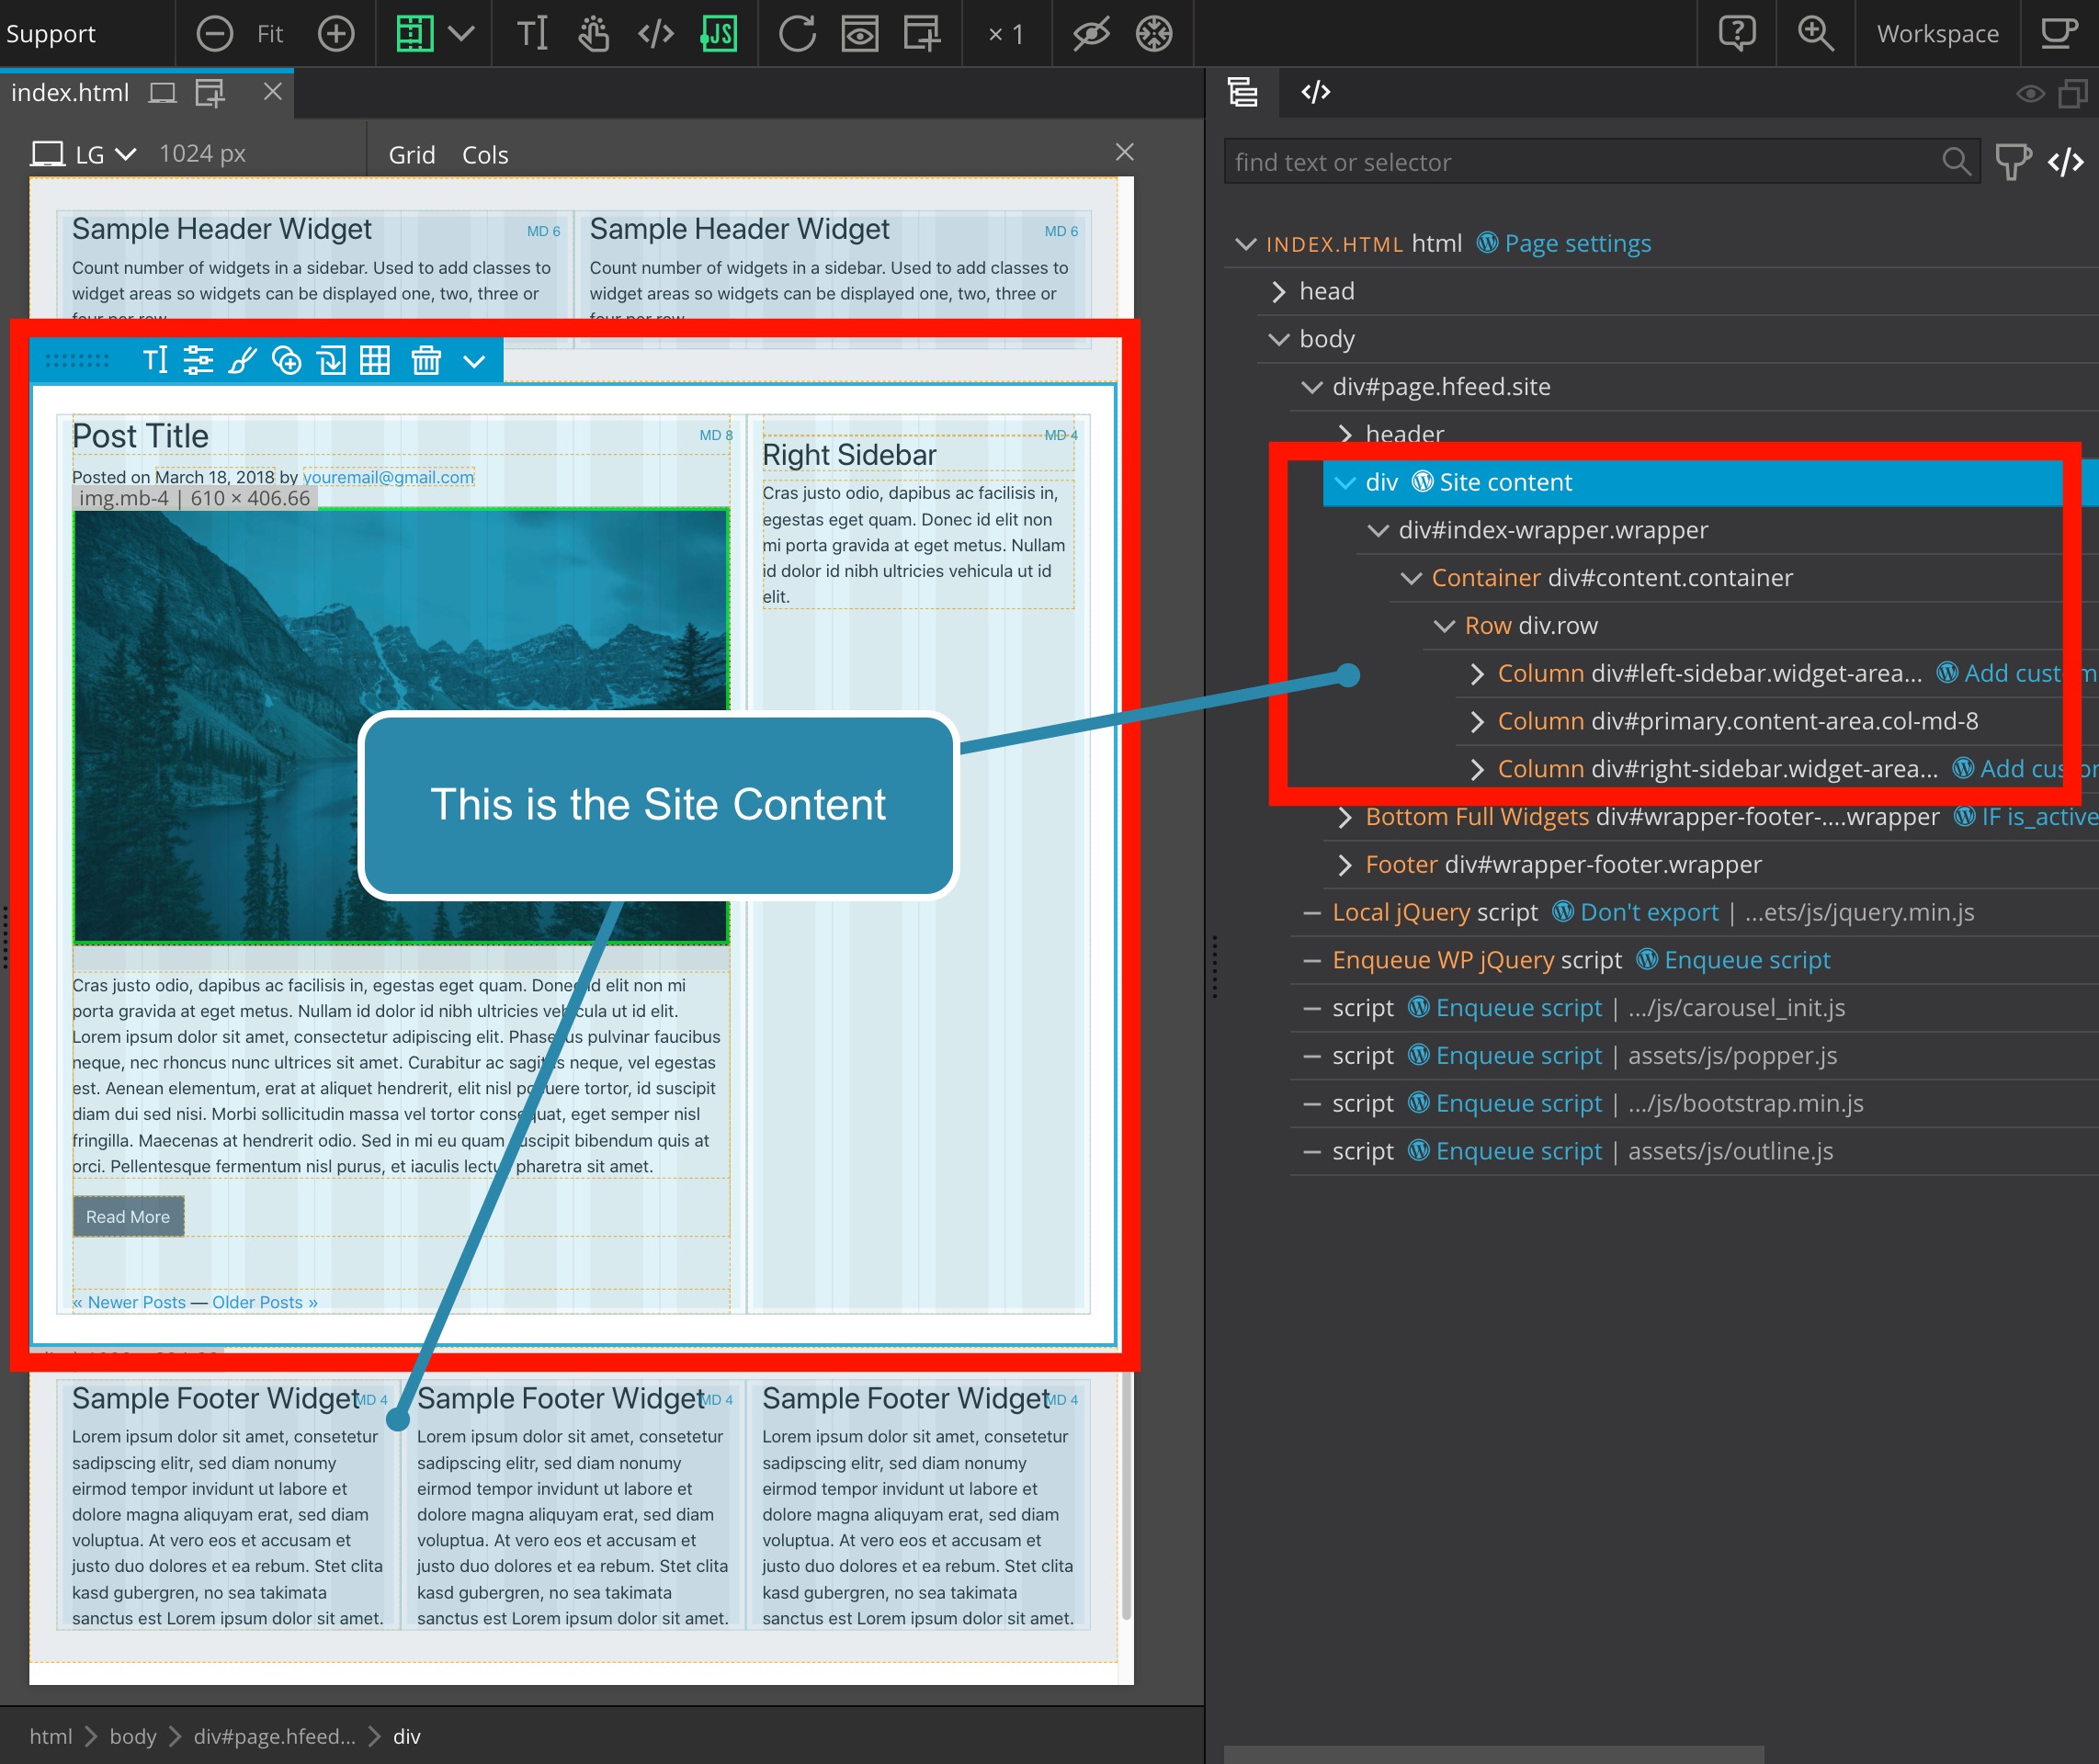
A SITE CONTENT part
This is an essential part that will host the main content of the page. The editorial content of your service, the content of your articles, widgets, etc…
The name Site content is the name we have chosen to use in Pinegrow to define this feature. This name does not exist in the WordPress coding reference guidelines.
A FOOTER part
As the name indicates, this will be the part that contains the footer elements such as legal notices, important links, etc.
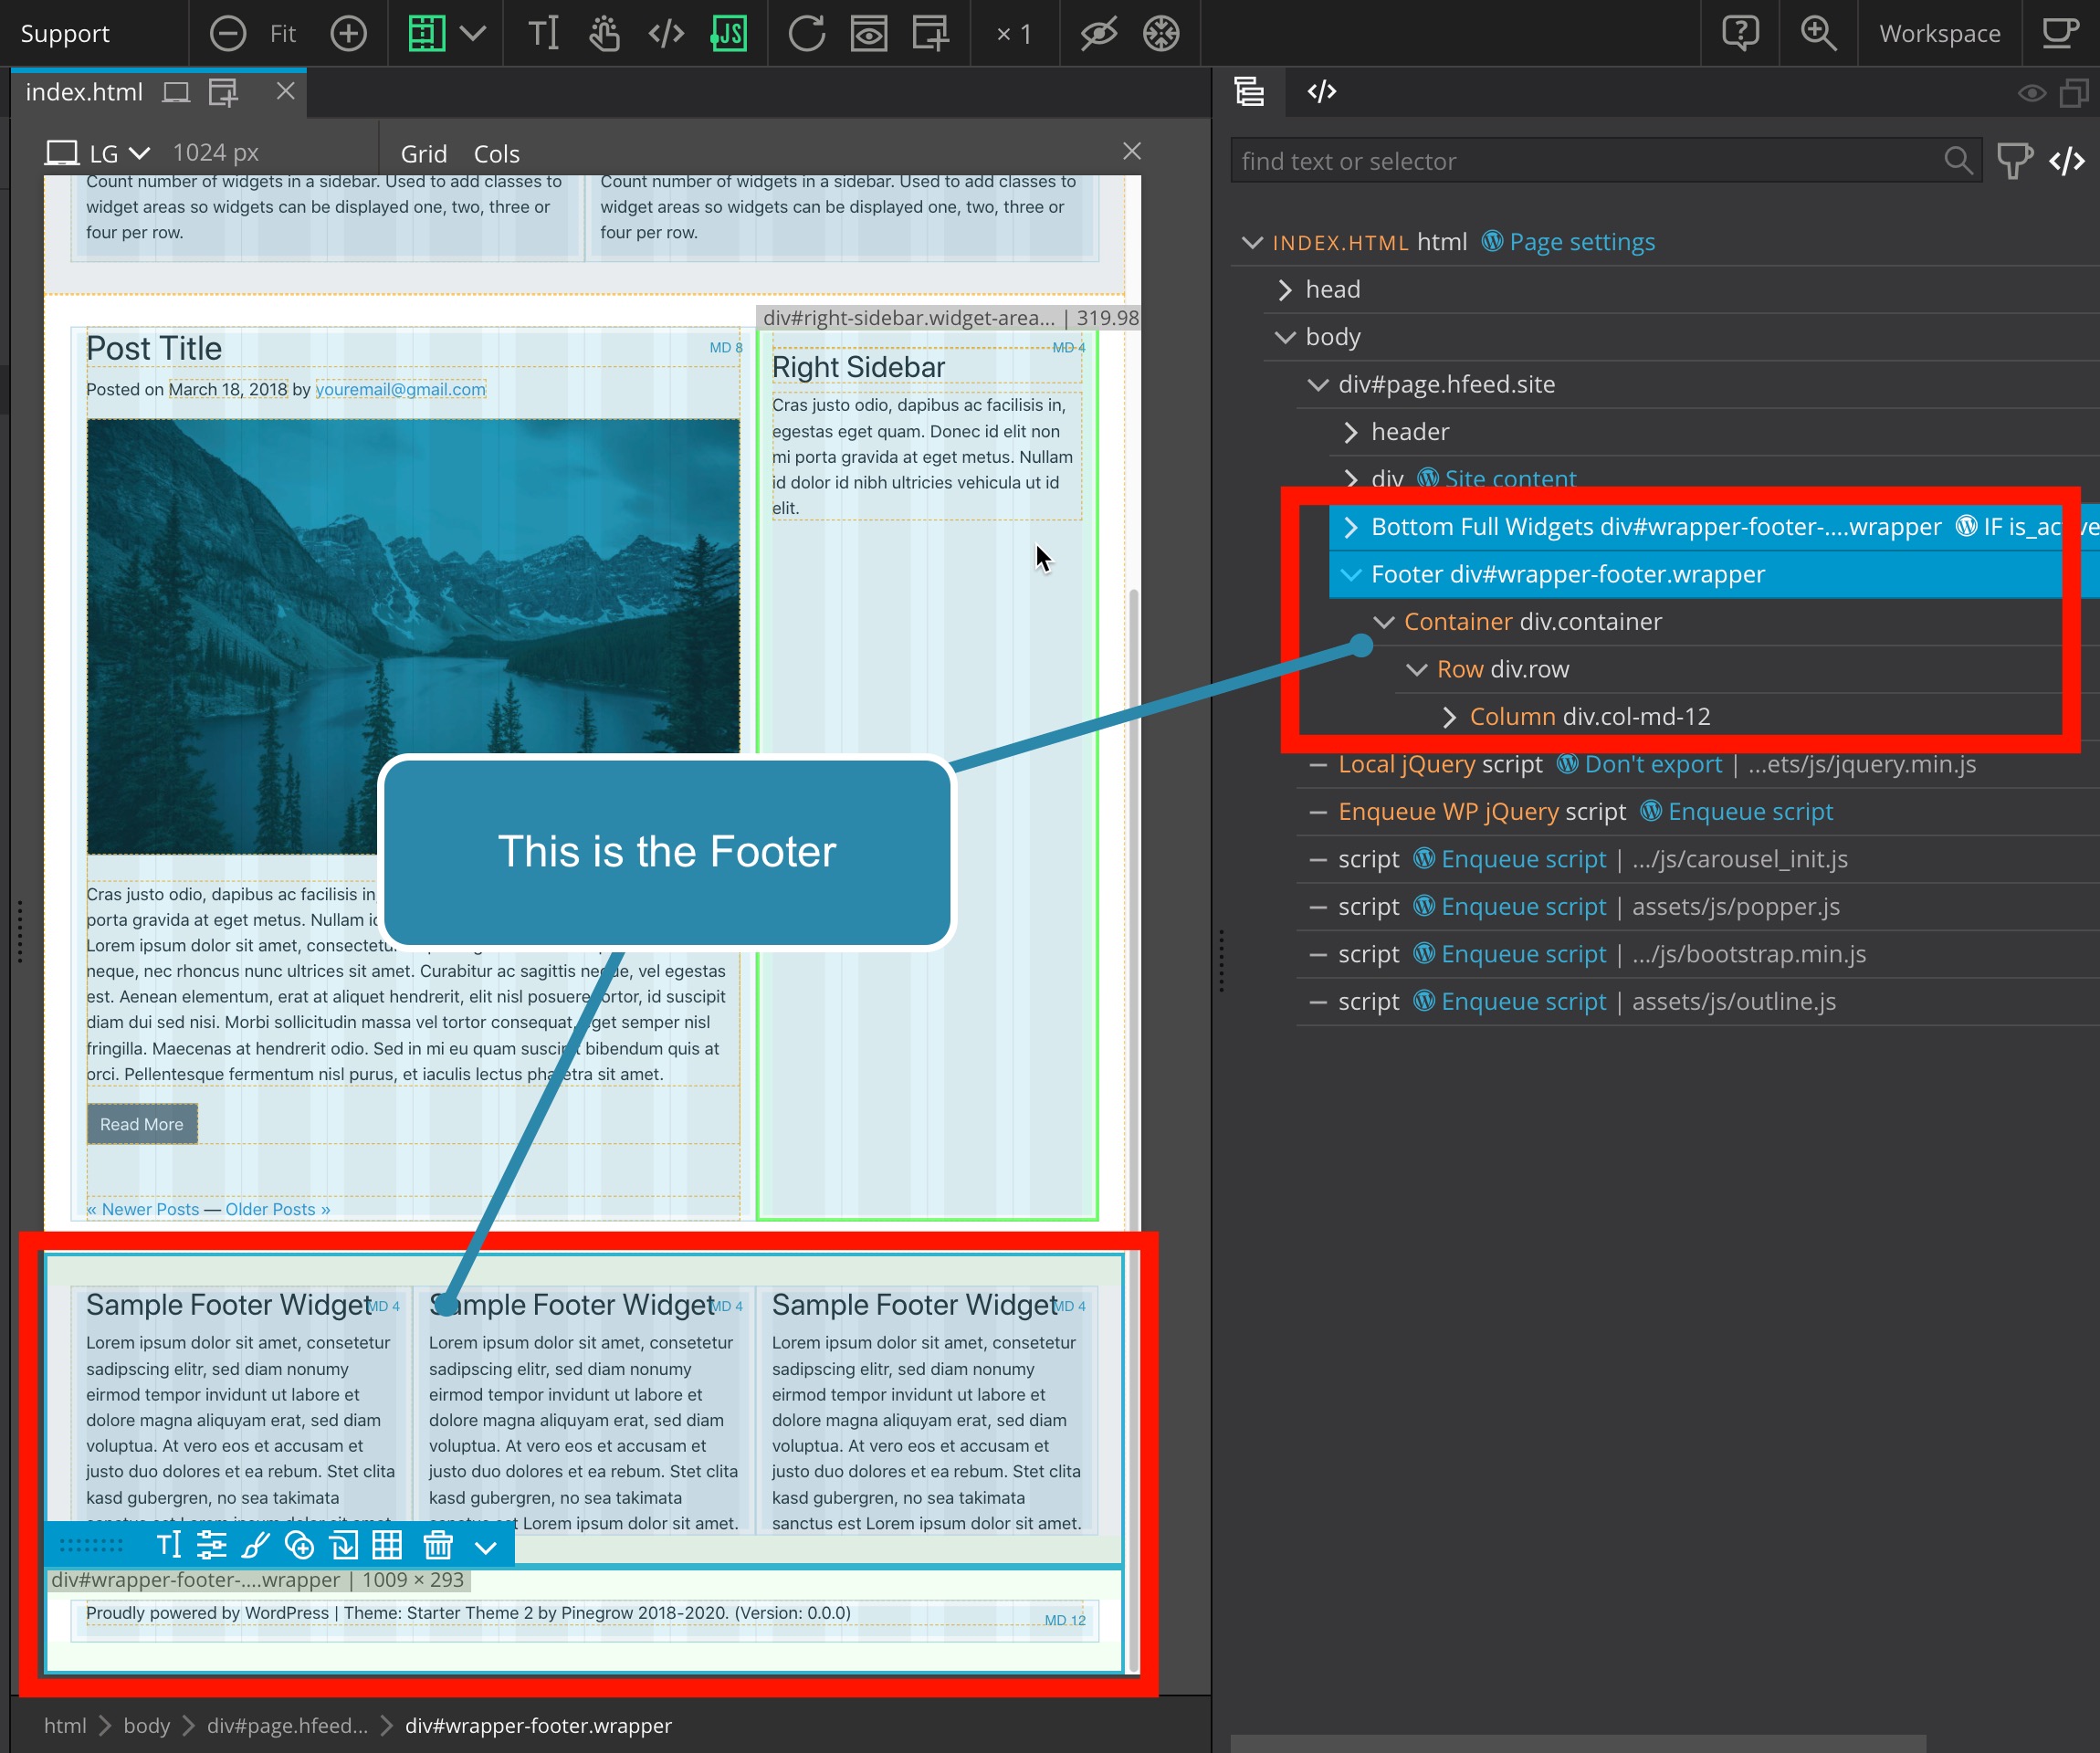
By design, WordPress offers the opportunity to optimize its templates construction by separating the principal elements and loading them dynamically as needed.
It includes headers, footers, and templates parts, all elements that you can define once and then reuse in multiple templates without recreating specific code.
Optimization, time-saving, performance are the main motivations of this process.
In this document we will mainly focus on the Site content action available in Pinegrow Web Editor and Pinegrow Theme Converter.
Defining the Site content of your template
Remember, the Site content is – whatever the template – the essential part that will host the main content of the page.
When you convert a HTML document into a WordPress template with Pinegrow, if you have correctly identified your document’s structure, if you have assigned actions to your elements (the titles, the WordPress loop, some custom field and so on) all you have to do is manually select the main container element and assign the Site content action.
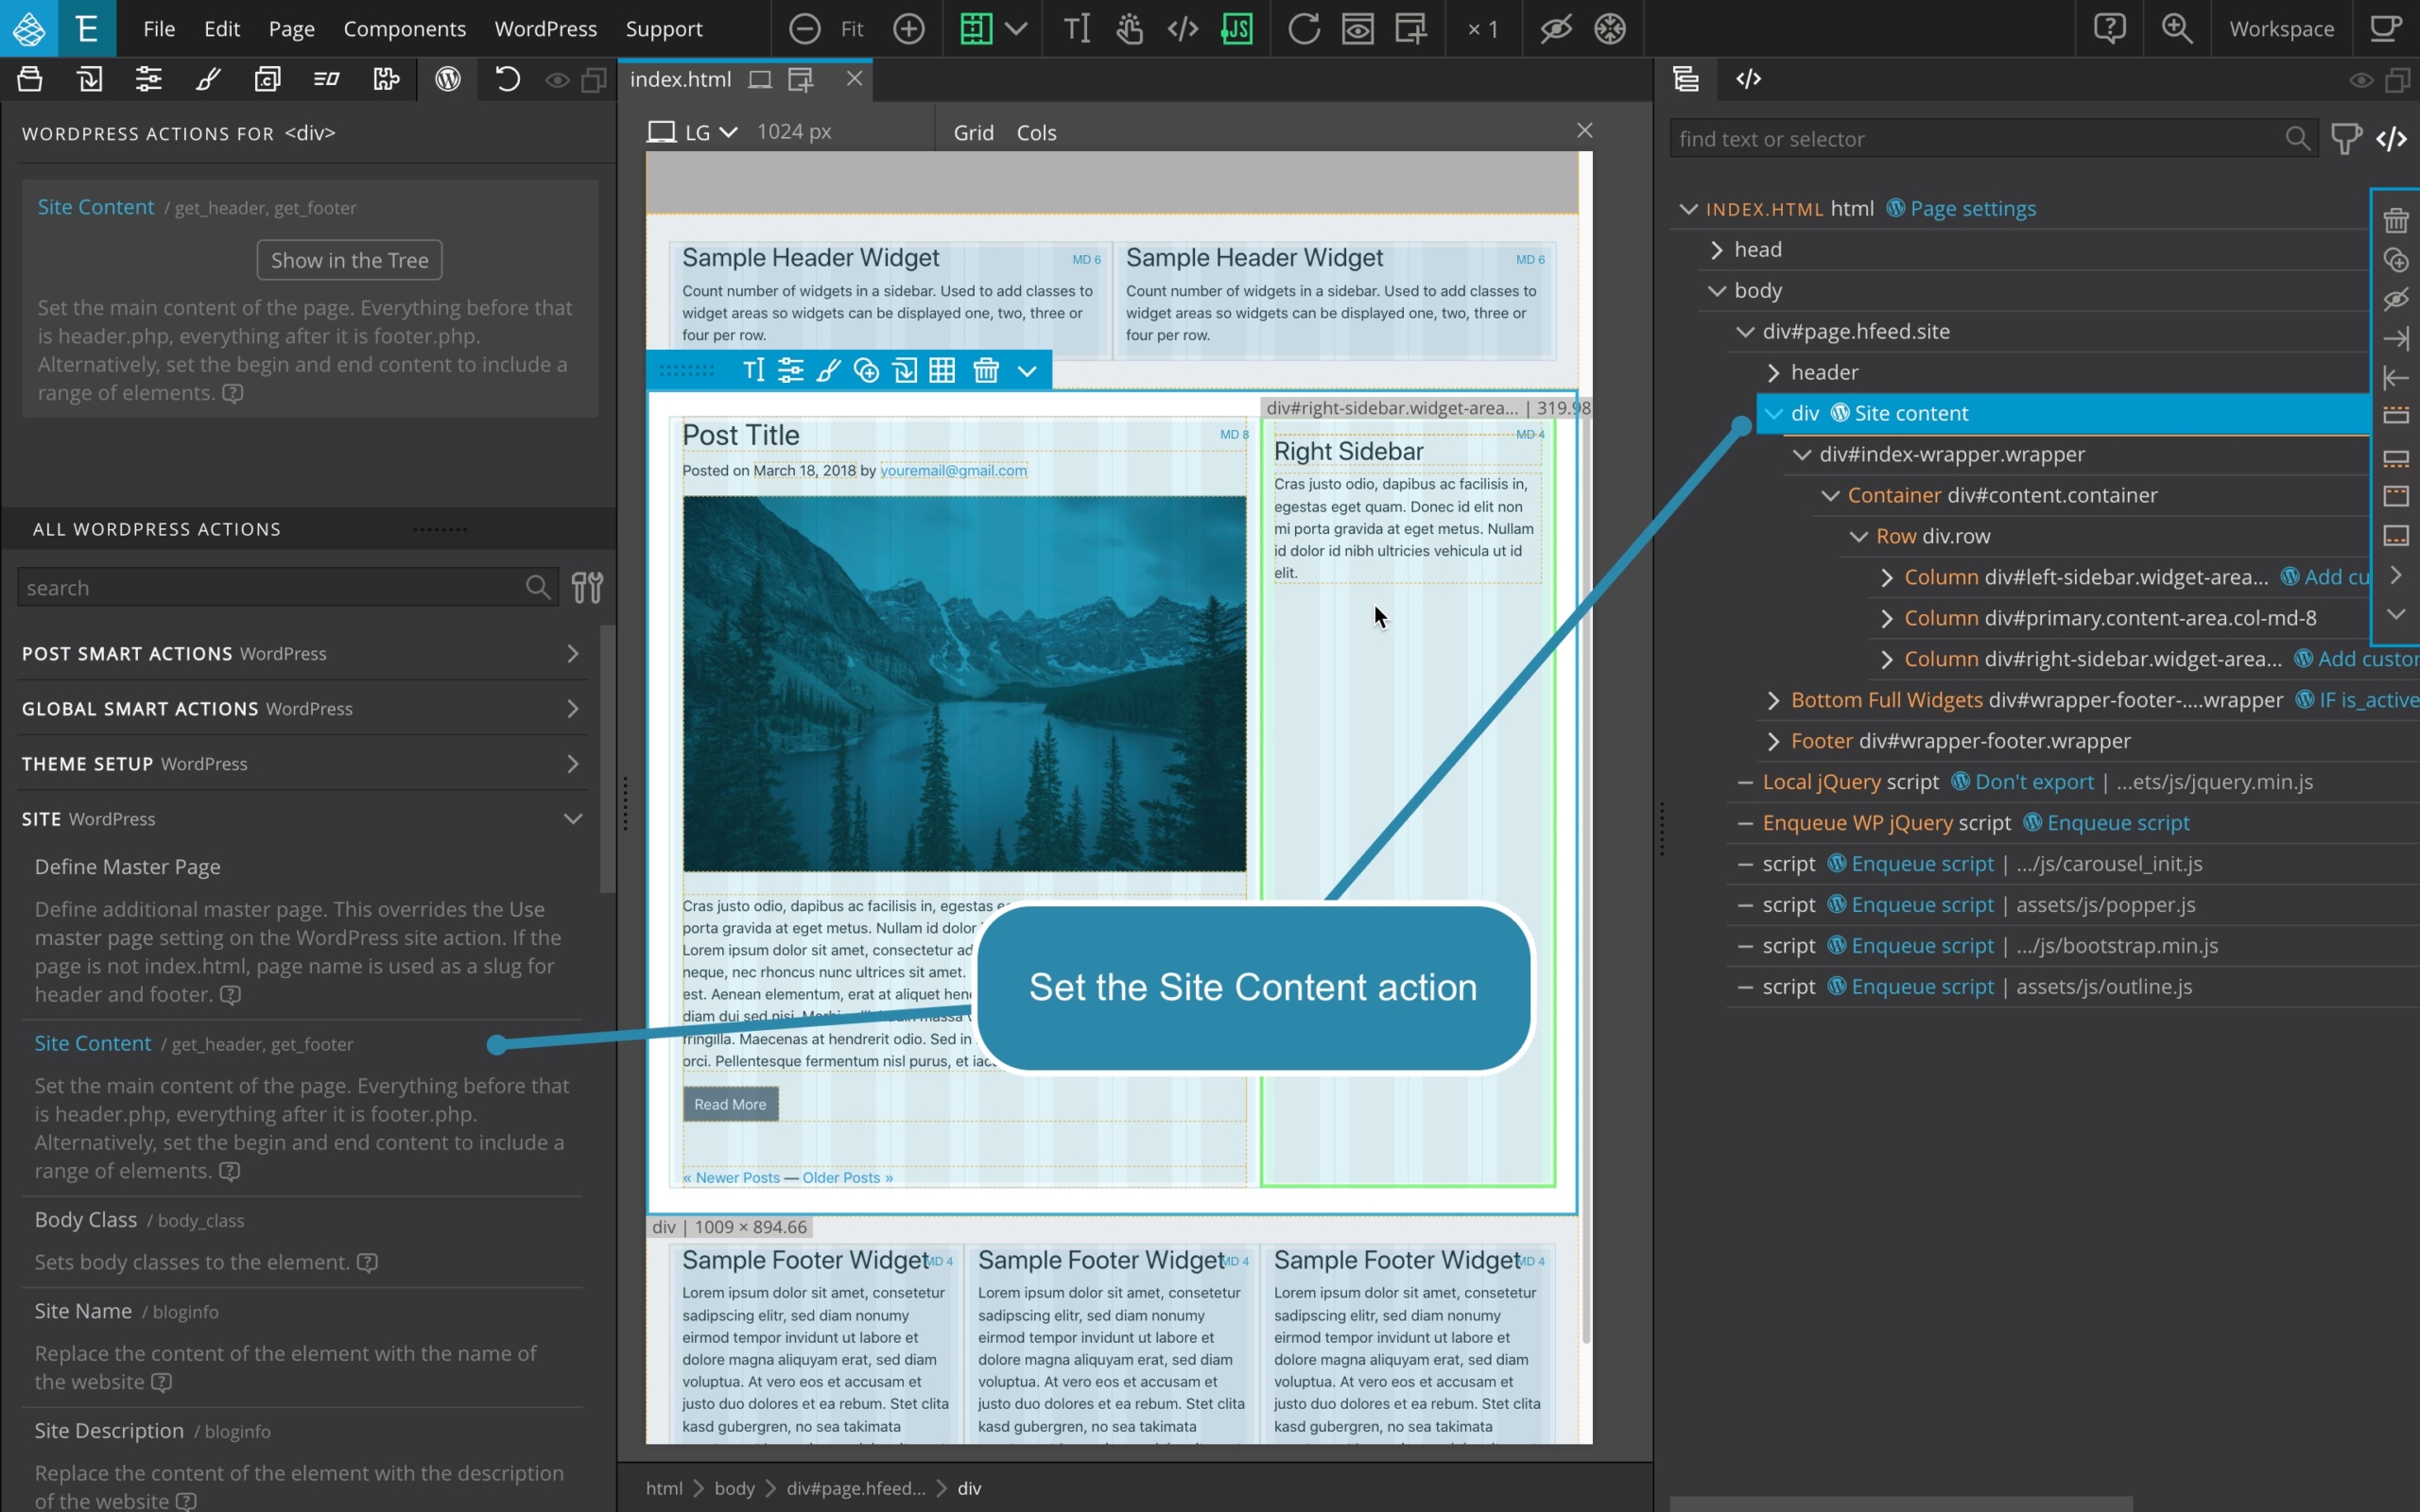
Remember, Everything before the Site content will be the header, and Everything after will be the footer.
So, once exported, the WordPress template will be composed of 3 files.
For example, in the index template case, you will have header.php, footer.php, and the export of the Site content will be included within index.php.

If you don’t assign the Site content action to an element of your HTML document, Pinegrow will automatically do it, BUT it won’t be able to fine-tune where the header and footer sections begin and end, it will do “at best.”
Defining and using Master pages
Every theme needs the main file that will be exported as index.php, a default WordPress template. That’s usually the index.html document.
Automatically, the selected file will become the Master Page and all other templates will use its header and footer unless you define more Master Pages.
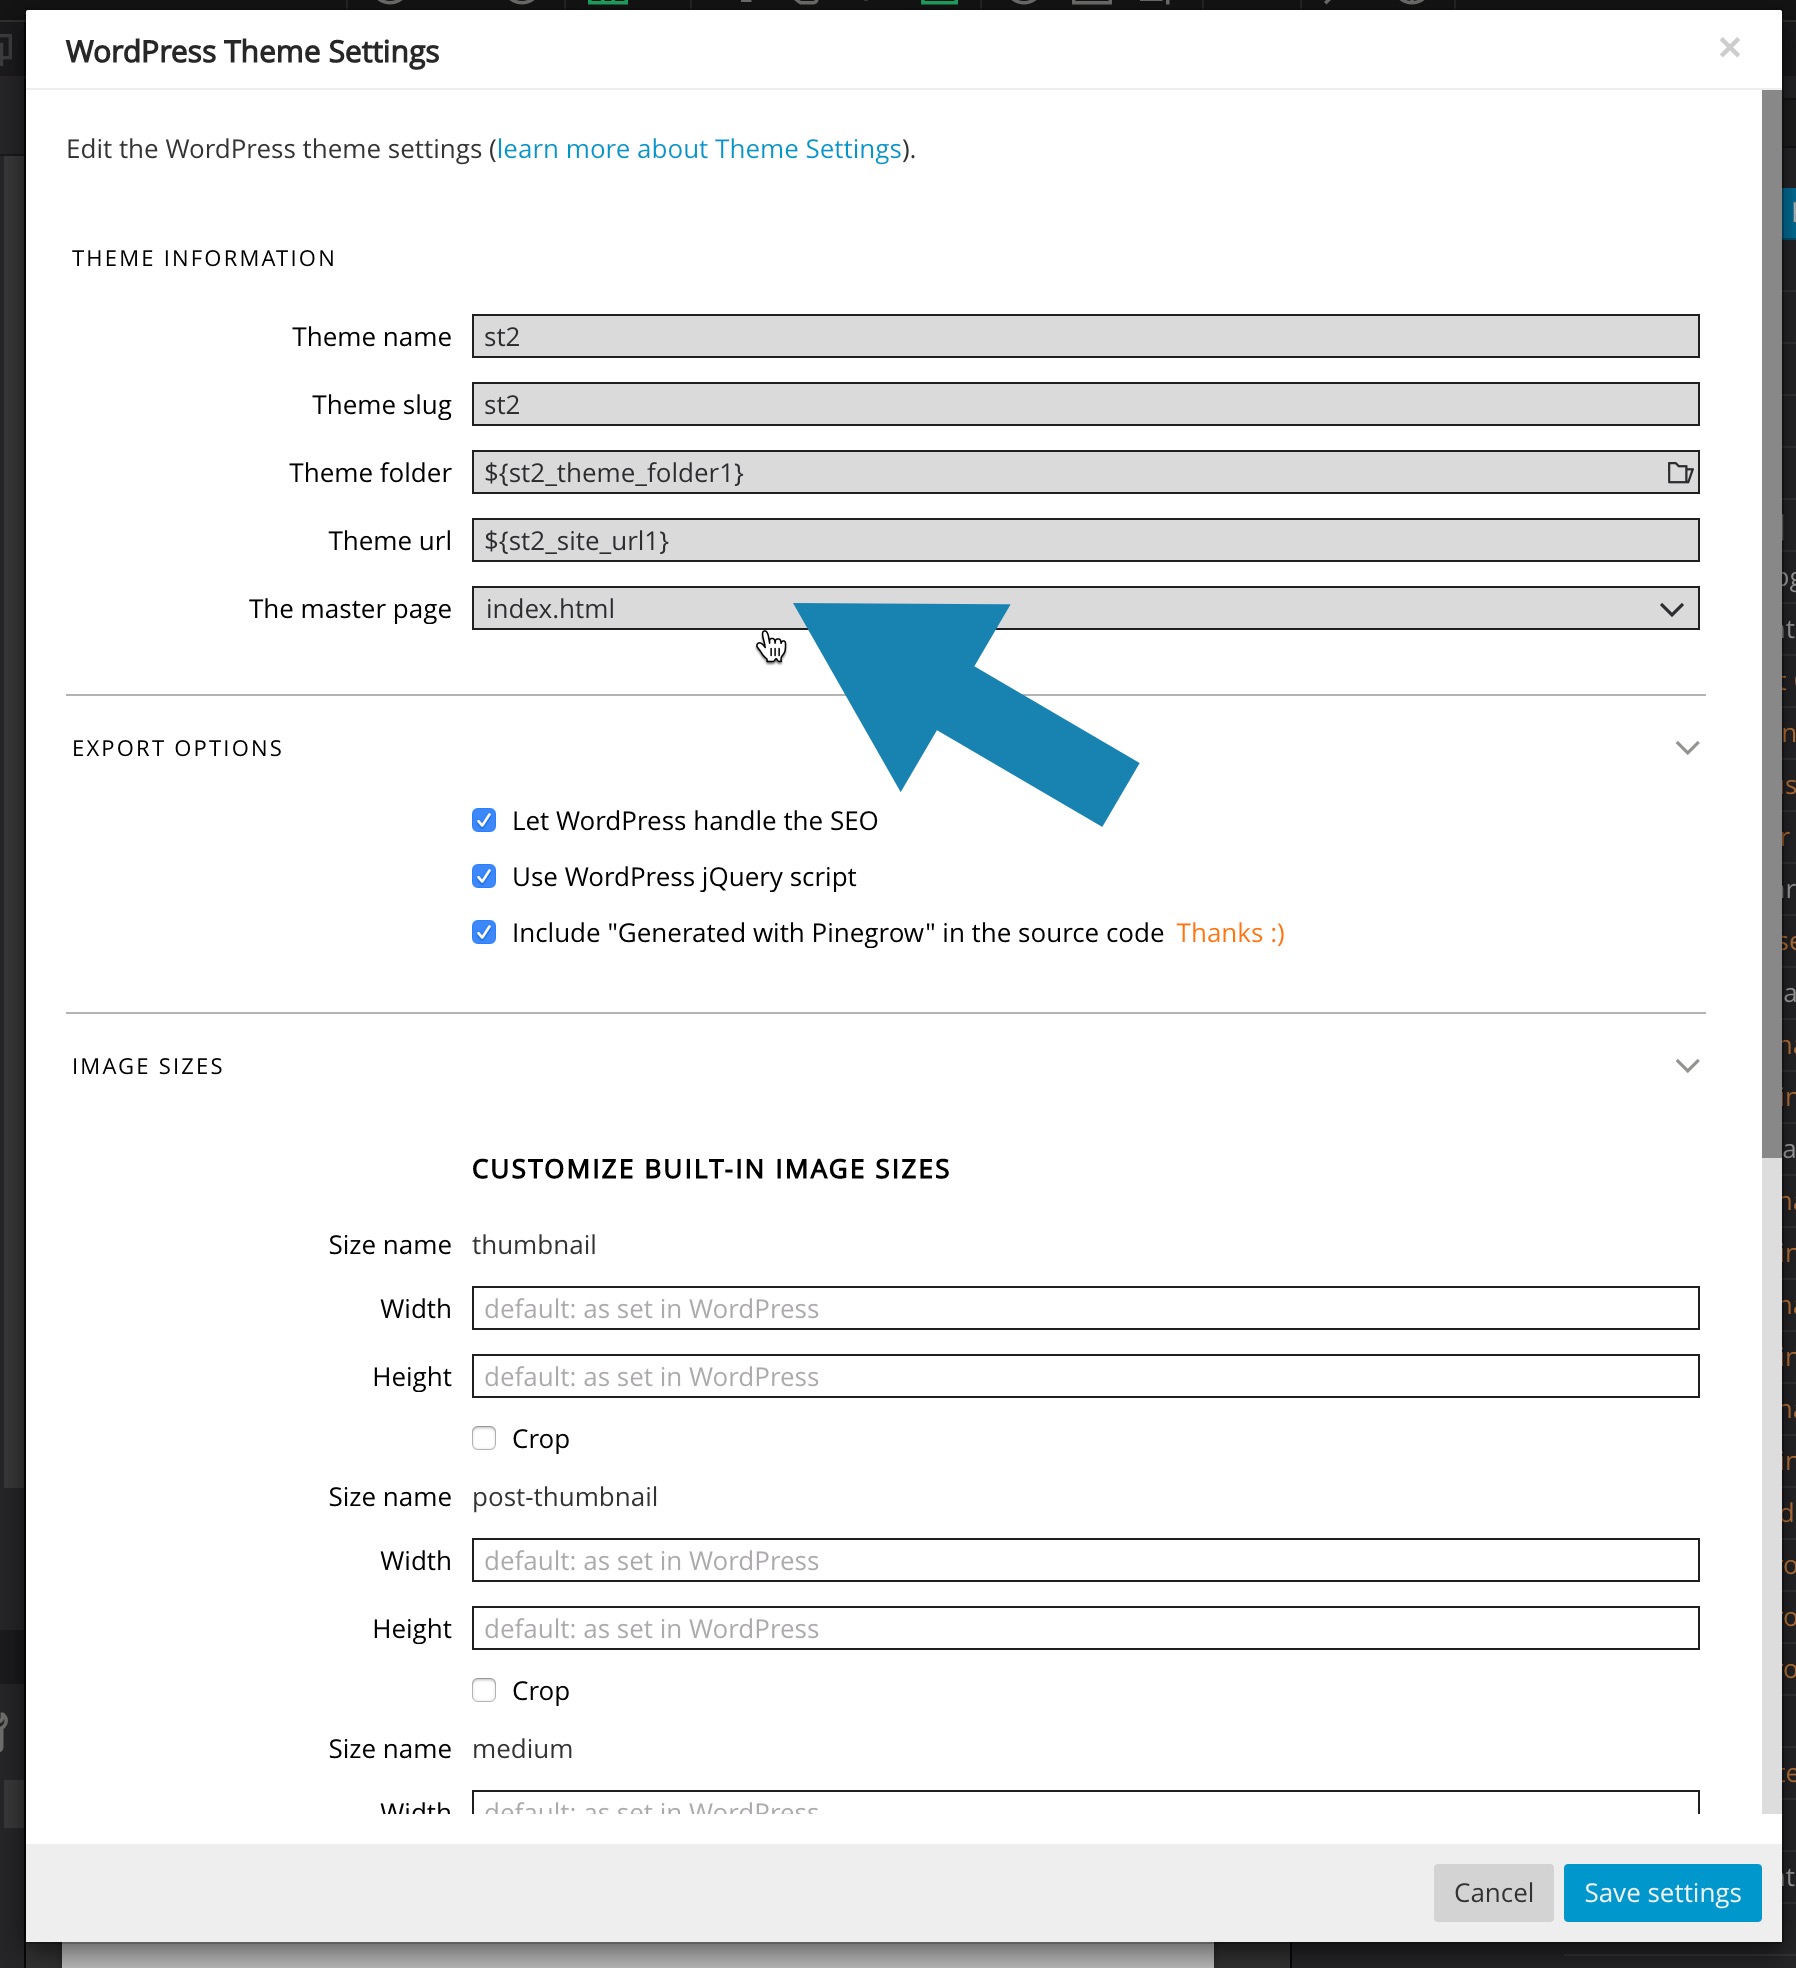
Any additional Master Page can be added by using the Define Master Page action.
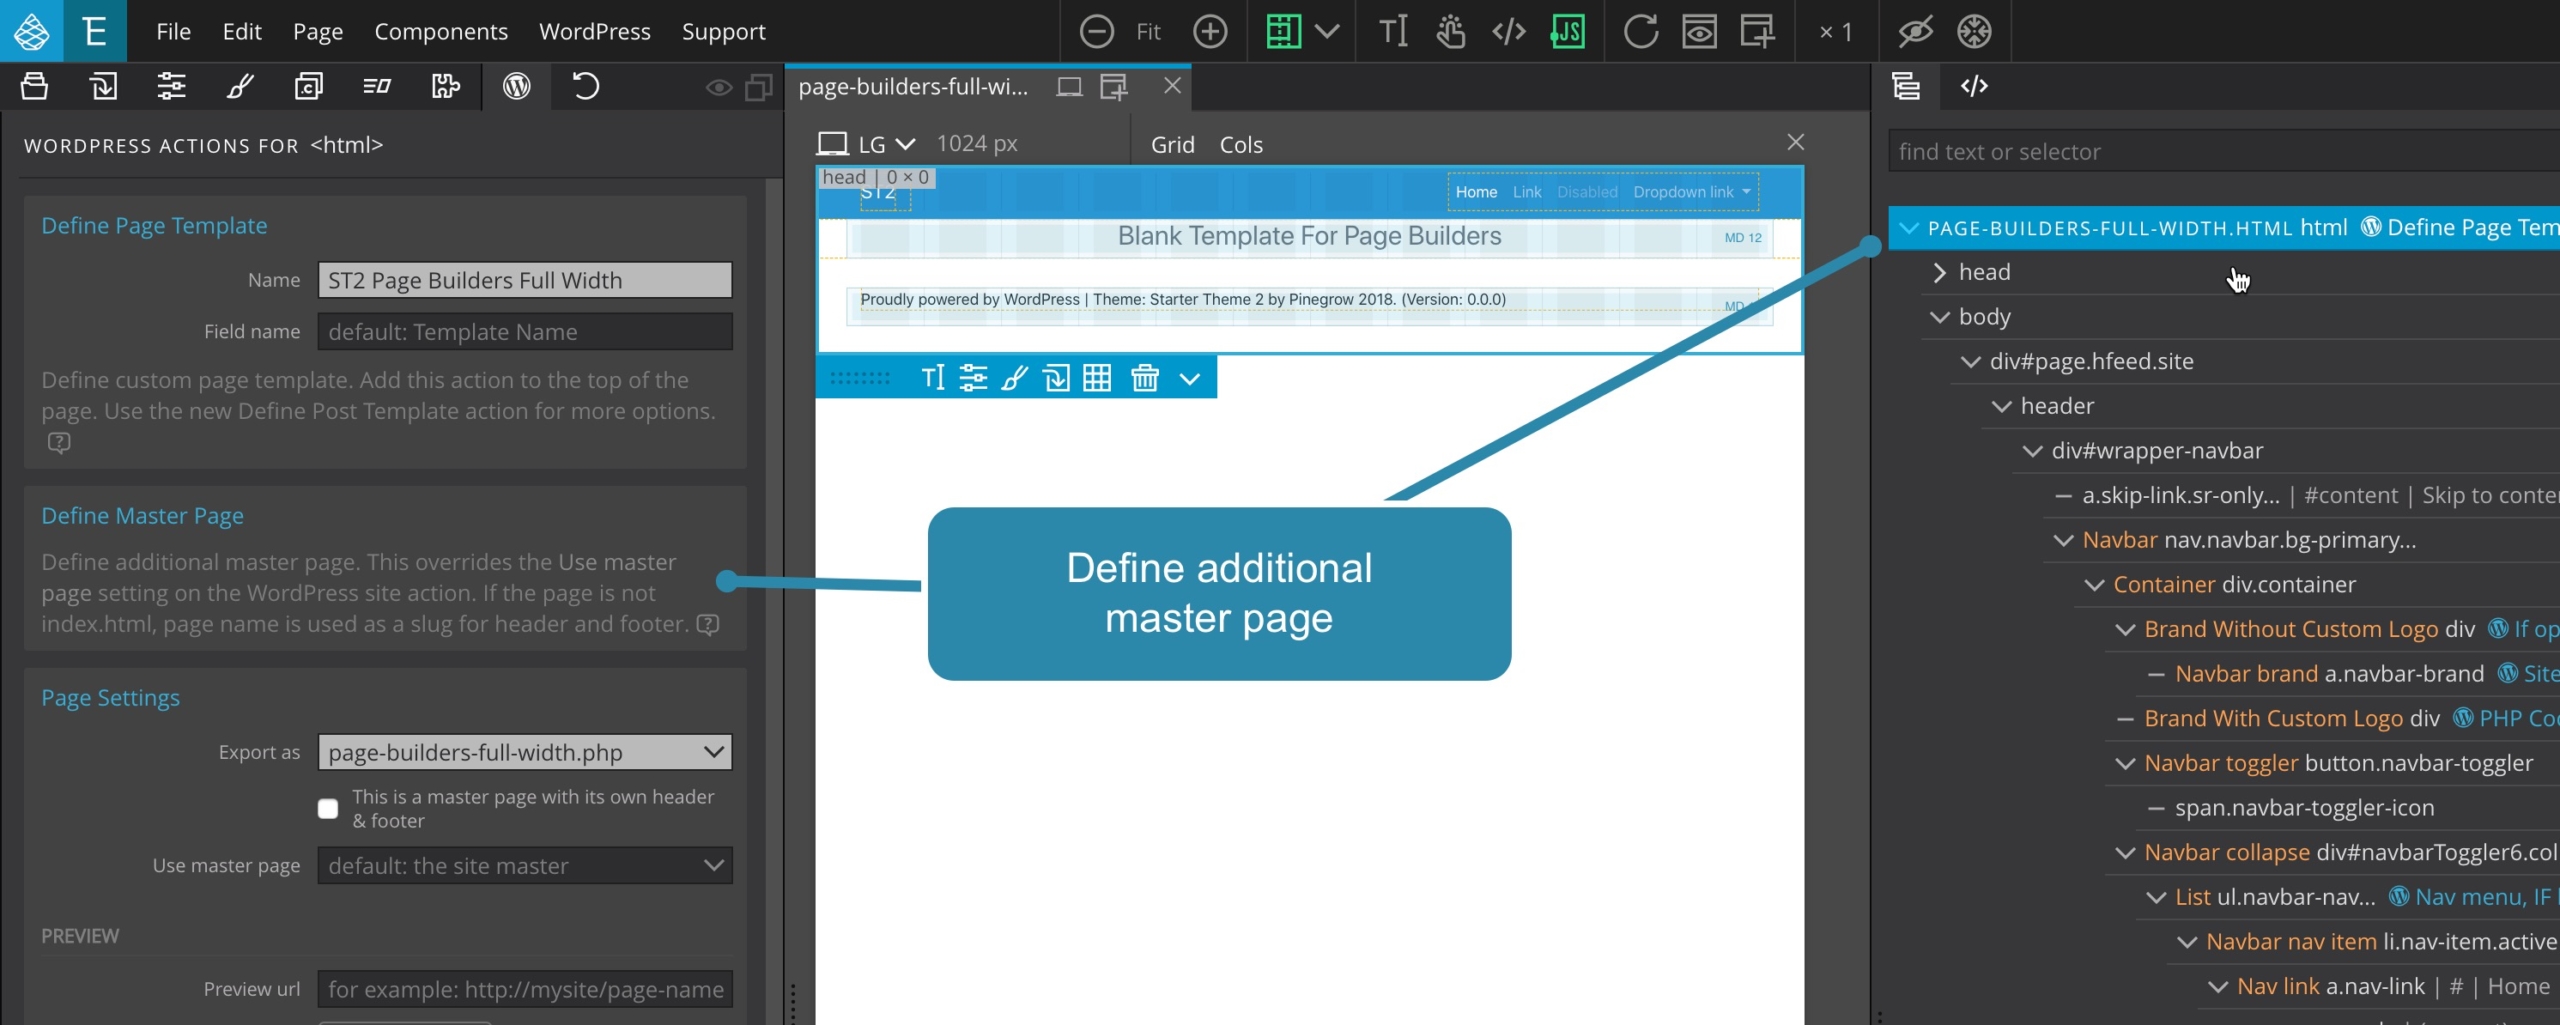
During the export process, Pinegrow will automatically associate the header and footer of your Master Page with the WordPress templates using it.
Let’s say that you edit the 404.html HTML document in order to create the WordPress template that will be exported as 404.php.
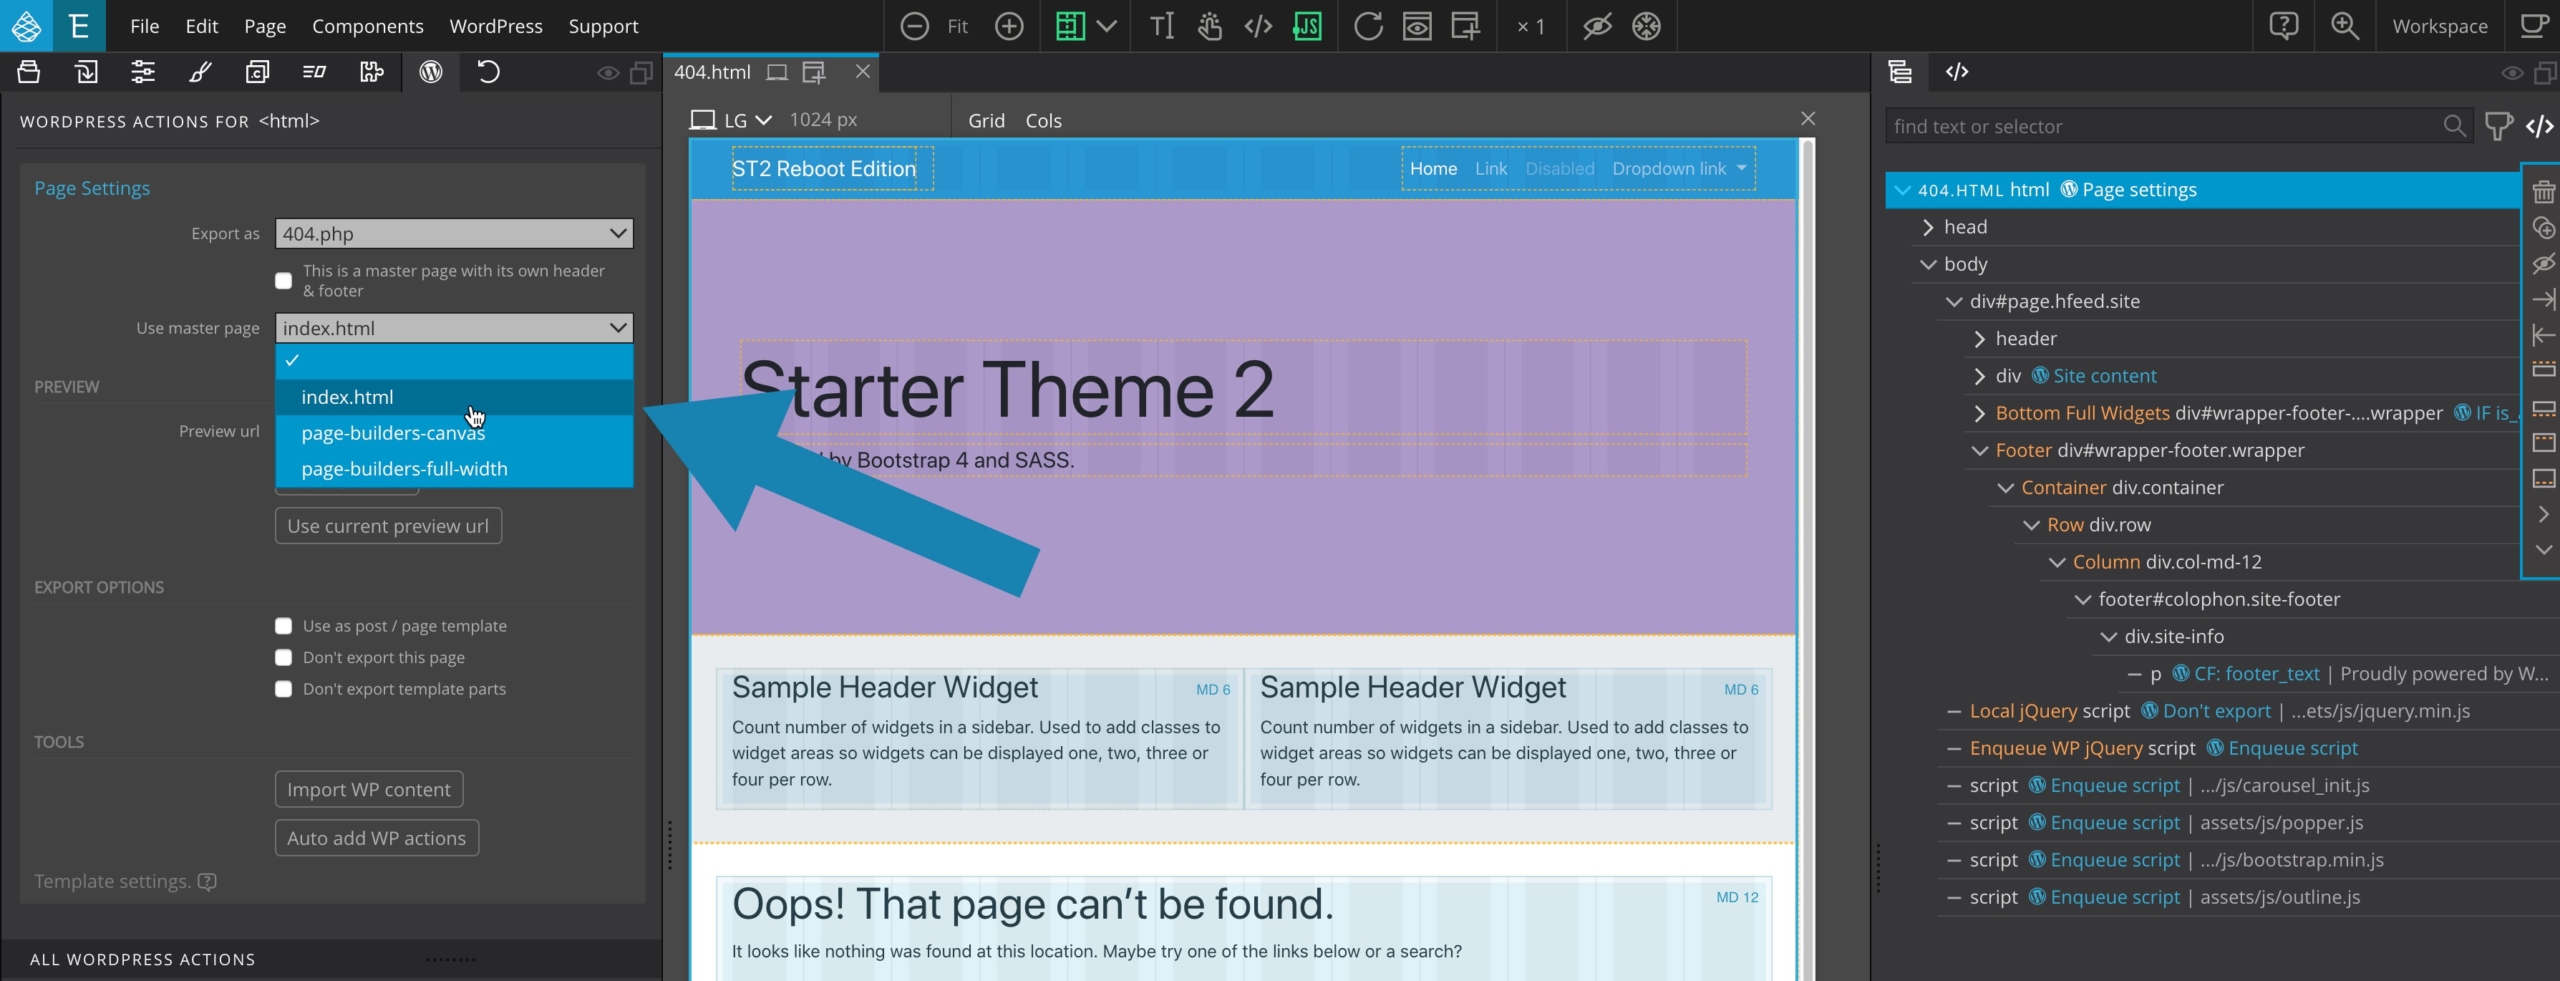
If you configure your document to use index.php as the Master Page (which is the default), then 404.php will use the header.php and footer.php files. That is, it will display the same header and footer as the index page.
In the Starter Theme 2, we have created an additional Master Page named page-builders-full-width.php, with a custom header and footer.
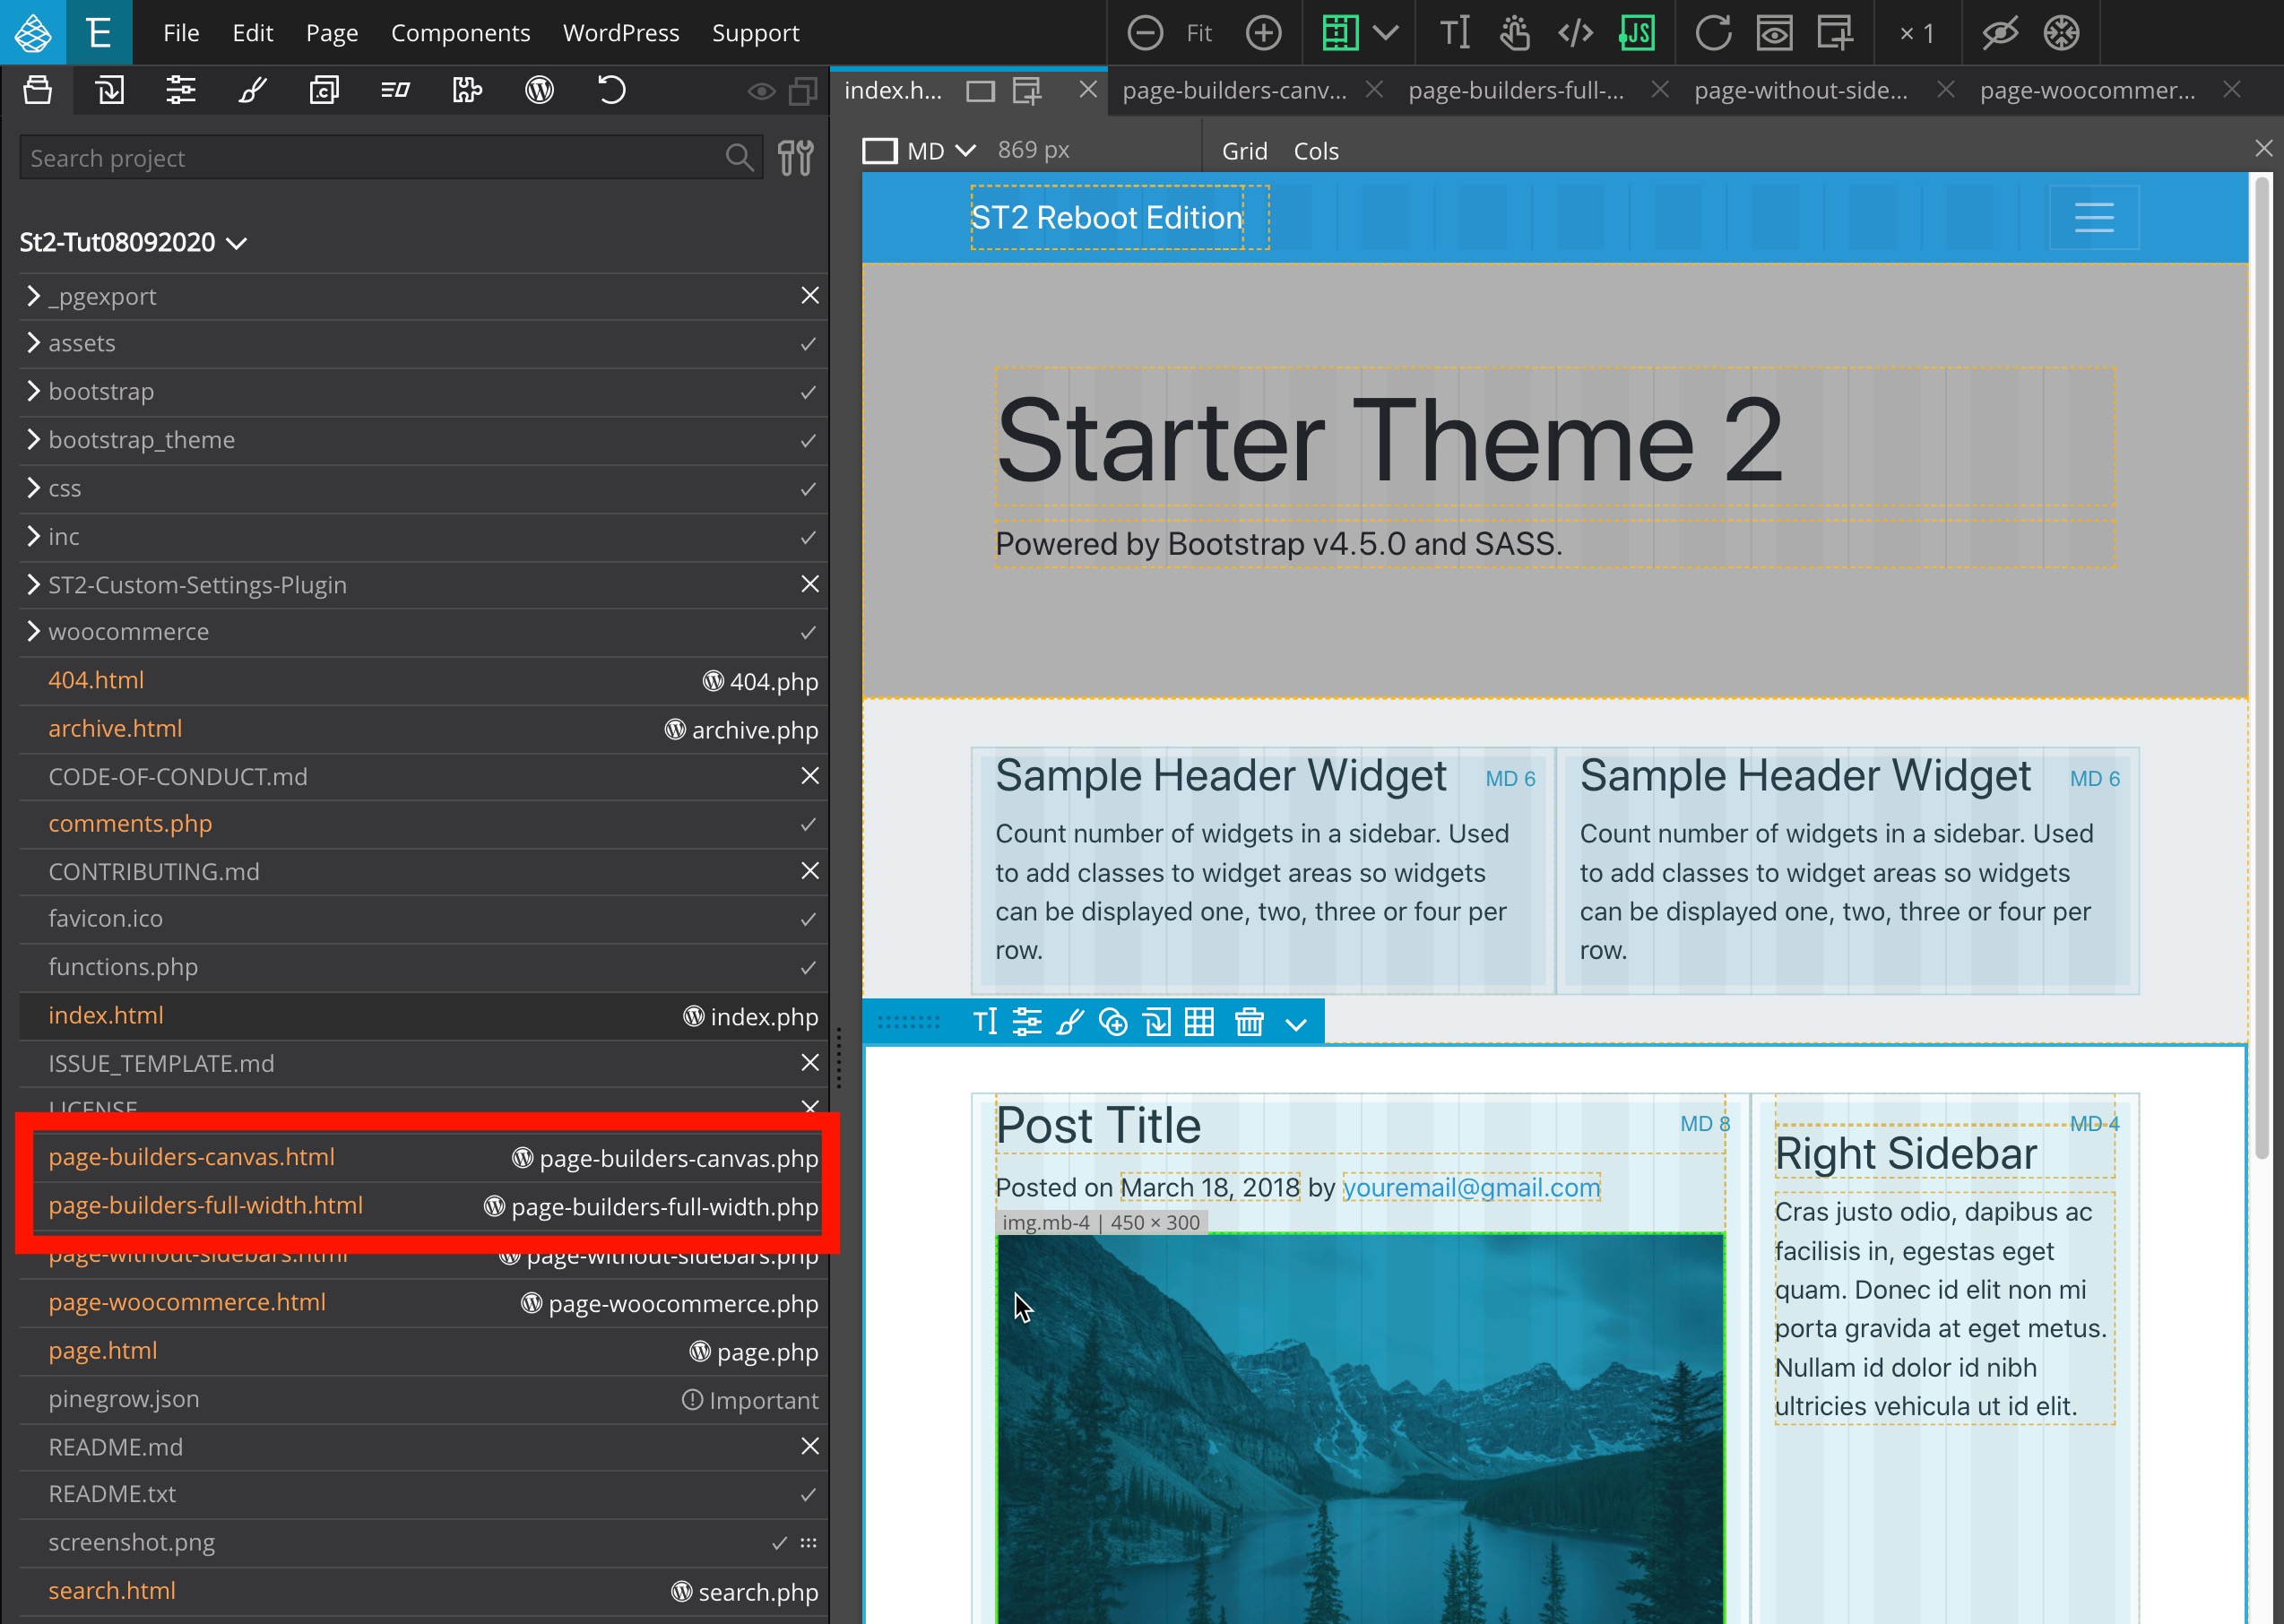
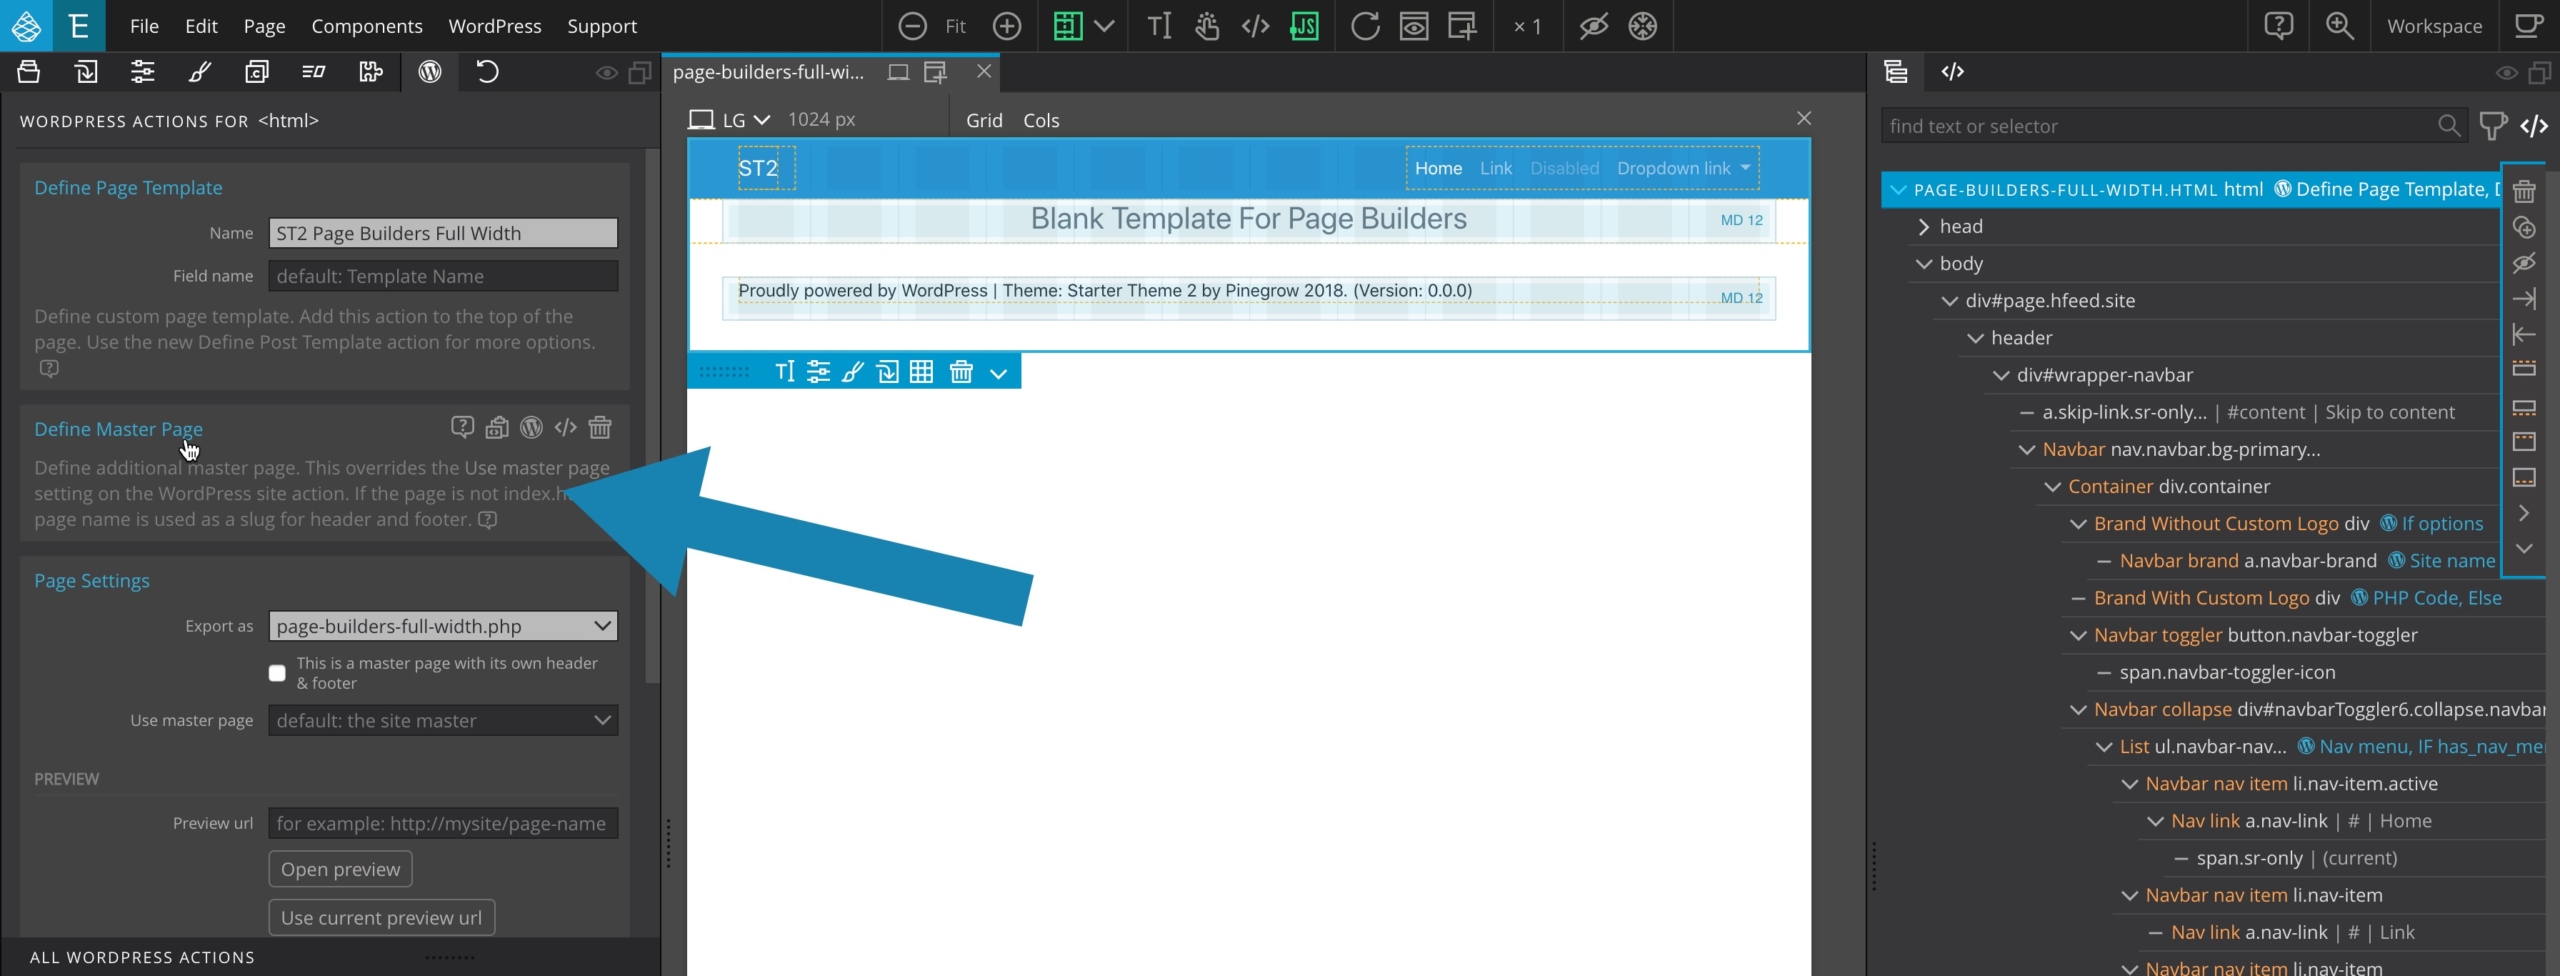
Once exported, the header and footer elements are automatically named header-page-builders-full-width.php and footer-page-builders-full-width.php.
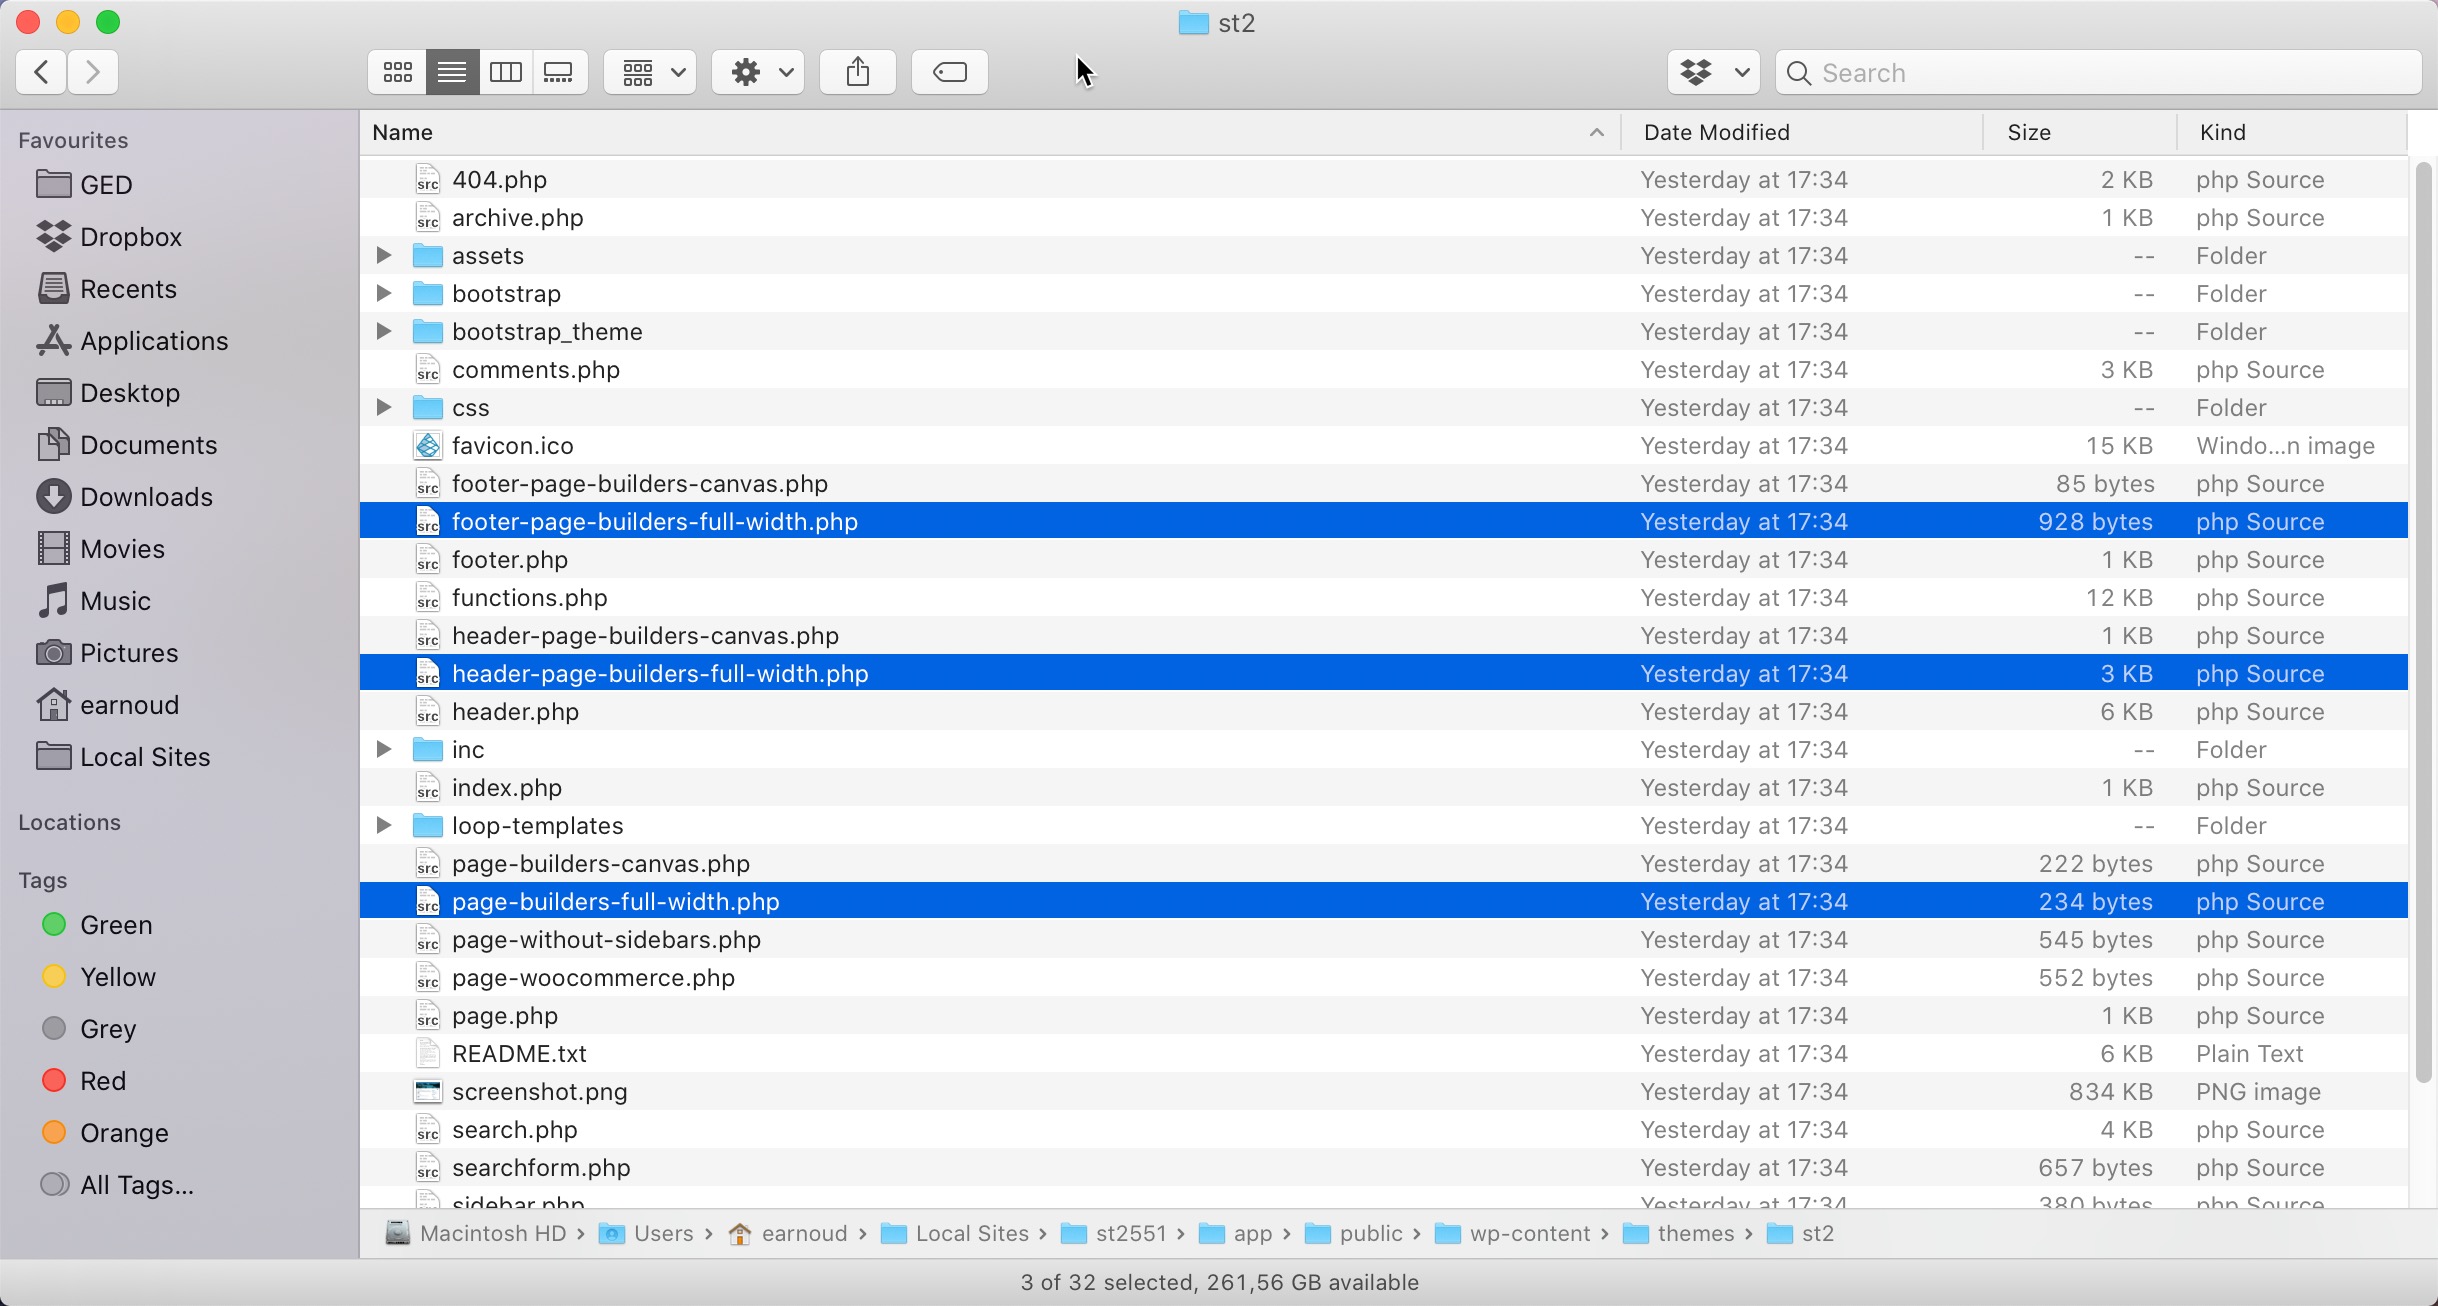
If we create another template and define page-builders-full-width.php as Master page, header-page-builders-full-width.php and footer-page-builders-full-width.php will be used to display the HEADER and FOOTER as well.
It is possible to define several additional Master pages, with totally different custom headers and footers, and associate these extra Master pages with standard templates..
Bonus – Apply Master page
In Pinegrow, for cosmetic reasons or to better visualize the rendering of your final document, you may want to include the HTML of the custom header and footer from the Master page. This is possible by using the WordPress > Apply Master Page menu.
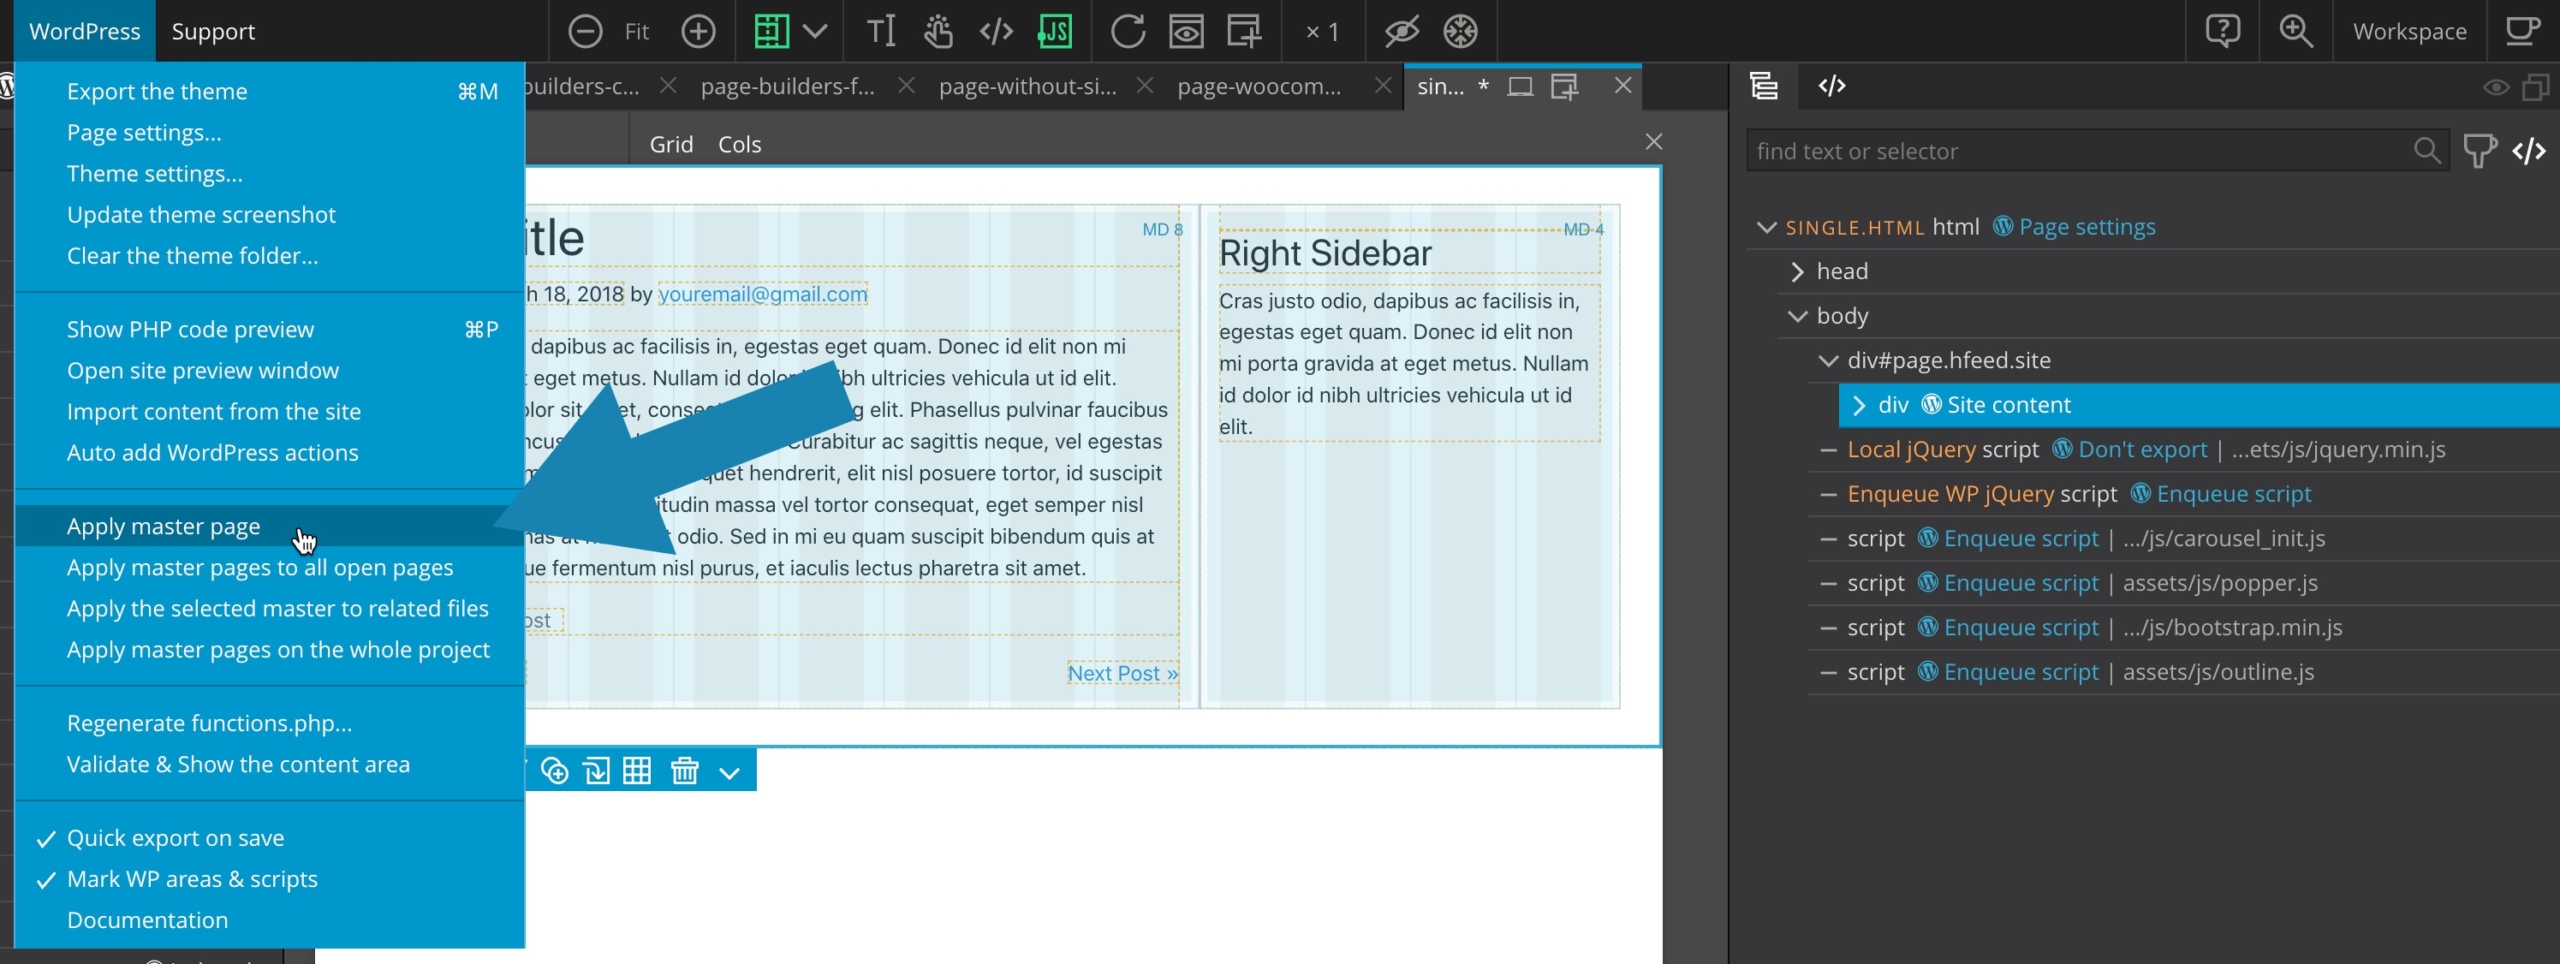

WARNING, however, when you edit an HTML document that is not defined as a Master page but uses a Master page, a common error is modifying the header and footer elements from this document.
Of course, these elements are only present as placeholders since they are dummies imported from the Master page, any direct modification will bring no result after the theme export.
In summary, if your HTML document is configured to use a Master page, don’t forget to modify only what is in the site content section, and make the header and footer modifications from the document defined as Master page.
Limitations of the Apply Master Page feature
The Apply Master Page logic selects the first file with a matching name. So, if there is a file in a subfolder of your project with the same name as the master page selected for your template, it can cause a malfunction.
This kind of situation often arises when you use frameworks or libraries that contain a large portion of content that is not relevant to your project.
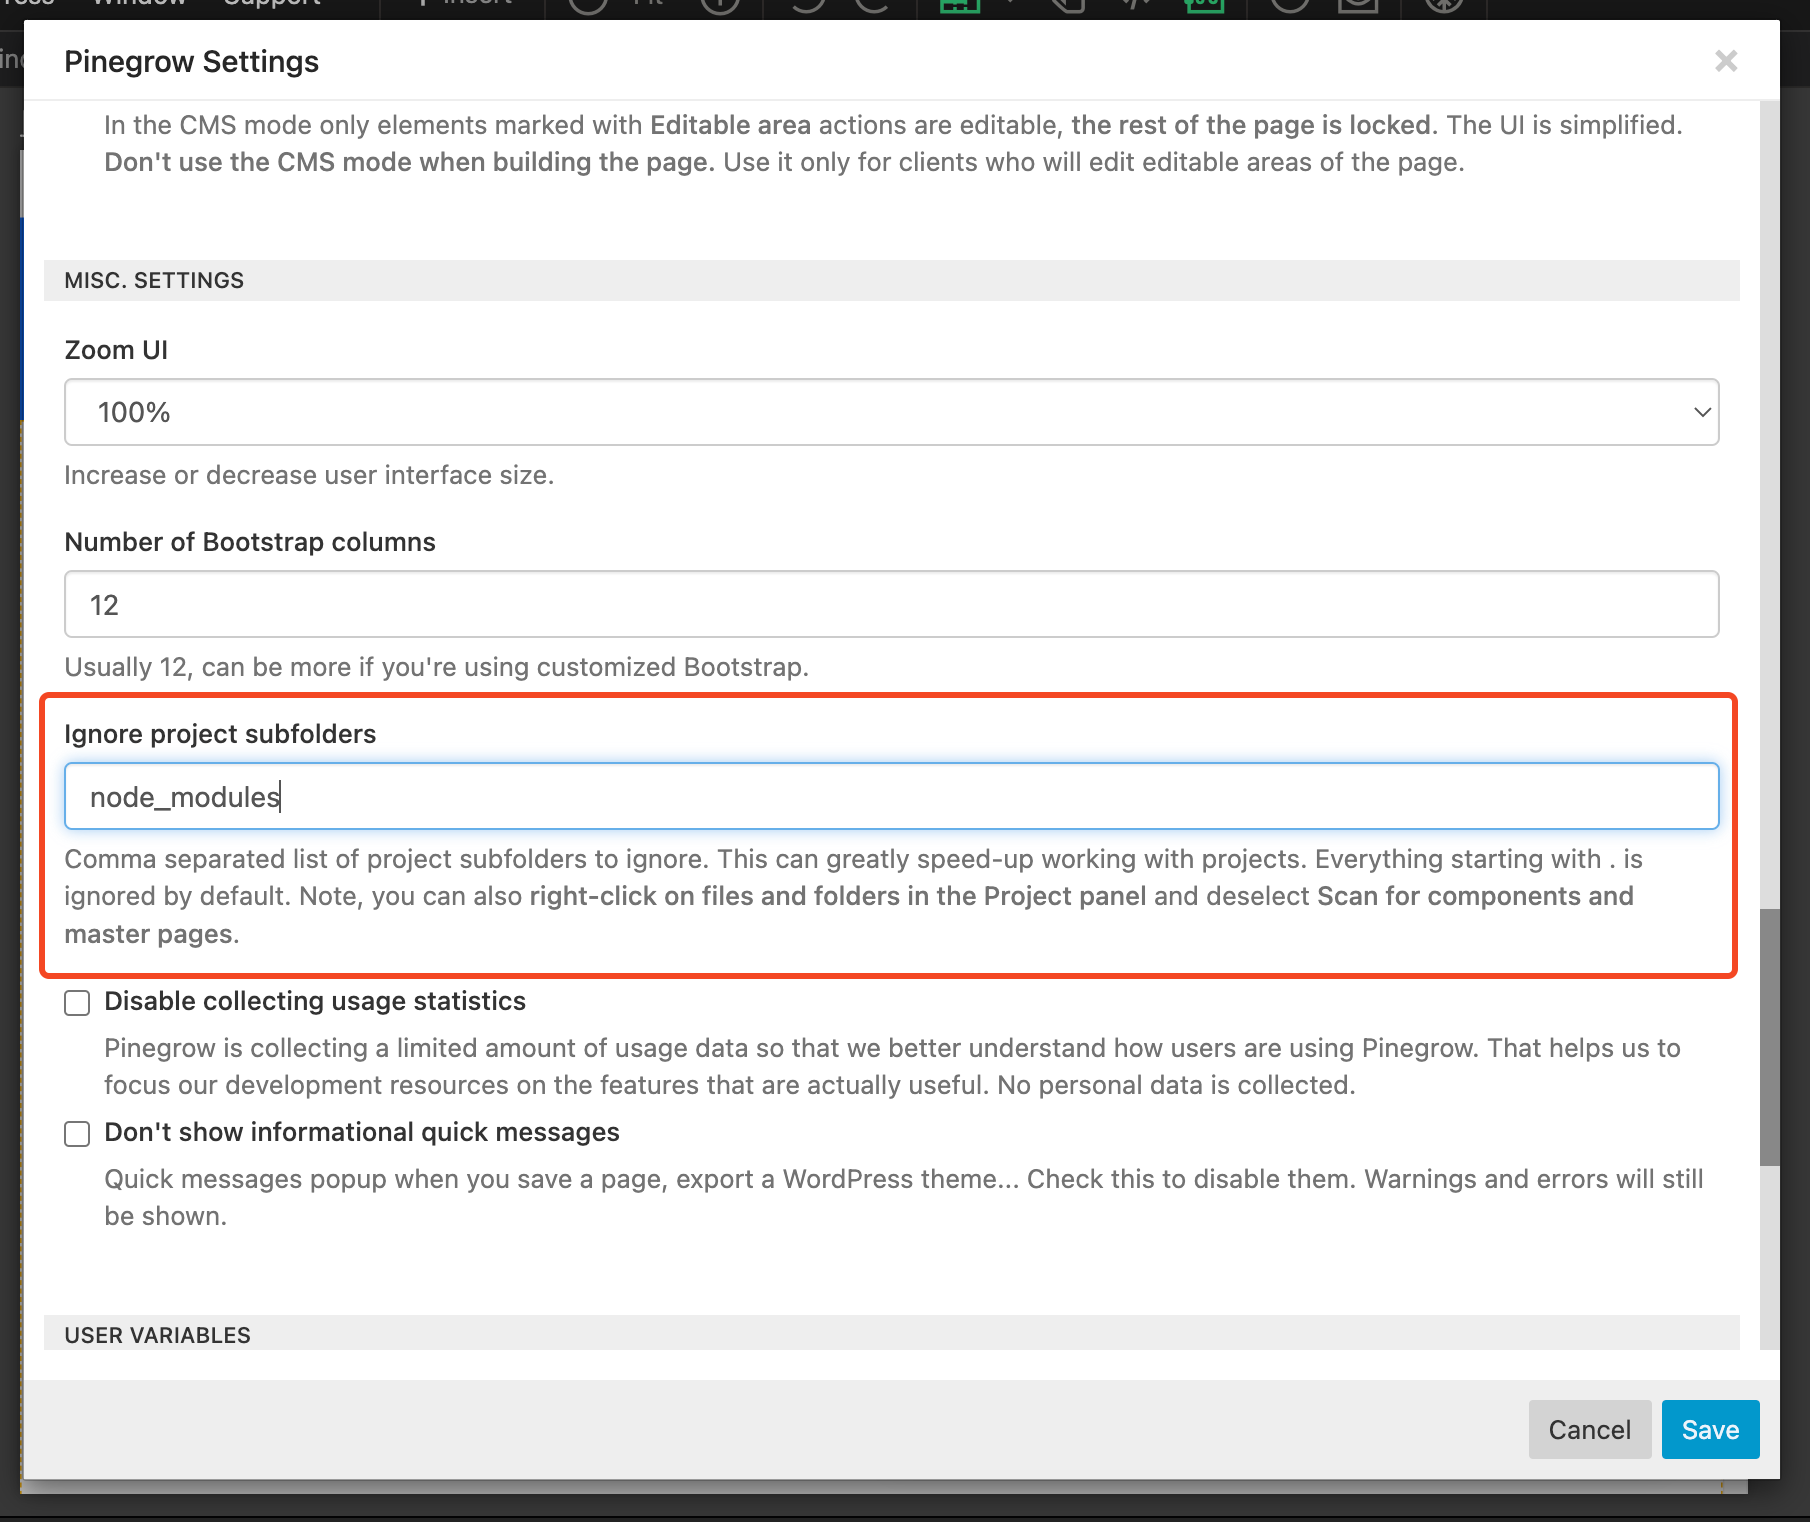
One solution is to define all the unwanted folders/subfolders to the “Ignore project subfolders” section in the Pinegrow settings. This way, Pinegrow won’t be able to mistakenly select the wrong document anymore.
