In this tutorial we’ll use Pinegrow to convert a one-page portfolio website into a WordPress theme. In the process we’ll cover theme structure, customizer fields, loops with modals, using custom PHP code and styling the theme with SASS.
Meet Freelancer
We’ll use Freelancer Bootstrap HTML template from StartBootstrap for this tutorial.
Note: We did a similar tutorial with this template when Pinegrow WordPress came out three years ago. Both the template and even more, Pinegrow, have been improved since then, so we’re doing this tutorial again.
This is the original HTML page:
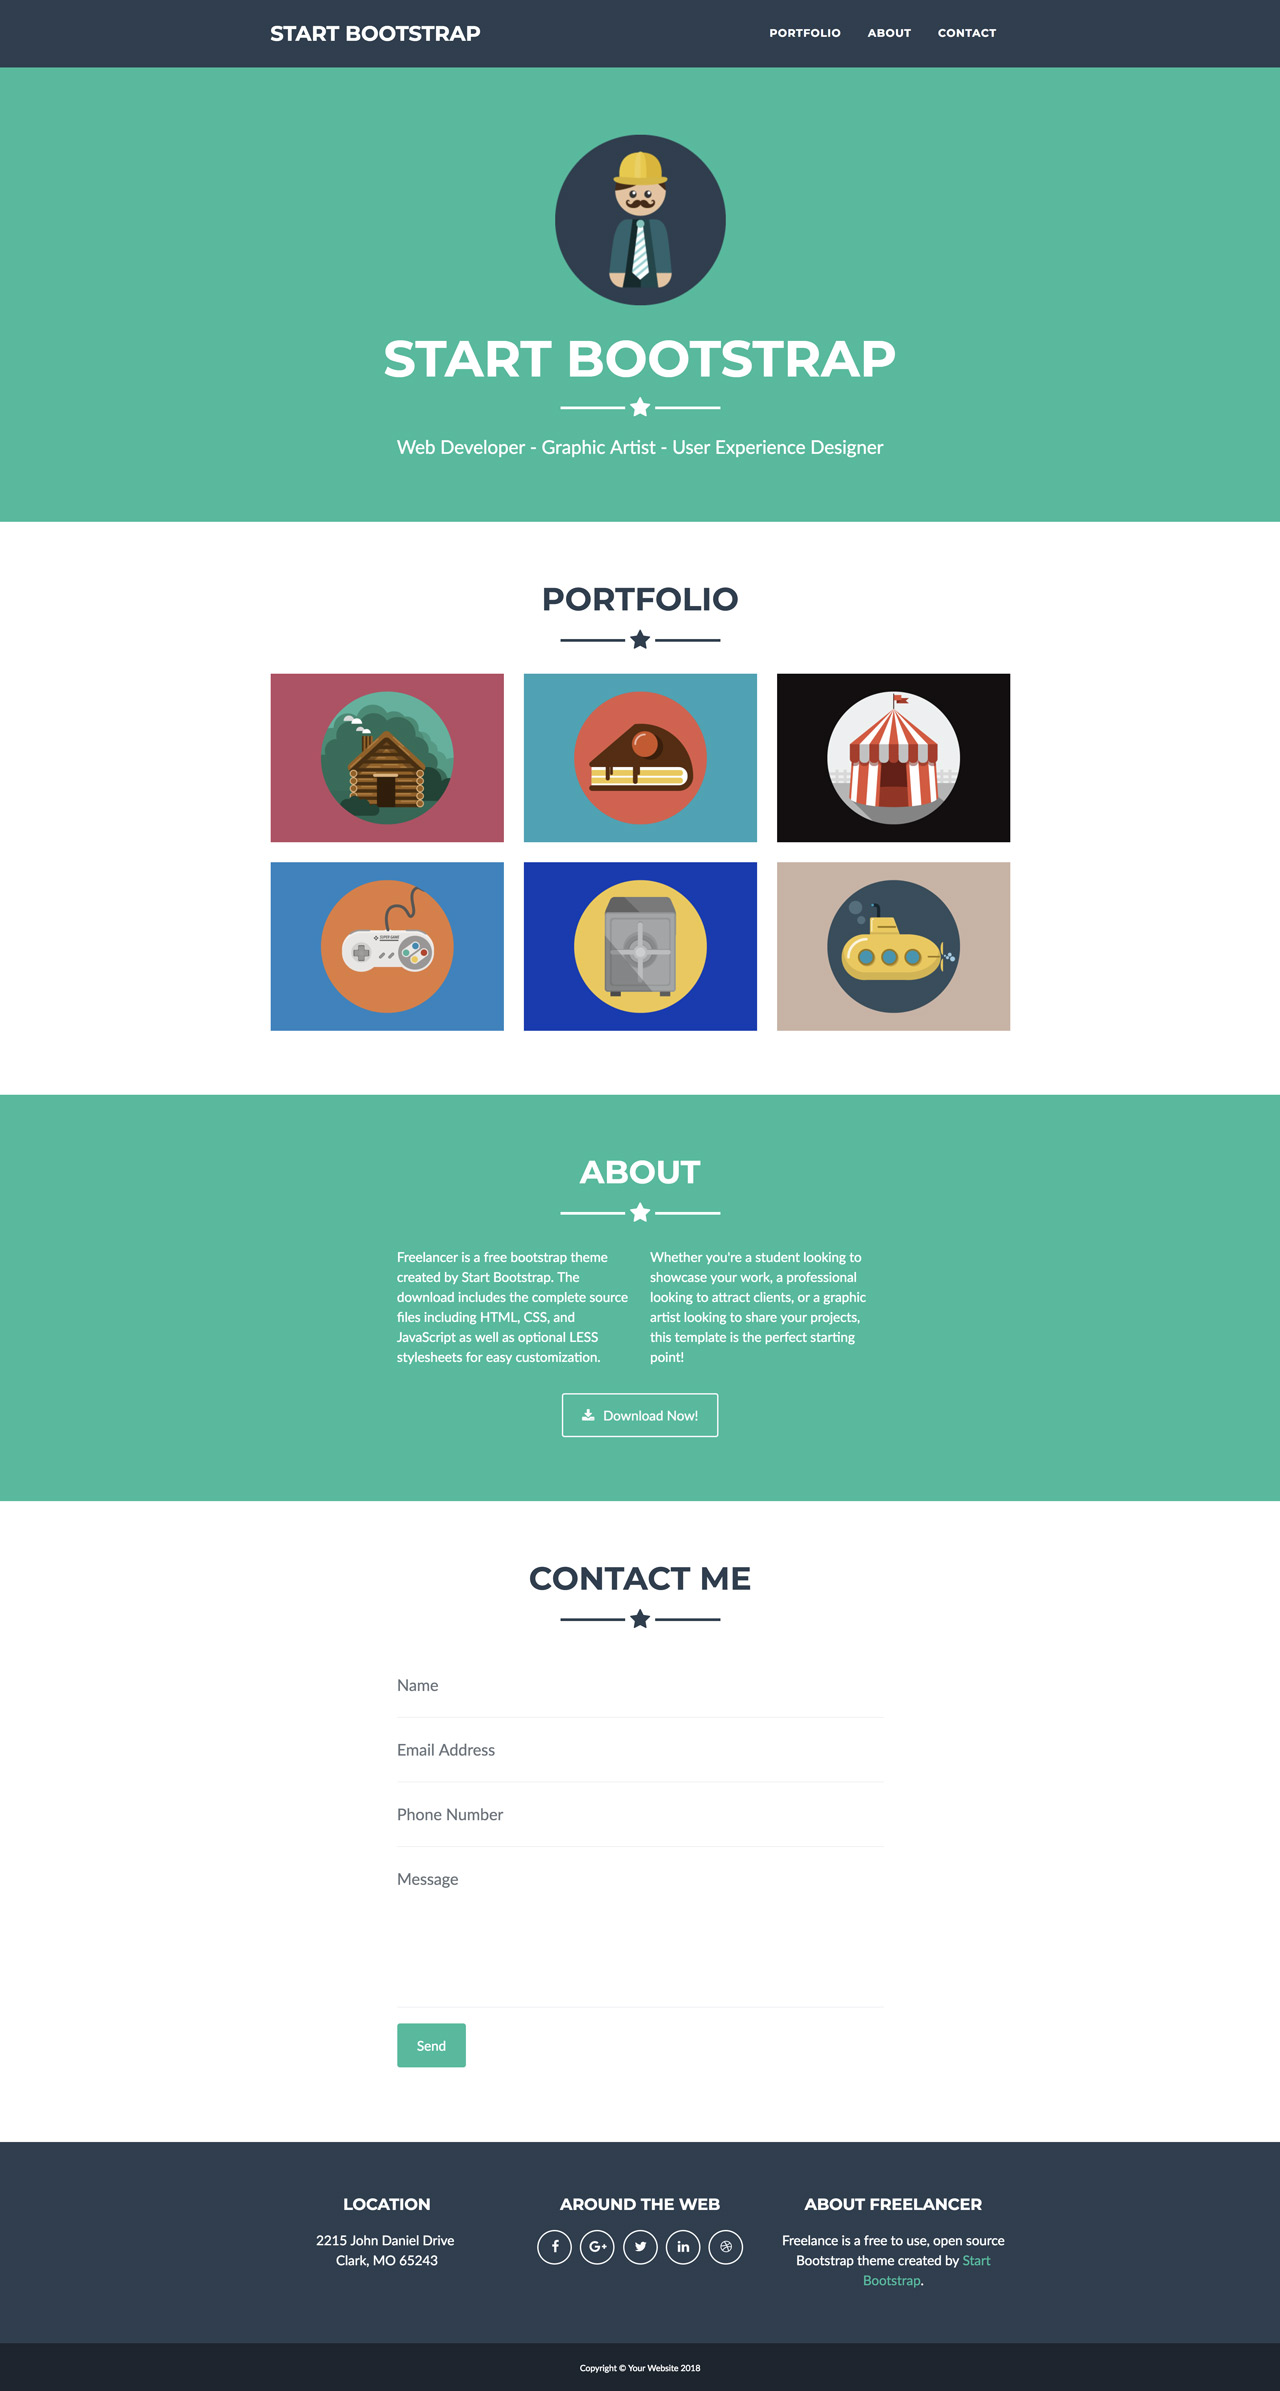
And this is the finished WordPress theme with dynamic content:

Of course, you’ll be able to customize the content and the style of the theme in any way you want.
What do you need to follow along?
This tutorial comes in 9 short parts, less than one hour all together. Although you can just watch the videos to get an idea of how building WordPress themes in Pinegrow works, it is best to follow along. To do that you’ll need:
- Pinegrow PRO with WordPress, a free trial version will do.
- A local WordPress installation. The easiest way is to use a packaged solution like Flywheel or MAMP, both are free.
- Source HTML files of the Freelancer HTML template.
- A couple of posts in your WordPress site that will be shown as projects on the portfolio website. Here are the images we use in the tutorial – if you like chairs – all come from Unsplash.
- Export of Olaf’s Caldera Form. Install Caldera Forms plugin in WordPress, unzip this file and import the JSON file.
The Pinegrow project with the end result is here, if you just want to skip to the end. Remember to set up the WordPress Site action on the top HTML element before exporting the theme.
The Introduction – Part 1 of 9
Let’s take a look at the HTML page and decide how we’ll implement editable parts and projects in WordPress.
Setting up the Theme – Part 2 of 9
First, we need to activate the WordPress Theme Builder on our Pinegrow project and set up the theme information and location.
The Header – Part 3 of 9
We’ll display the site name in the navbar and make the header editable in WordPress Customizer.
The Portfolio Section – Part 4 of 9
This is the core of the theme. The fact that we have projects displayed in dynamic modals complicates things a bit, but we’ll find an elegant way to do that using two Loops and setting up correct ids on modals and hrefs on thumbnail links.
The About Me Section – Part 5 of 9
Again, the perfect job for the Customizer.
The Contact Form – Part 6 of 9
We’ll use Caldera Forms WordPress plugin and a dynamic sidebar to display the form. Import Olaf’s form in Caldera Forms to save you the trouble of creating a new form.
The Footer – Part 7 of 9
Let’s create a dynamic footer with sidebars for texts and customizer fields for social media links. We’ll also use the PHP code to display the copyright notice.
Importing WordPress Content – Part 8 of 9
This is a short overview of how we can import HTML from the WordPress site into out project. Note that the preview url on the WordPress Site Action must be correctly set for this to work.
Styling the Theme with SASS & The Conclusion – Part 9 of 9
The Freelancer HTML template comes with SASS sources for CSS stylesheets. We can edit and compile SASS directly in Pinegrow to create unique design for our theme.
That’s it!
Hope you enjoyed this tutorial. There’s a lot more to WordPress Theme Builder in Pinegrow. The best approach is to start with simple projects and then go on from there.