Master pages are a feature that enable you to define common structure and interface markup elements for your Web site, including headers, footers, style definitions, or navigation bars.
Master pages allow you to easily provide a unified look to all of the pages in your project. A master page can be shared by any of the pages in your Web site and removes the need to duplicate code for shared elements.
Important: Master pages only work with projects. To use them you have to either create a new project or by opening the folder where your website is located with File -> Open project.
Warning Master pages should not be used in WordPress projects as WordPress projects have their own master pages.
Introduction
Master pages let you define a common template for all the pages in your website. Any changes made to the master page will be automatically applied to all pages that are based on that master page.
Creating a consistent look and behavior for all the pages in your website requires that you start by defining the global properties of your website, like Header, Footer, layout and more …
An efficient Master page combines static layout elements, smart components and editable areas which will allow you to easily customize your content pages.
Editable areas of the master page can be customized on the content pages and will be preserved during updates. Examples of editable areas on the master page are:
- Titles
- Textual content
- Graphic content
- Links (urls)
- Specific CSS Classes
- and more ..
Note: In the following documentation, we start a new project from scratch but you can also use Master pages in any existing project. Also, we use Bootstrap framework in our project but you can use Master pages with any kind of HTML document / Framework.
Creating a Master page
Opening a new project
Ready to create your first project using a Master page?
It is easy!
- Start Pinegrow
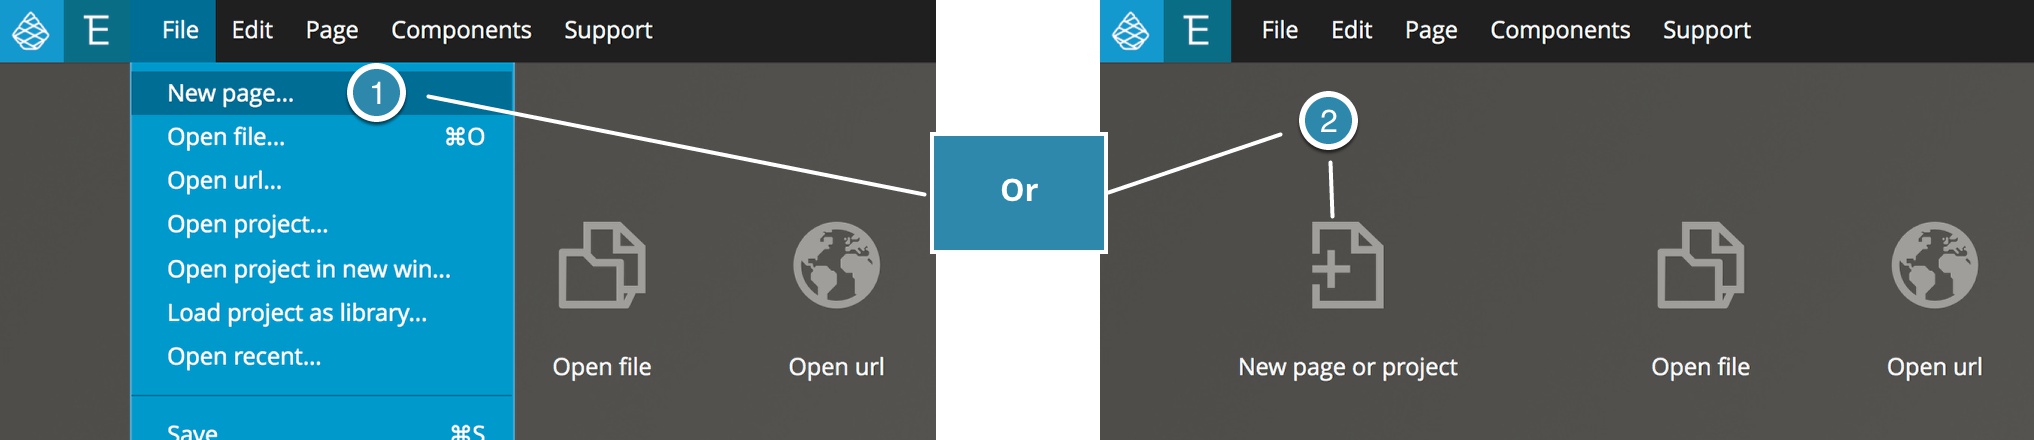
- Select File -> New page (you can also use the New page button from Pinegrow interface)
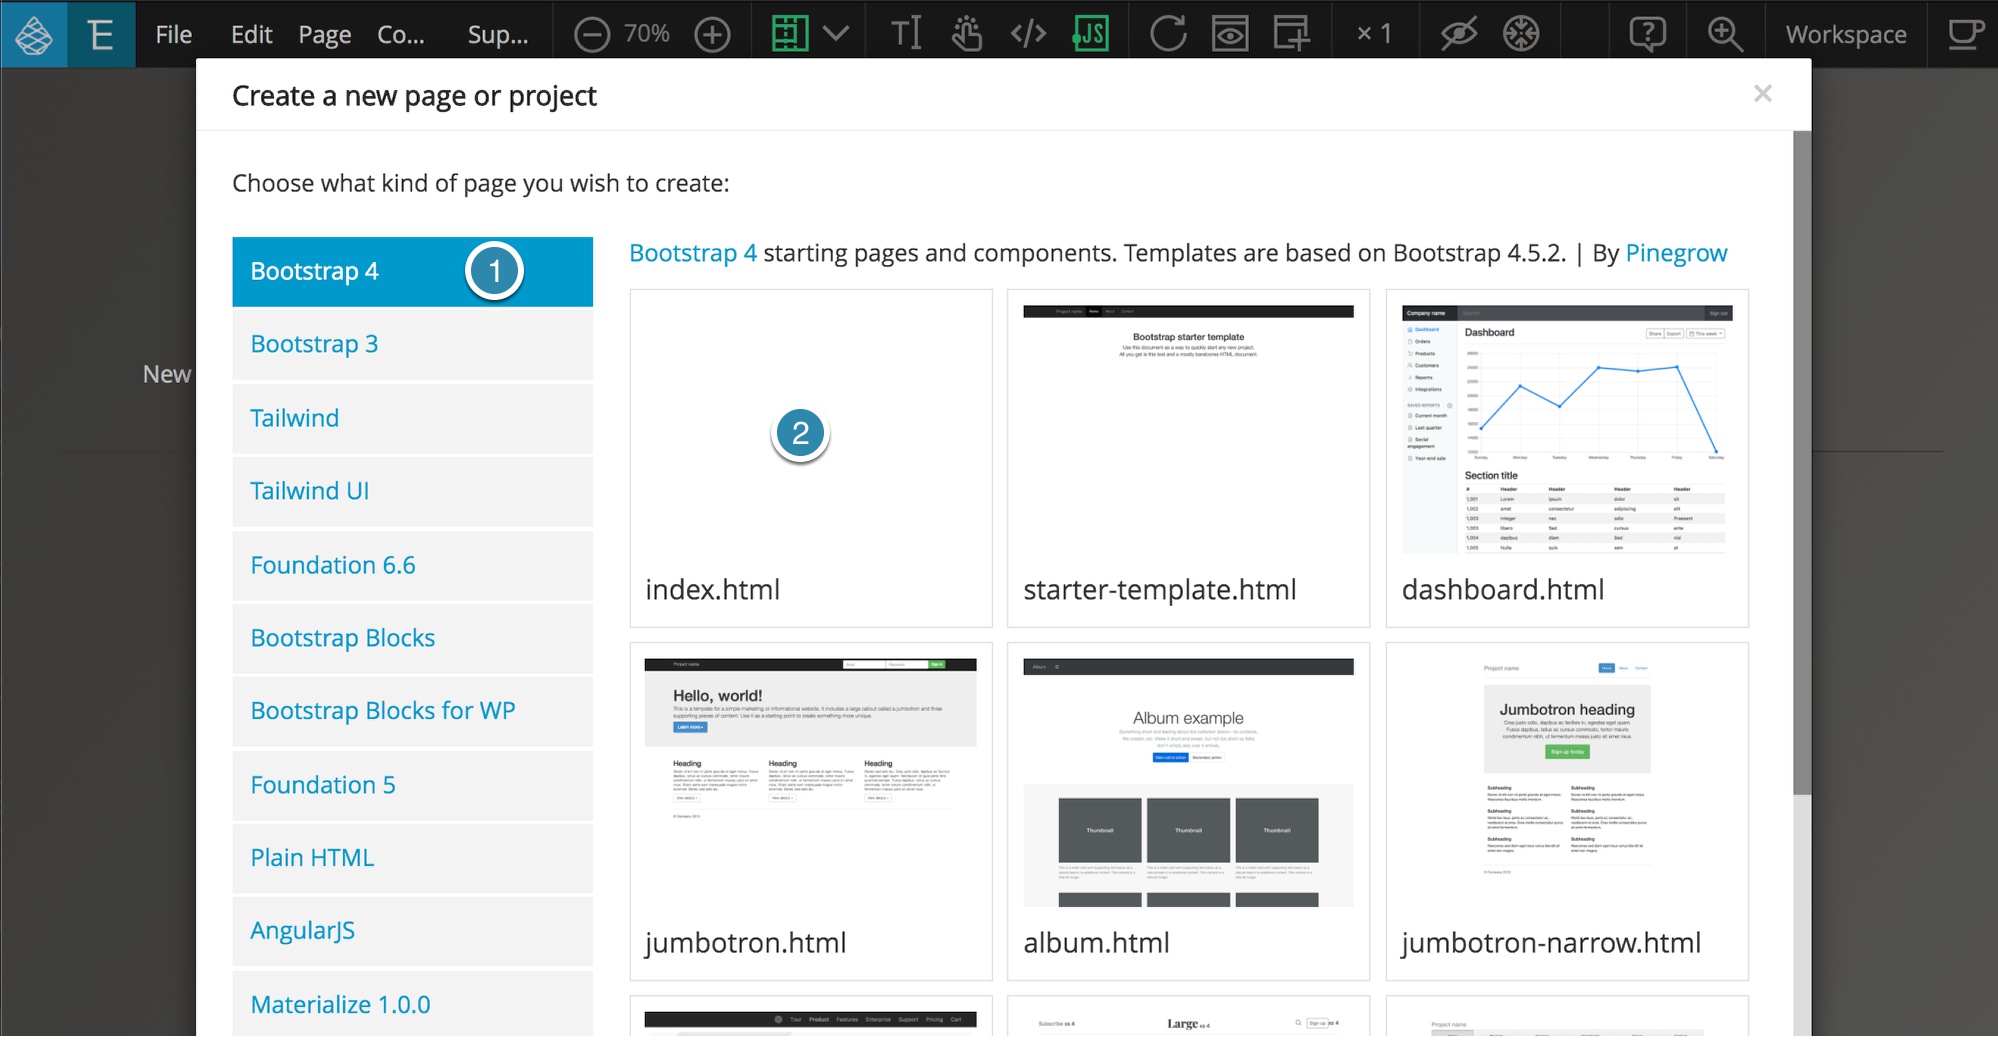
- Select Bootstrap 4 -> index.html
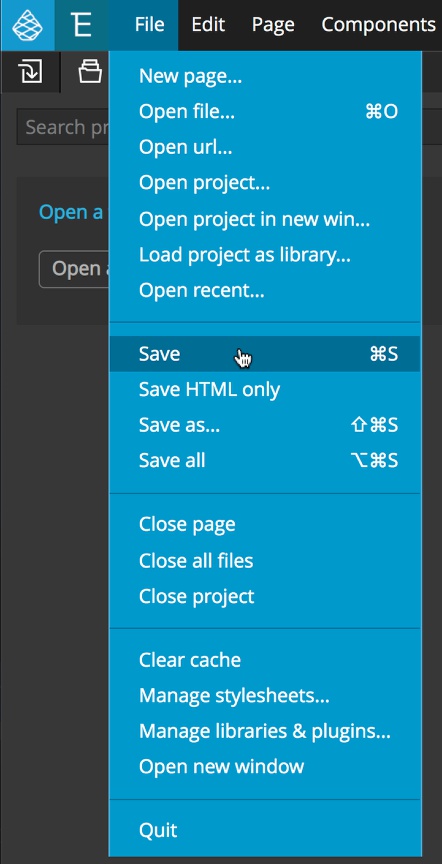
- File -> Save -> New folder -> select a name and folder location for your project
- Set the page name to “master.html” and click save
Note: You can use any name you want for your master page. Using master.html is just a good way to quickly identify your master page.

Pinegrow should now ask if you want to open your new folder as a project, select YES because Master pages will only work in project mode.
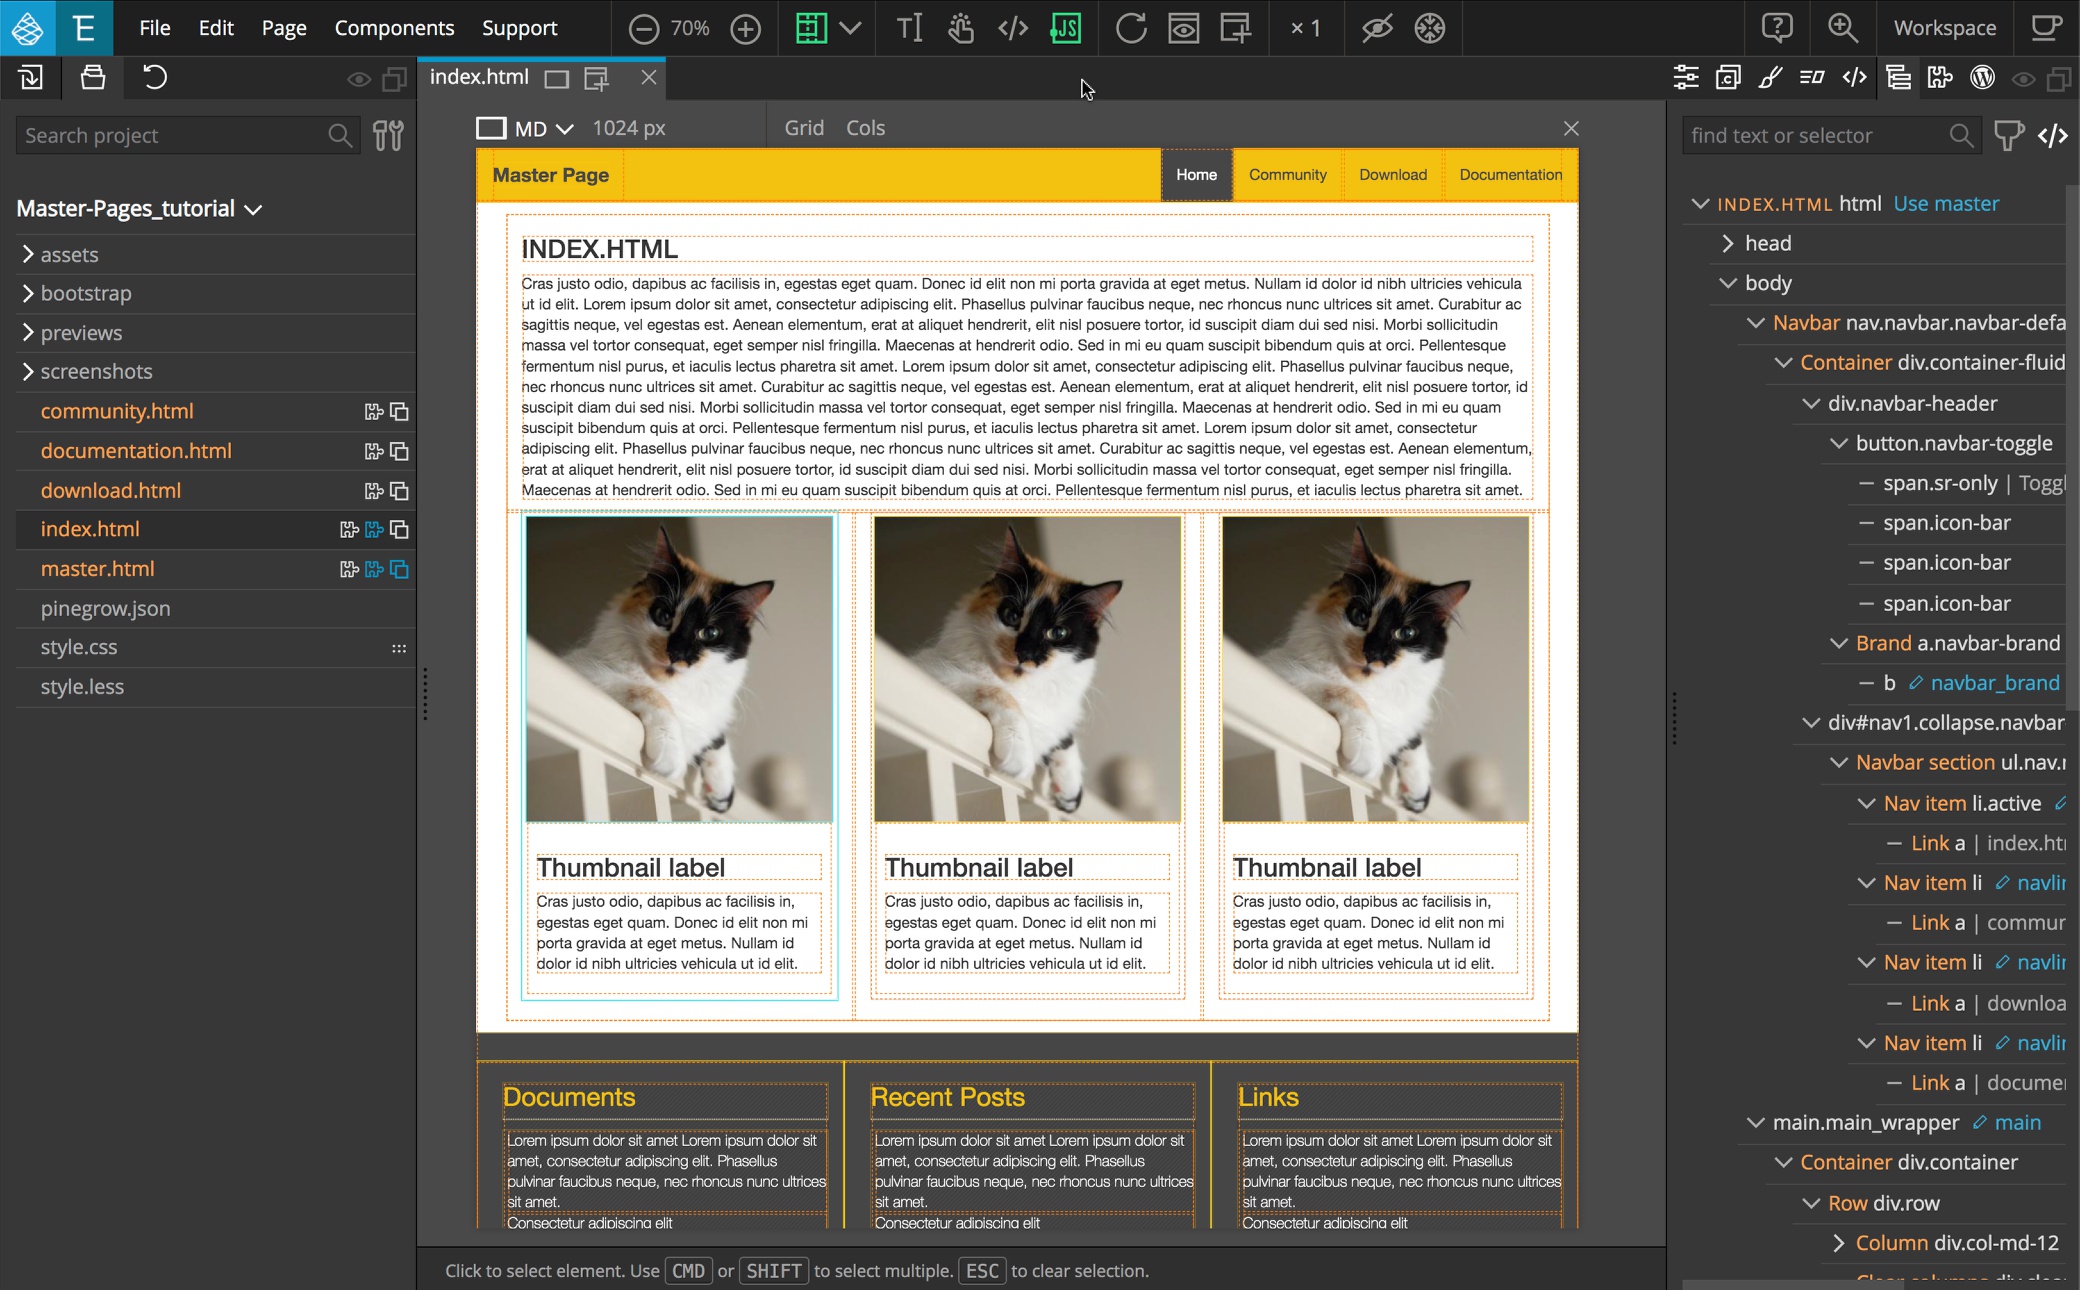
You are now in Project mode:
- The Project assets are on the left in the Project panel.
- The Tree view is on the right in the Tree panel.
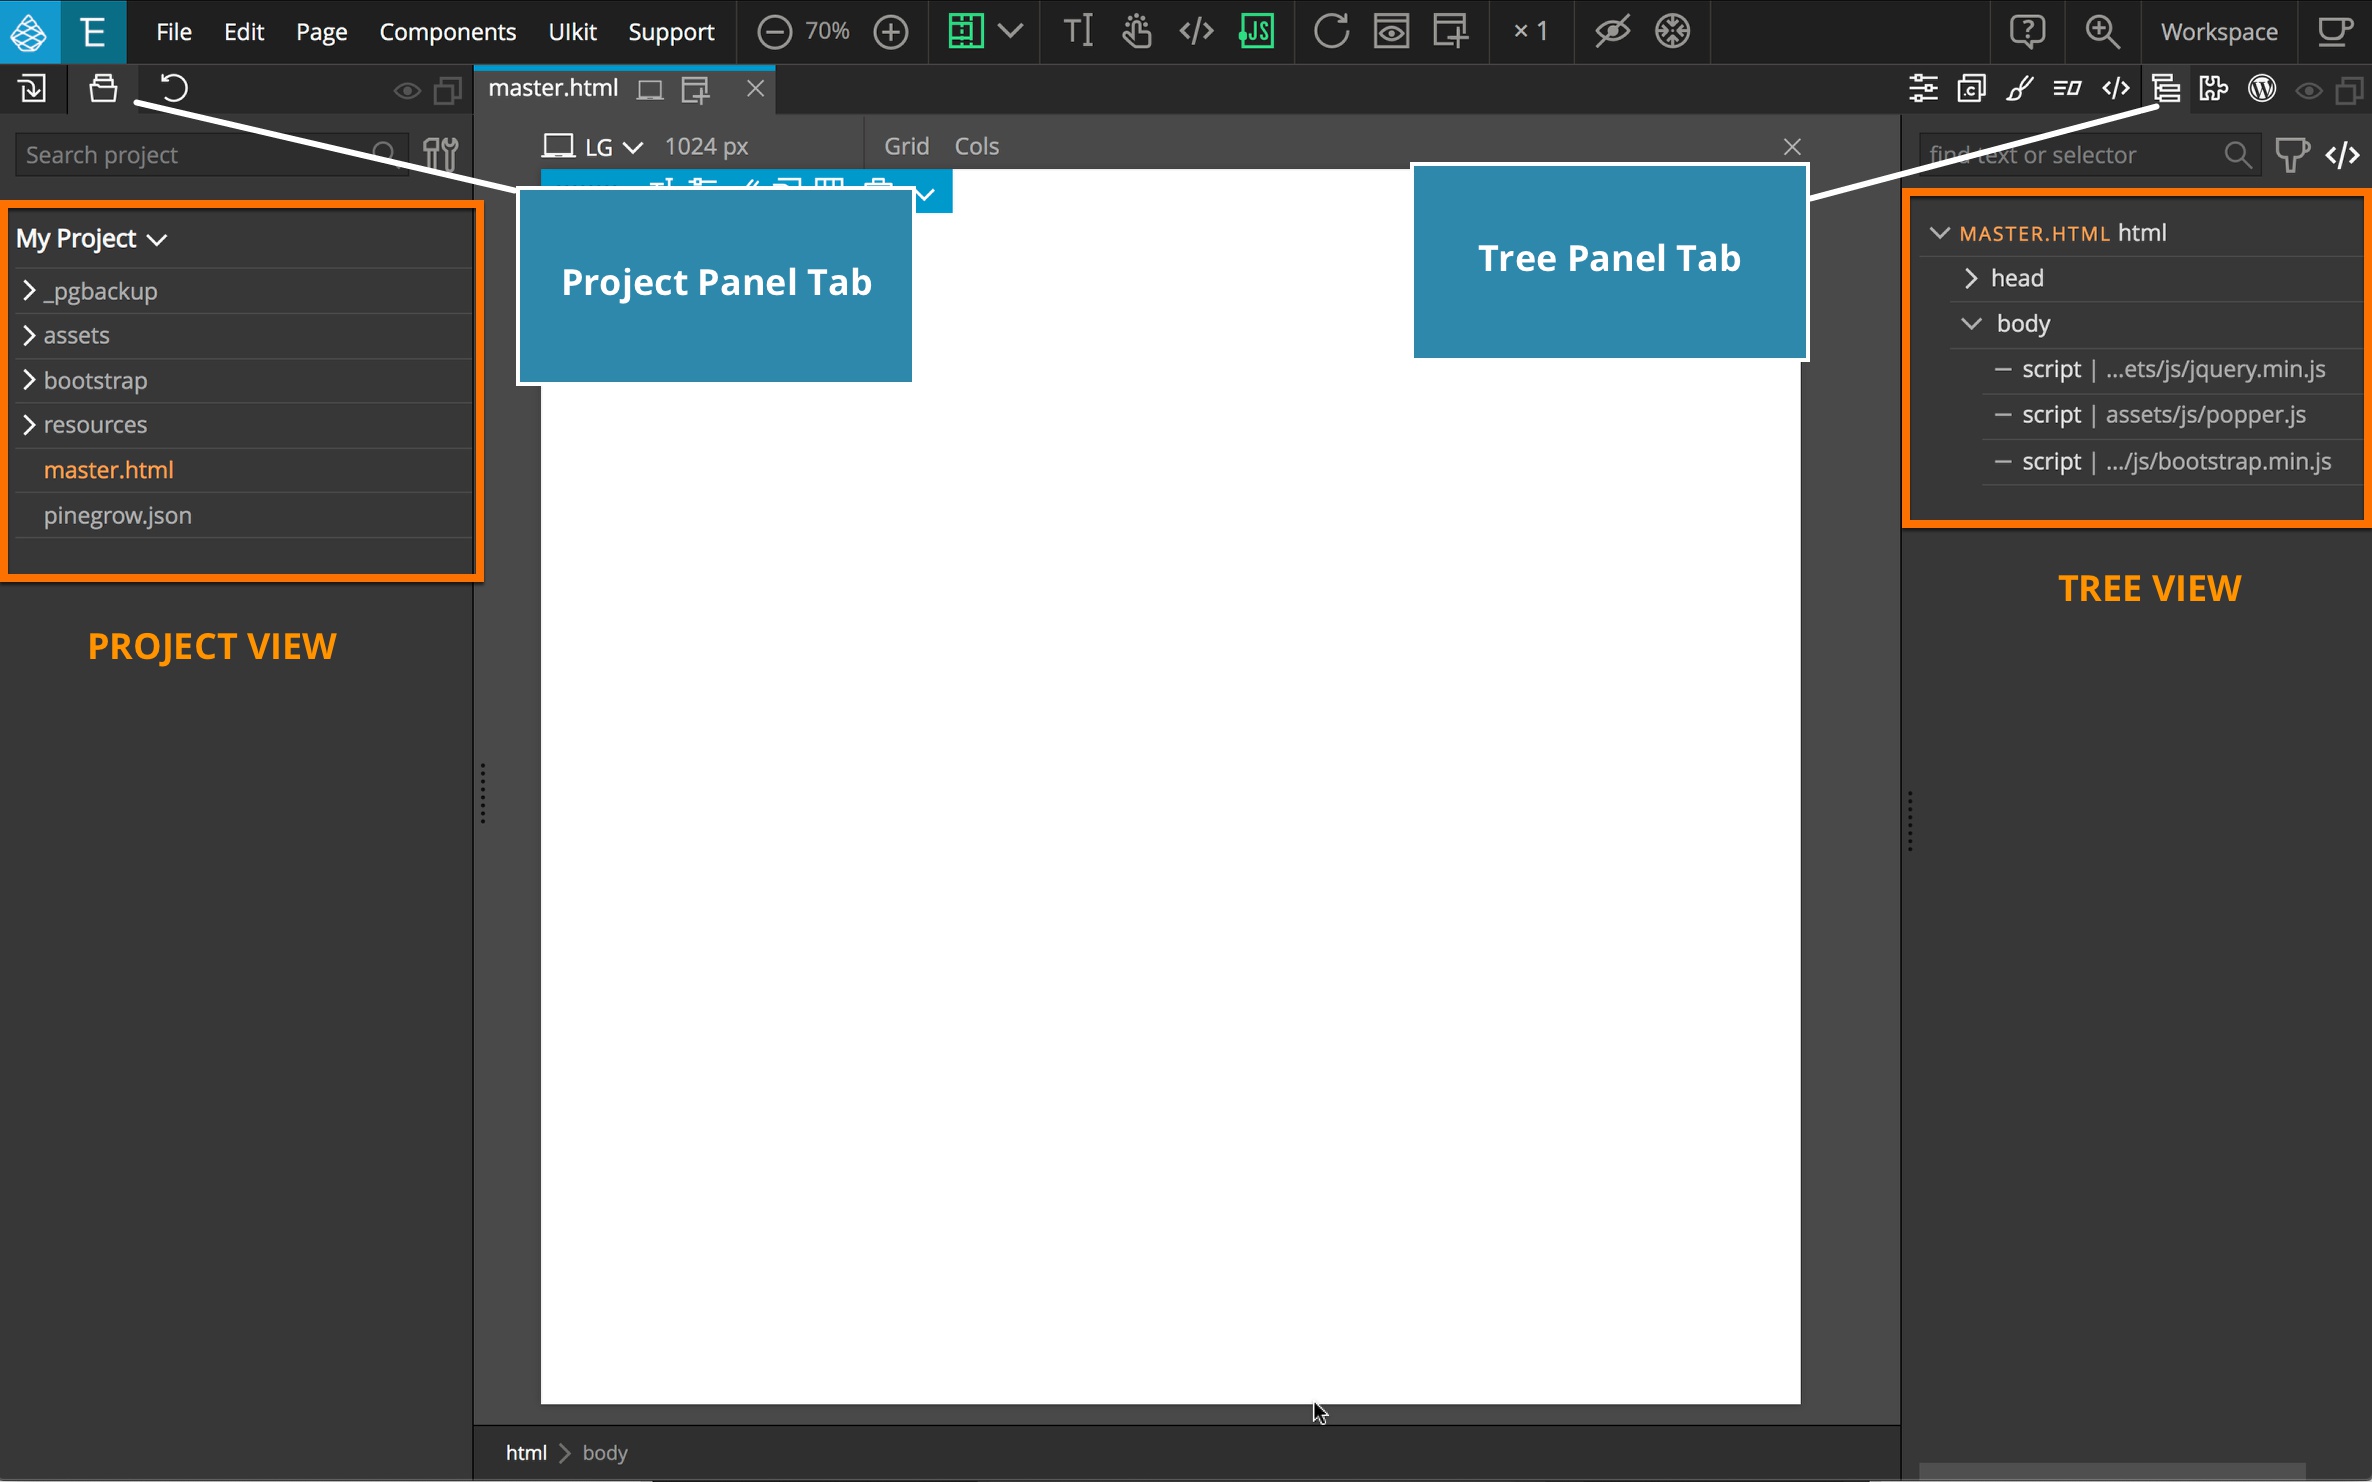
You can switch between different panels using the tabs at the top. These tabs can also be dragged or detached to best customize your workspace.
Designating a Master page
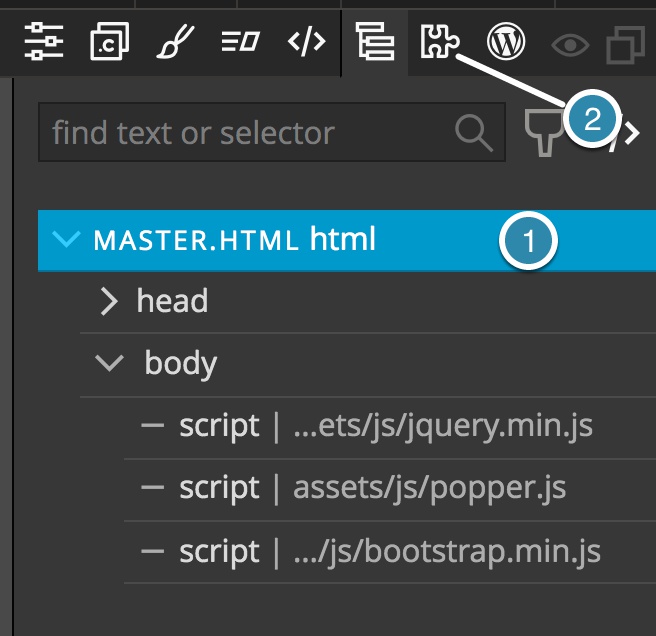
From the tree view, select the top item (master.html) and then switch to the Actions panel by clicking on the puzzle piece tab.
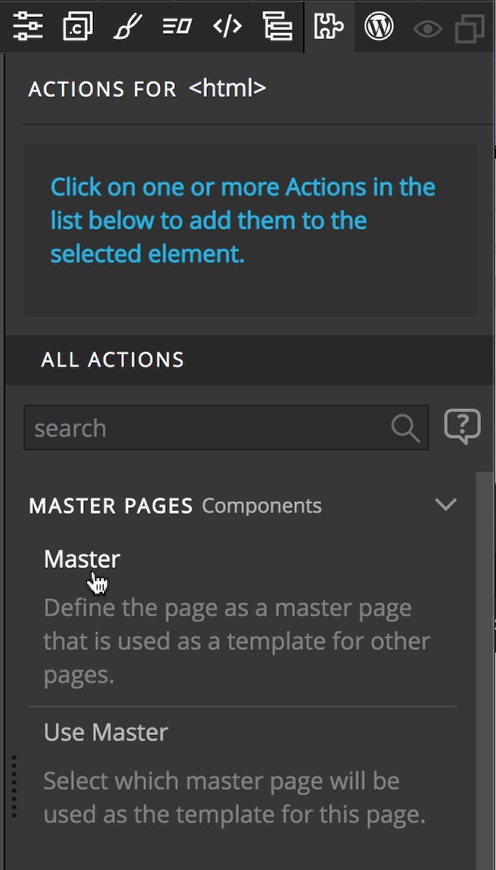
Next, under the “Master Pages” section of the “All Actions” area, click on “Master” to designate this page as a Master page.
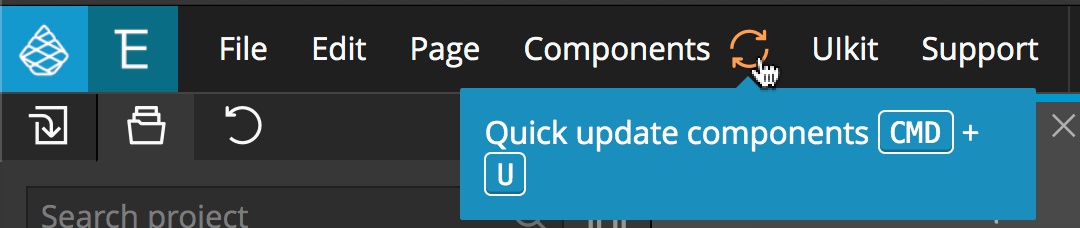
Note: You can see the UPDATE button on top of Pinegrow interface. Click on the button link or use CMD+U (CTRL + U on Windows and Linux) to apply the changes.
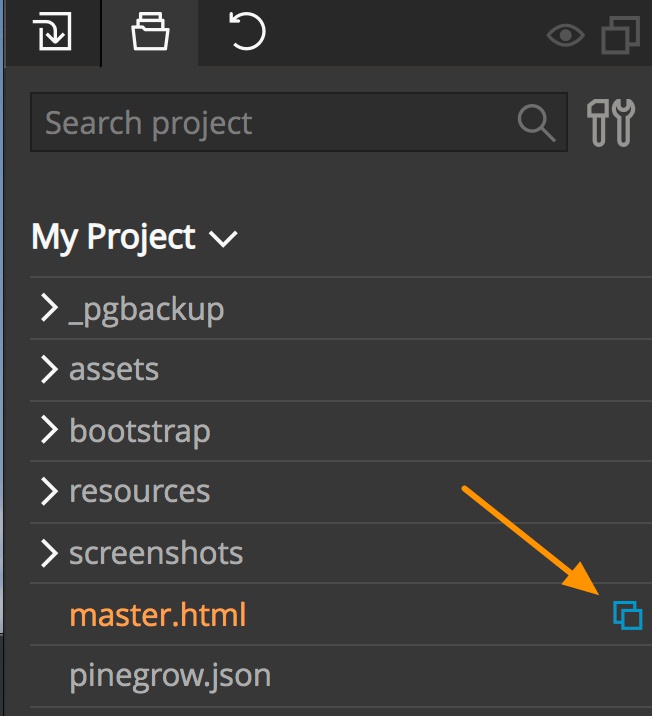
In the Project view, there is now an icon beside the file master.html (saving and reloading the project may be necessary for the icon to appear).
This icon means that your document is a Master page and is very useful visual indicator when you are handling a project with lots of files.
Your master page is now ready to be populated with content.
Adding content to a Master page
As outlined, a master page is a mix of non-editable and editable elements.
Adding content to a master page is identical to designing a standard content page, however, you have to take into account what areas of the page need customization and define elements which should be editable in the content pages.
Editable areas will allow you to decide which part of your Master page content will be editable in your content pages :
- Content: The whole content of the area is editable
- Images and Attributes: You declare which images or HTML attributes can be modified in the area
- Classes: You declare some classes as editable. We advise you to follow both the Building the Layout documentation and the Smart Components documentation.
BONUS: We have created a sample project which contains a Master page with editable areas and components. You can download it (and study it) HERE.
Making page title and meta fields editable
The page header usually contains <title> and various <meta …> tags that provide information about the page. In most cases, we need these values to be unique for each individual page and don’t want to use values from the master page on all our pages.
We can accomplish this by defining these fields as editable areas.

First, let’s do the <title> element. Select the title in the Tree panel and then open the Actions panel. Note: I’ve moved the Actions panel from its default location over to the left of the Page view to more easily illustrate these next steps. Pinegrow is endlessly configurable to allow you the quickest workflow!
Next, select the “Editable” option in the Actions panel. Finally, set the field id of the area in the “Define Editable Area” section. For this example we will use “page_title”. This field id should be unique on your Master page. We will leave the “Inner content” checkbox ticked. Since the HTML title tag encloses the content to be edited (<title>Blank Template for Bootstrap</title>) leaving this box ticked will allow for editing of the title on pages using this Master page.
<meta> fields are different because their values are contained in attributes. For example <meta name=”description” content=”This is the best page…”> has two attributes, “name” and “content”. So, it is not enough to just place the “Define editable area” action on our <meta> element. We also need to specify which attributes of the element are editable. In most cases this will be the “content” attribute.
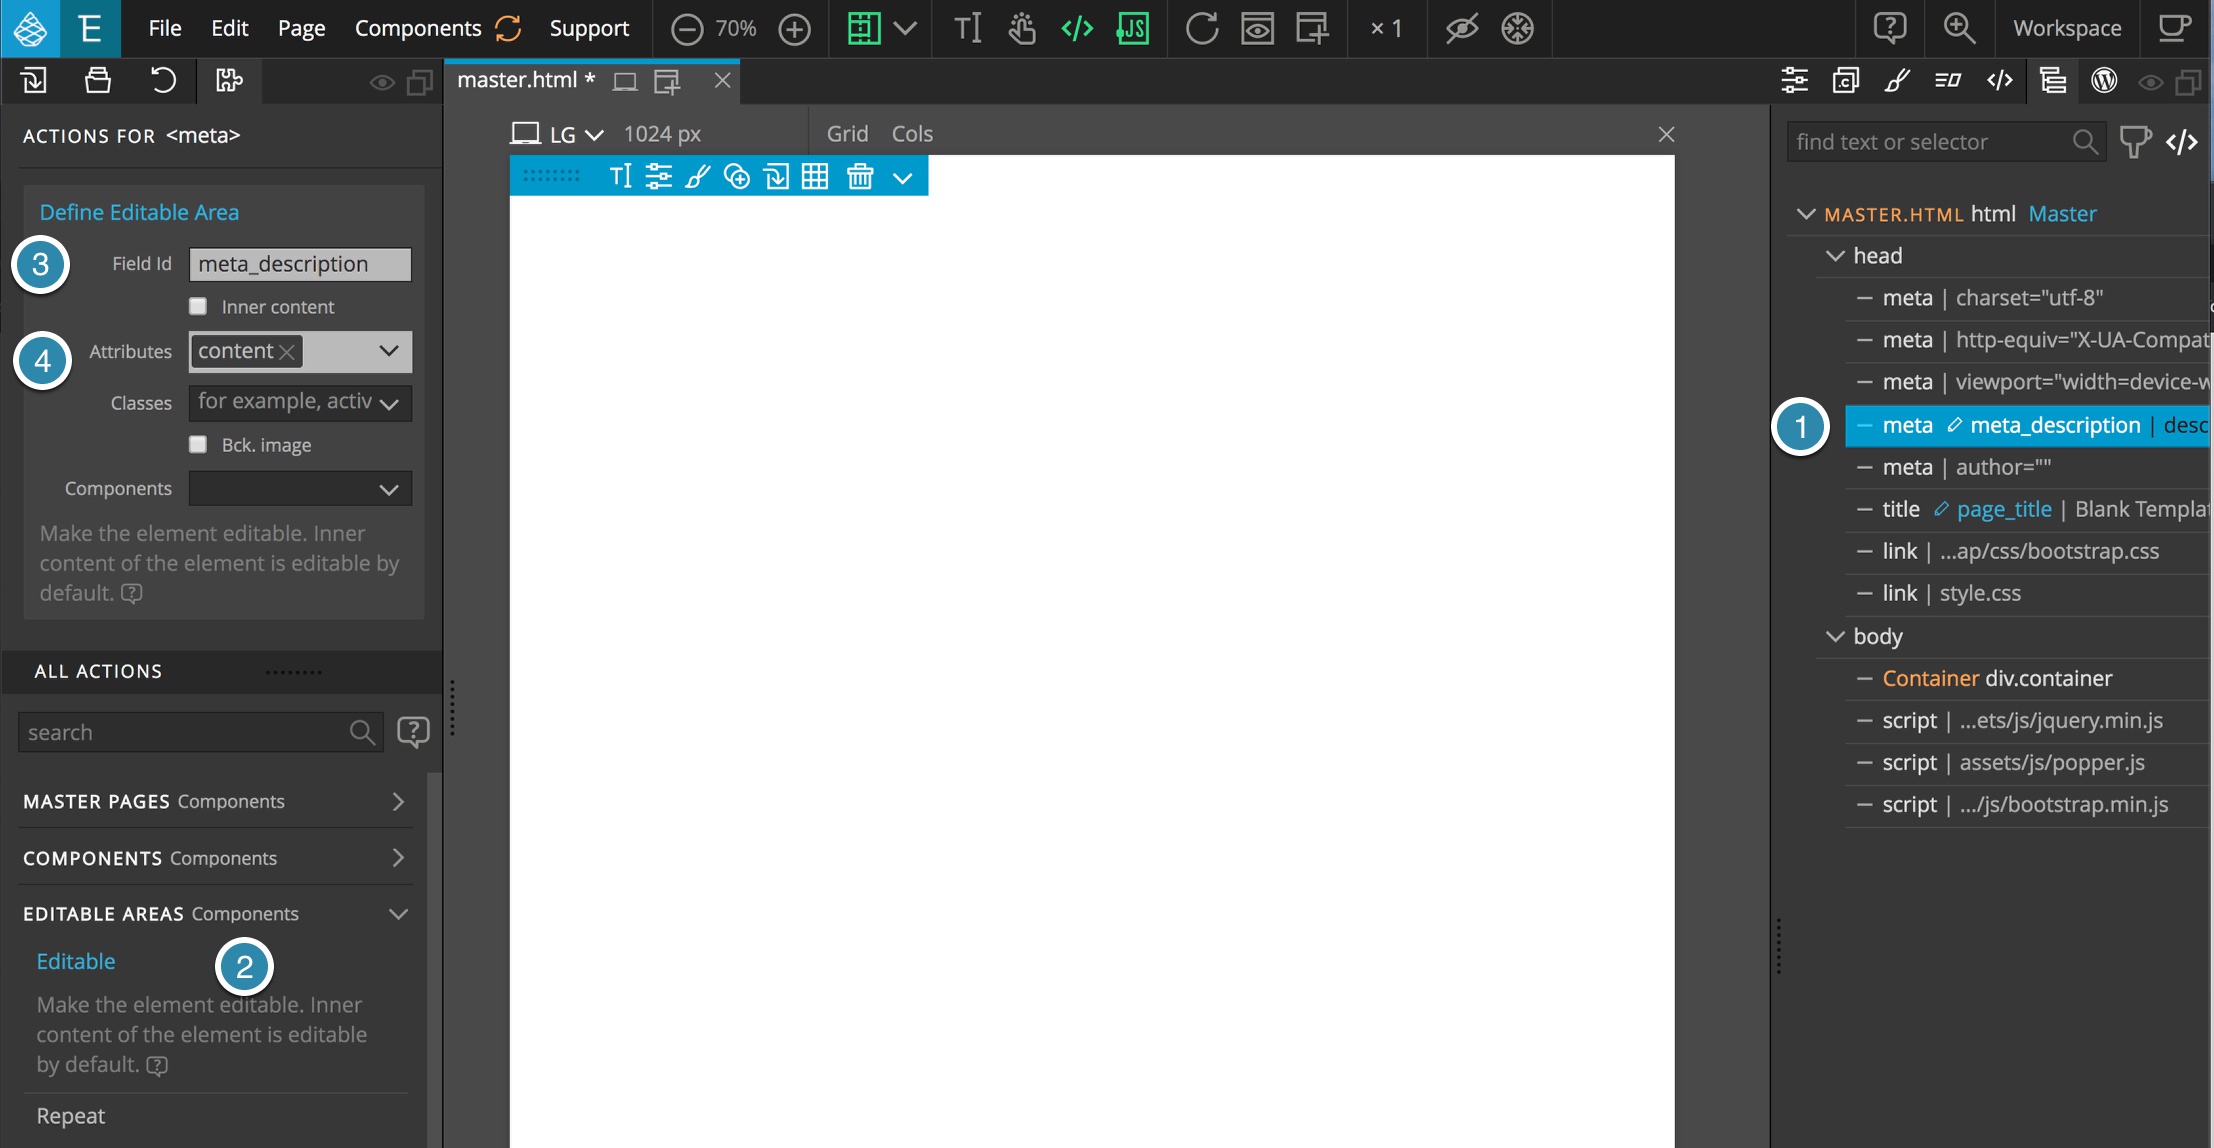
Like before, select the element in the tree and then open the Action panel. Select the “Editable” action and put in a unique field id – we are using “meta_description”. Because there is no editable content within a <meta> tag, uncheck the “Inner content” box and then from the “Attributes” pulldown menu select “content”. If you needed to have several attributes editable, simply open the menu and select any other attributes.
Use a Master Page in a project
Now that your Master page is ready, it is the right time to use it to create some new content pages.
There are two ways to create a content page from a Master page:
Preferred method:
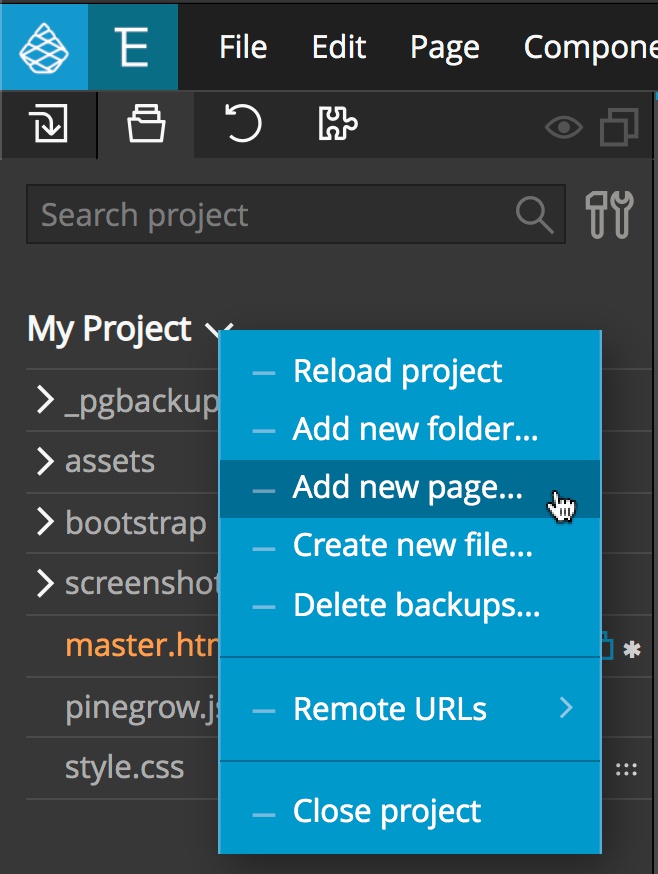
Select the Project tab and then right-click next to the project name. This will bring up a context menu. Select “Add new page…”
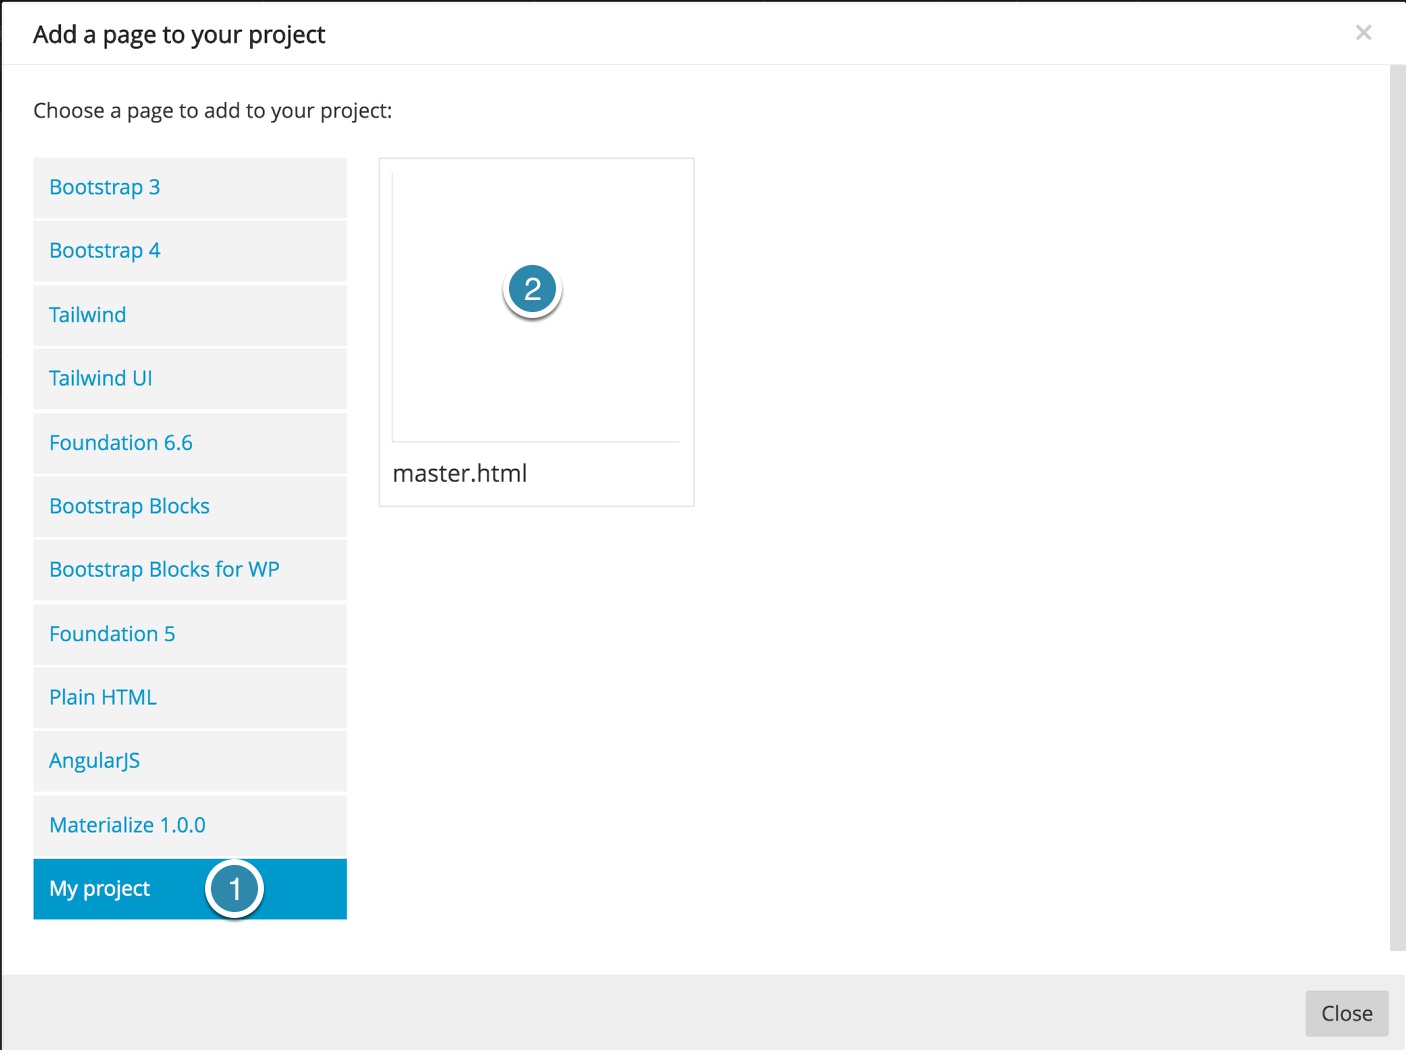
Select your project name as a framework and then you master page name (master.html) as template.
Note: The preview image might be blank or different from the screenshot, depending on the page content.
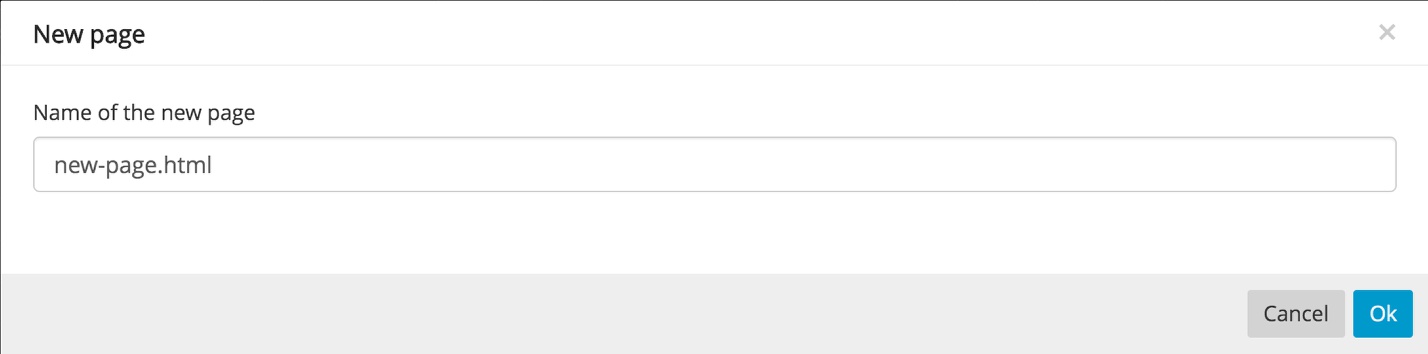
A modal will appear to allow you to name your new page.
Alternate method:
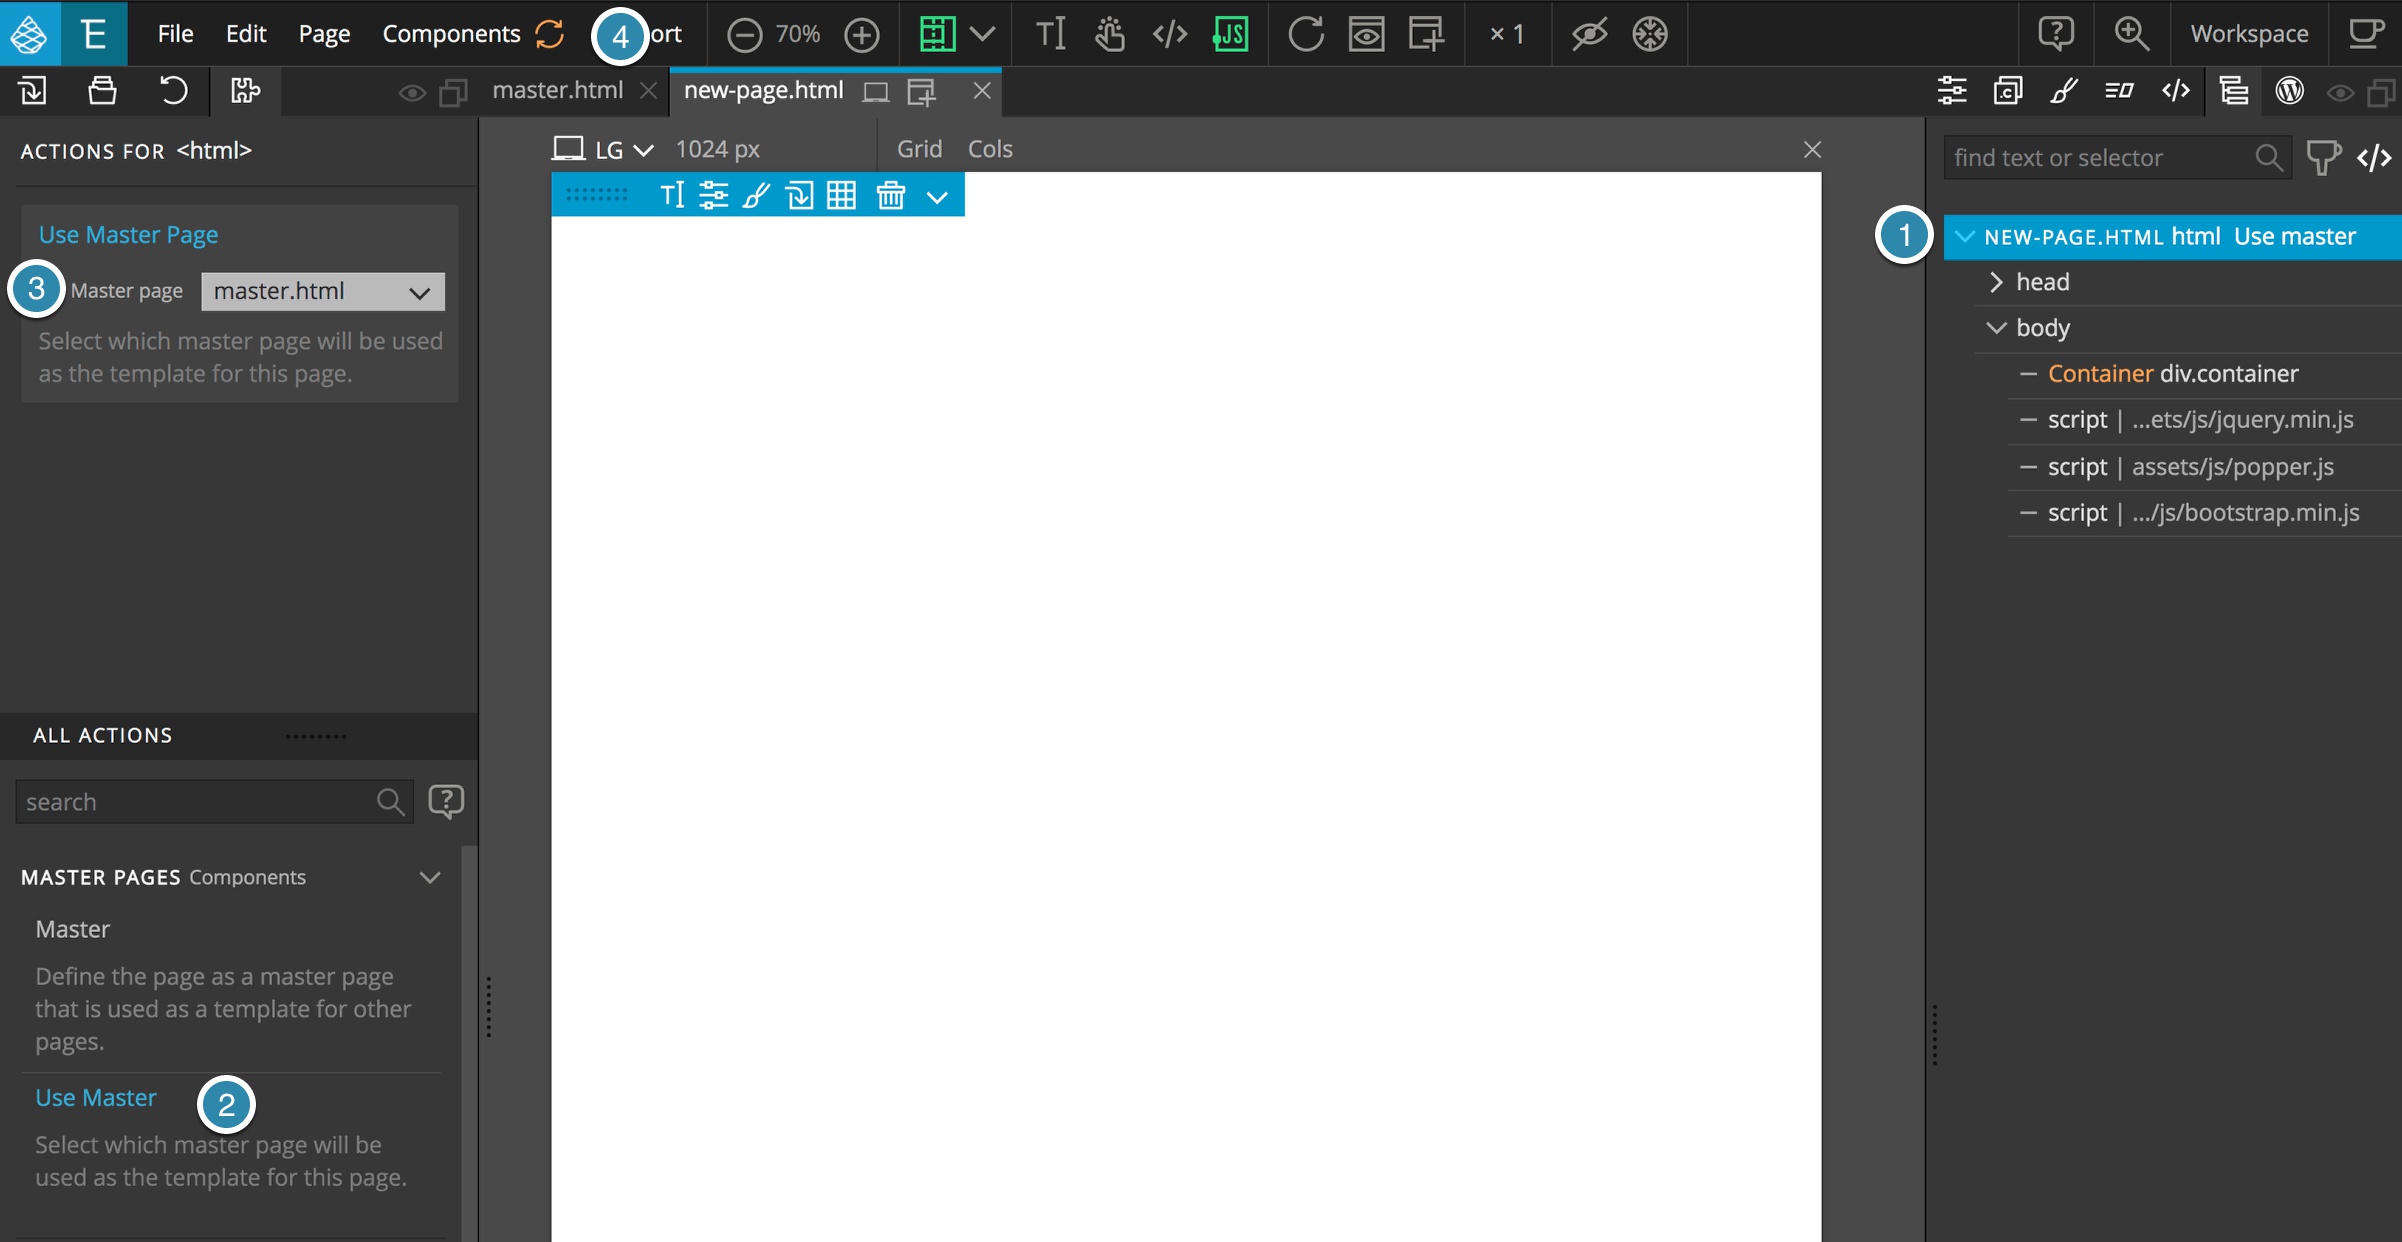
From the Pinegrow File menu, create a page the classic way. Next, select the top-most element in the Tree panel. Finally, open the Actions panel and select “Use Master”. From the “Master Page” dropdown select the master you want to assign, in this case “master.html”.
Do not forget to Update the components (Use the UPDATE button on top of Pinegrow interface or use CMD+U keyboard shortcut)
IMPORTANT: While using the alternate method, the content of the existing page is fully replaced by the content of the Master page. Do not use this method on documents with existing content or it will be destroyed.
Meaning of the icons in Project view
While working with Master pages and components, you will notice some useful icons beside your files names. Here is the meaning of these icons.
This is a master page.
This page uses a master page. (the name is specified)
Components are defined on this page.
Components are used on this page.
Defining components in Master page editable areas
This can be tricky and lead to unexpected – although logical – results. Take a look at this forum topic and the linked tutorial to learn more.
Tutorials
Learn and experiment with master pages with a comprehensive master pages tutorial.
Read a tutorial on working with information in the Master page head.
We’ll keep adding more topics and examples.