Converting a set of HTML pages to a WordPress theme is easy with the Pinegrow WordPress builder add-on. The first tutorial in this series will give an introduction and outline the first steps in turning the Bootstrap Agency template into a WordPress theme.
In this series of short tutorials we will convert the Pinegrow Bootstrap 5 template “Agency” to a multi-page WordPress theme using Gutenberg blocks and the built-in WordPress theme controls. Let’s get started!
Prefer to read? Scroll past the video.
This tutorial is available in video and textual form. Watch the video, or continue reading. Of course, you can also do both!
Theme conversion intro
Starting a new project
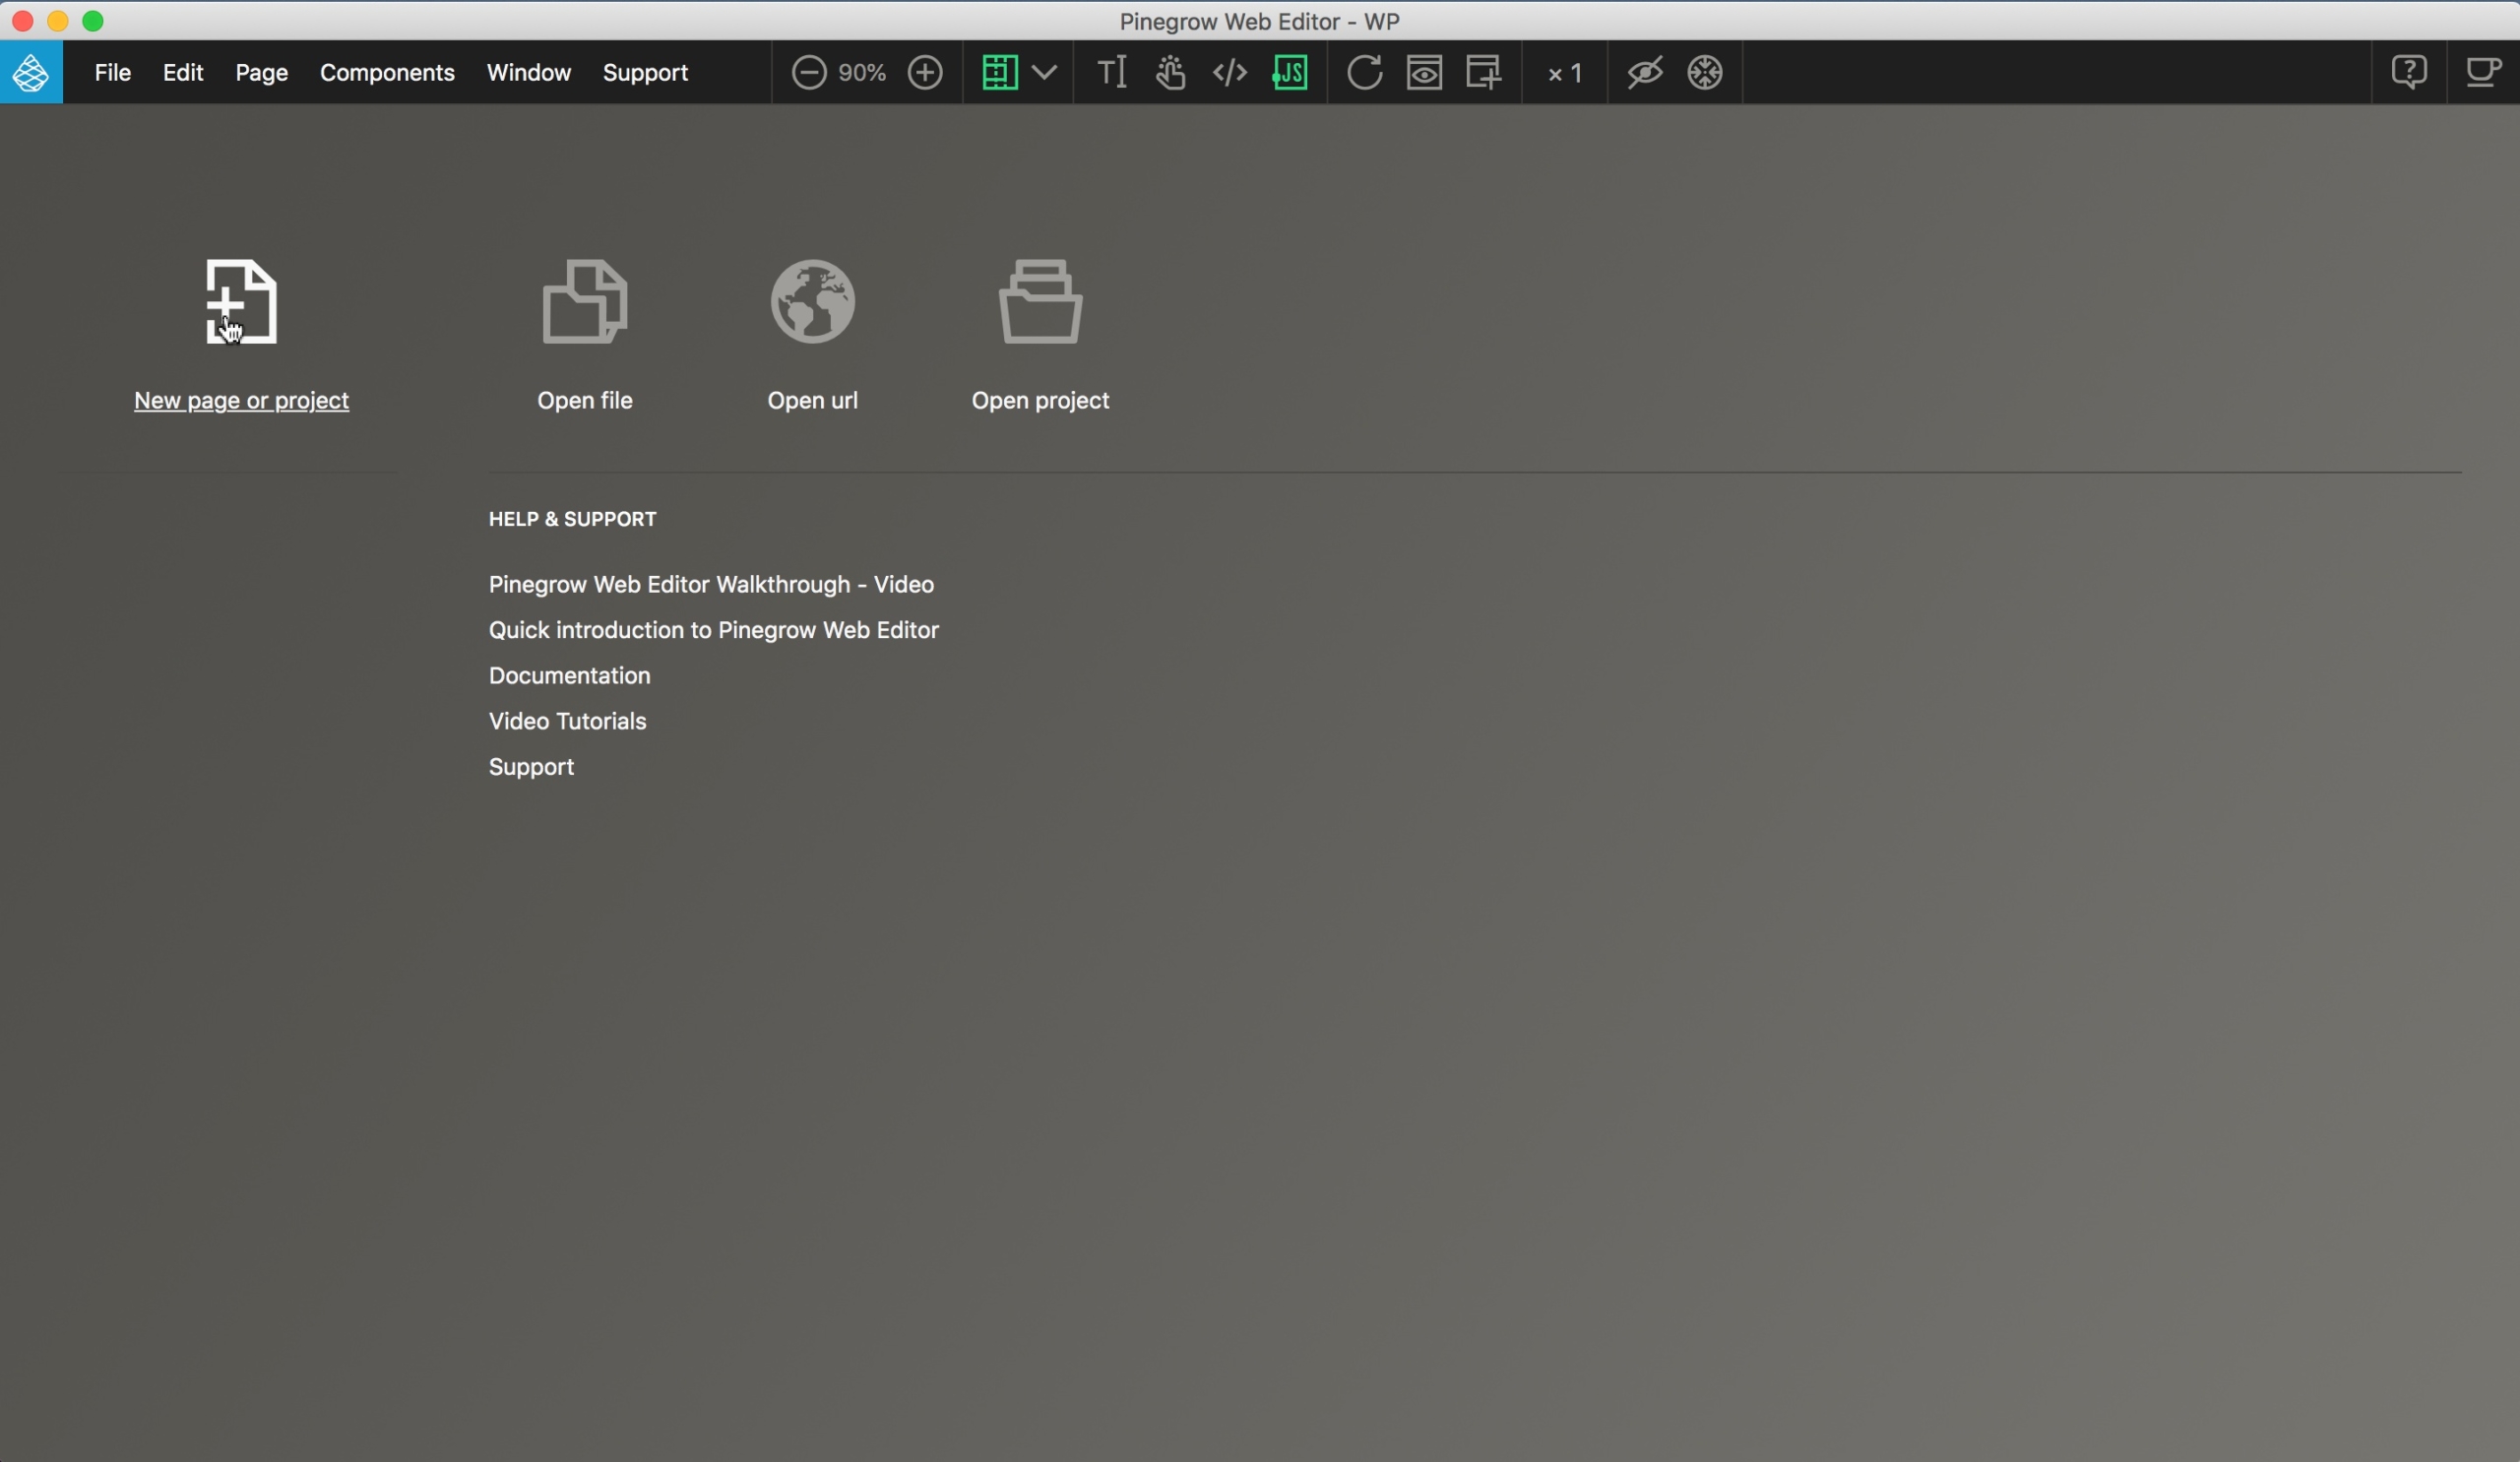
The first step is to open the first page of the Agency template and save it as a project. With Pinegrow open, click on the “New page or project” icon.
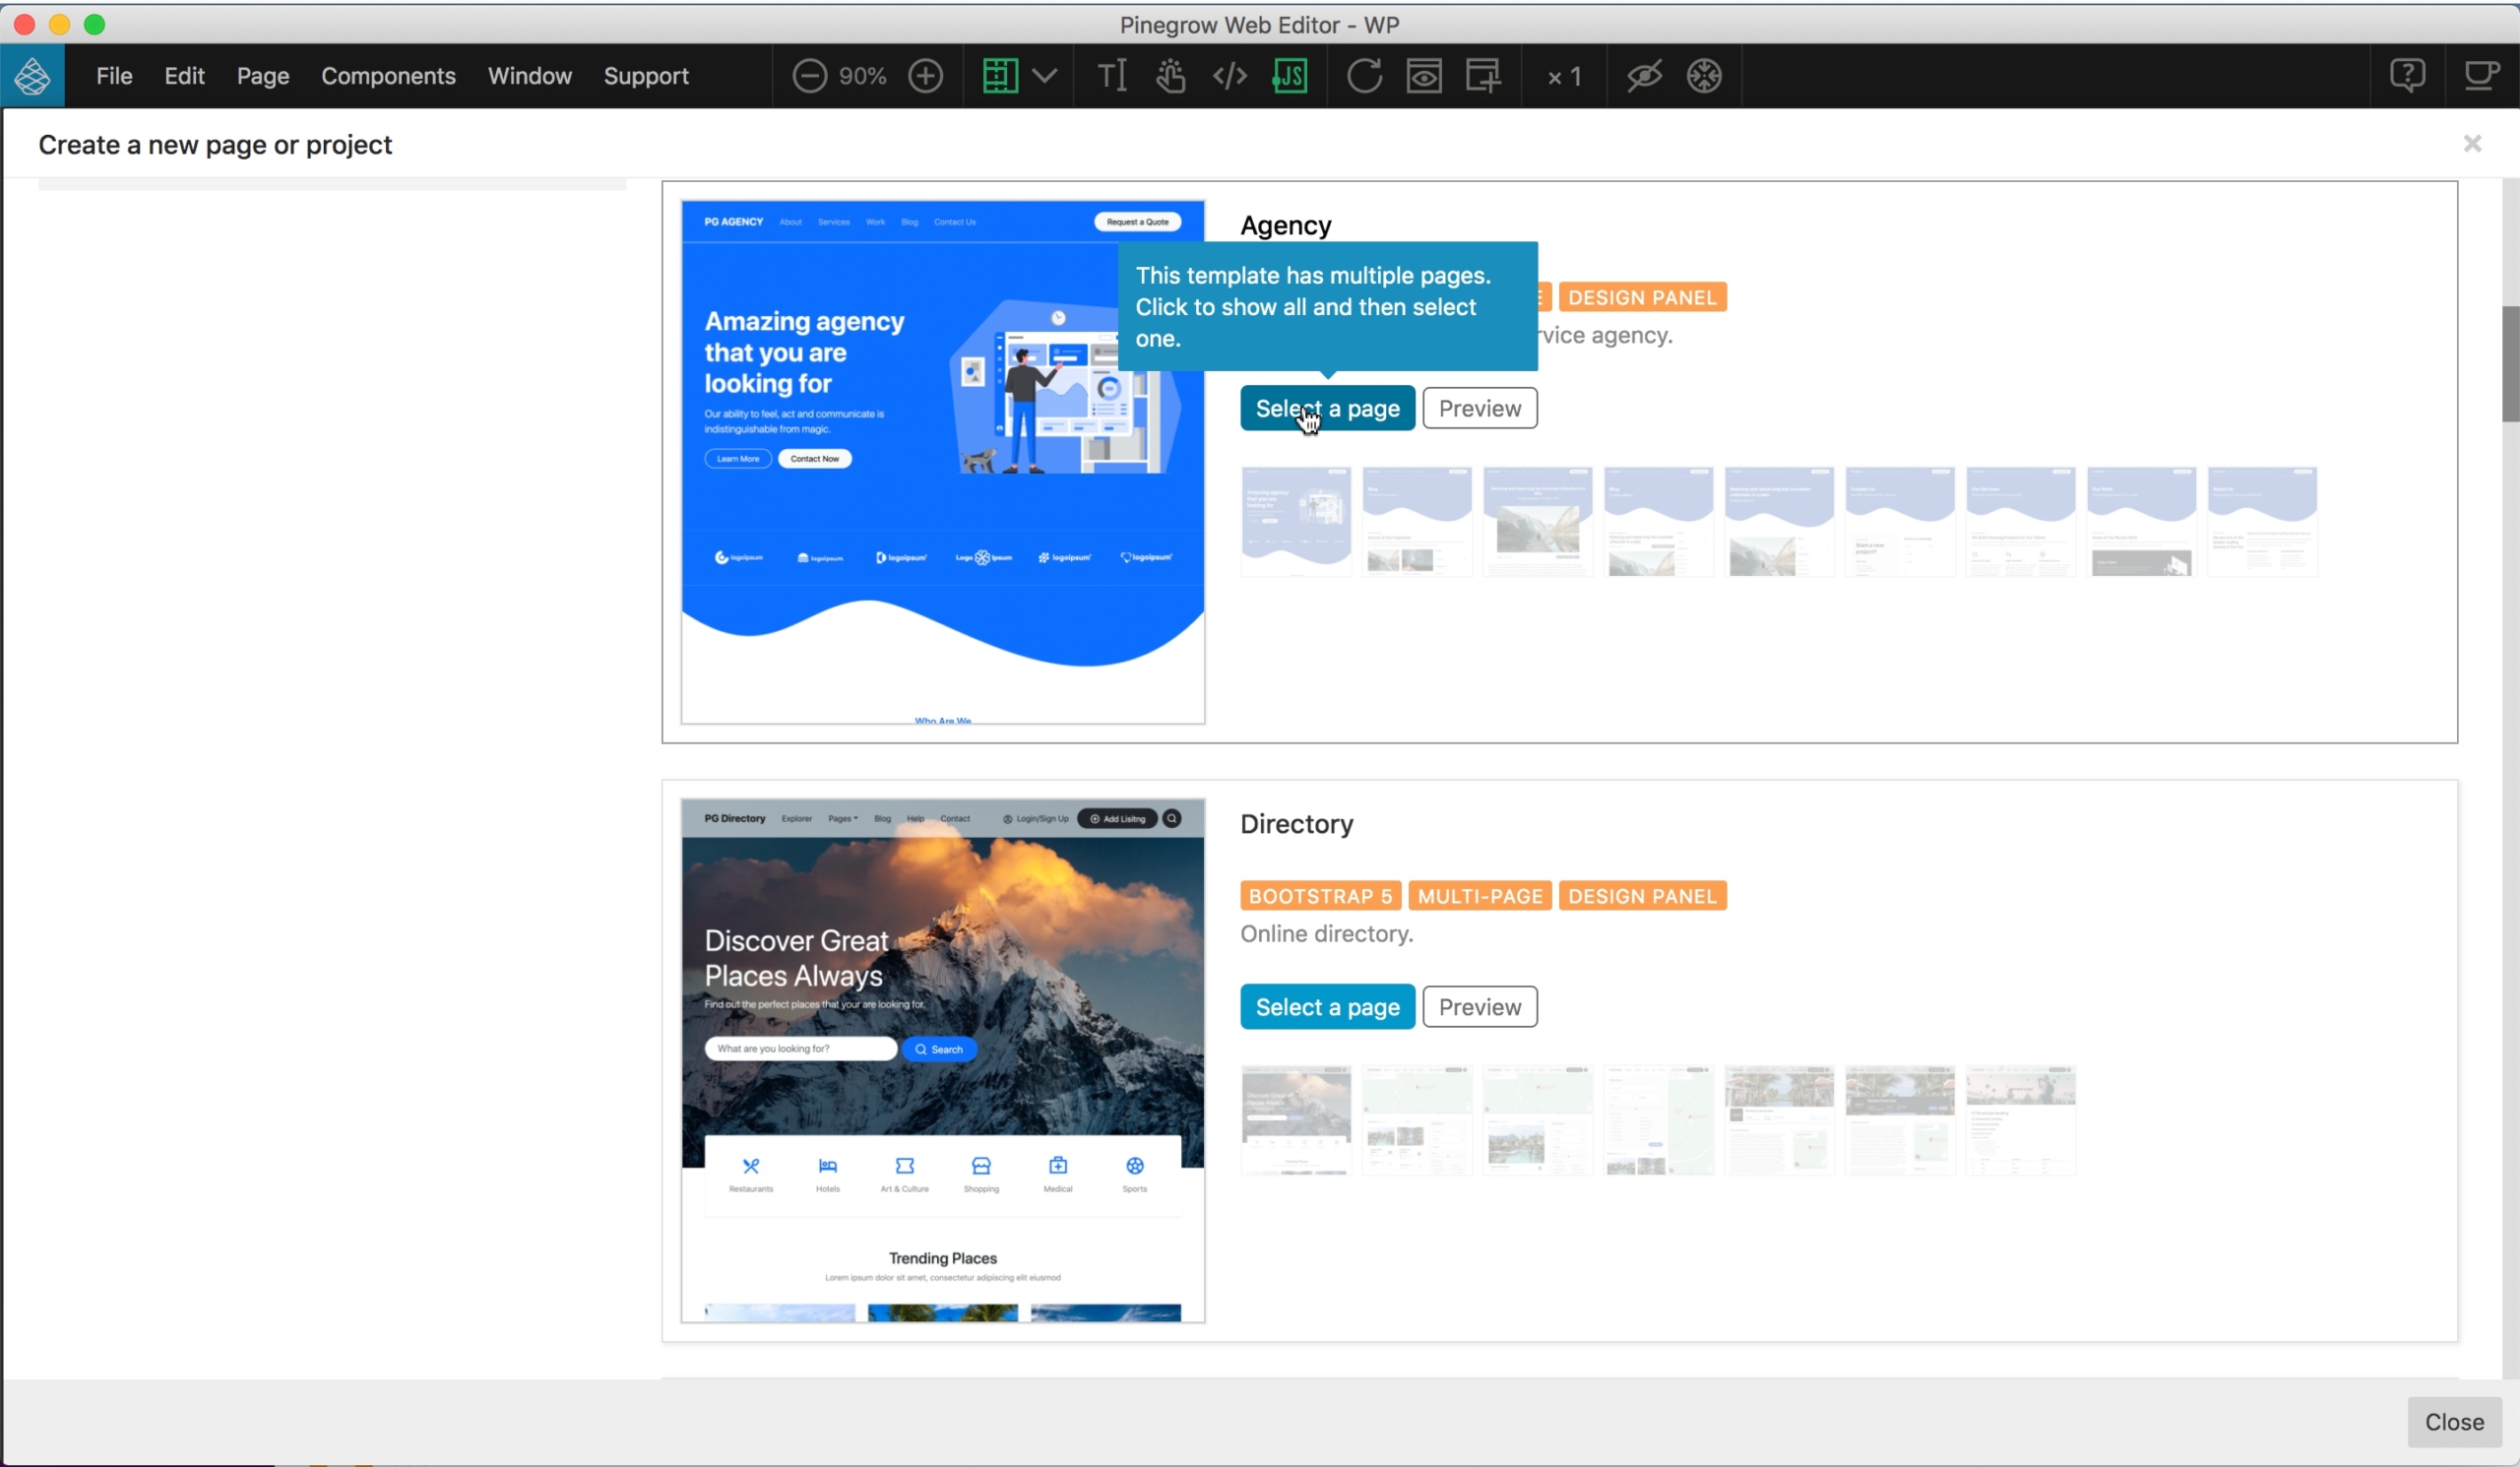
Next, from the pop-up, select the “Bootstrap 5 Blocks” and then scroll down and select the Agency template and then the “index.html” page.
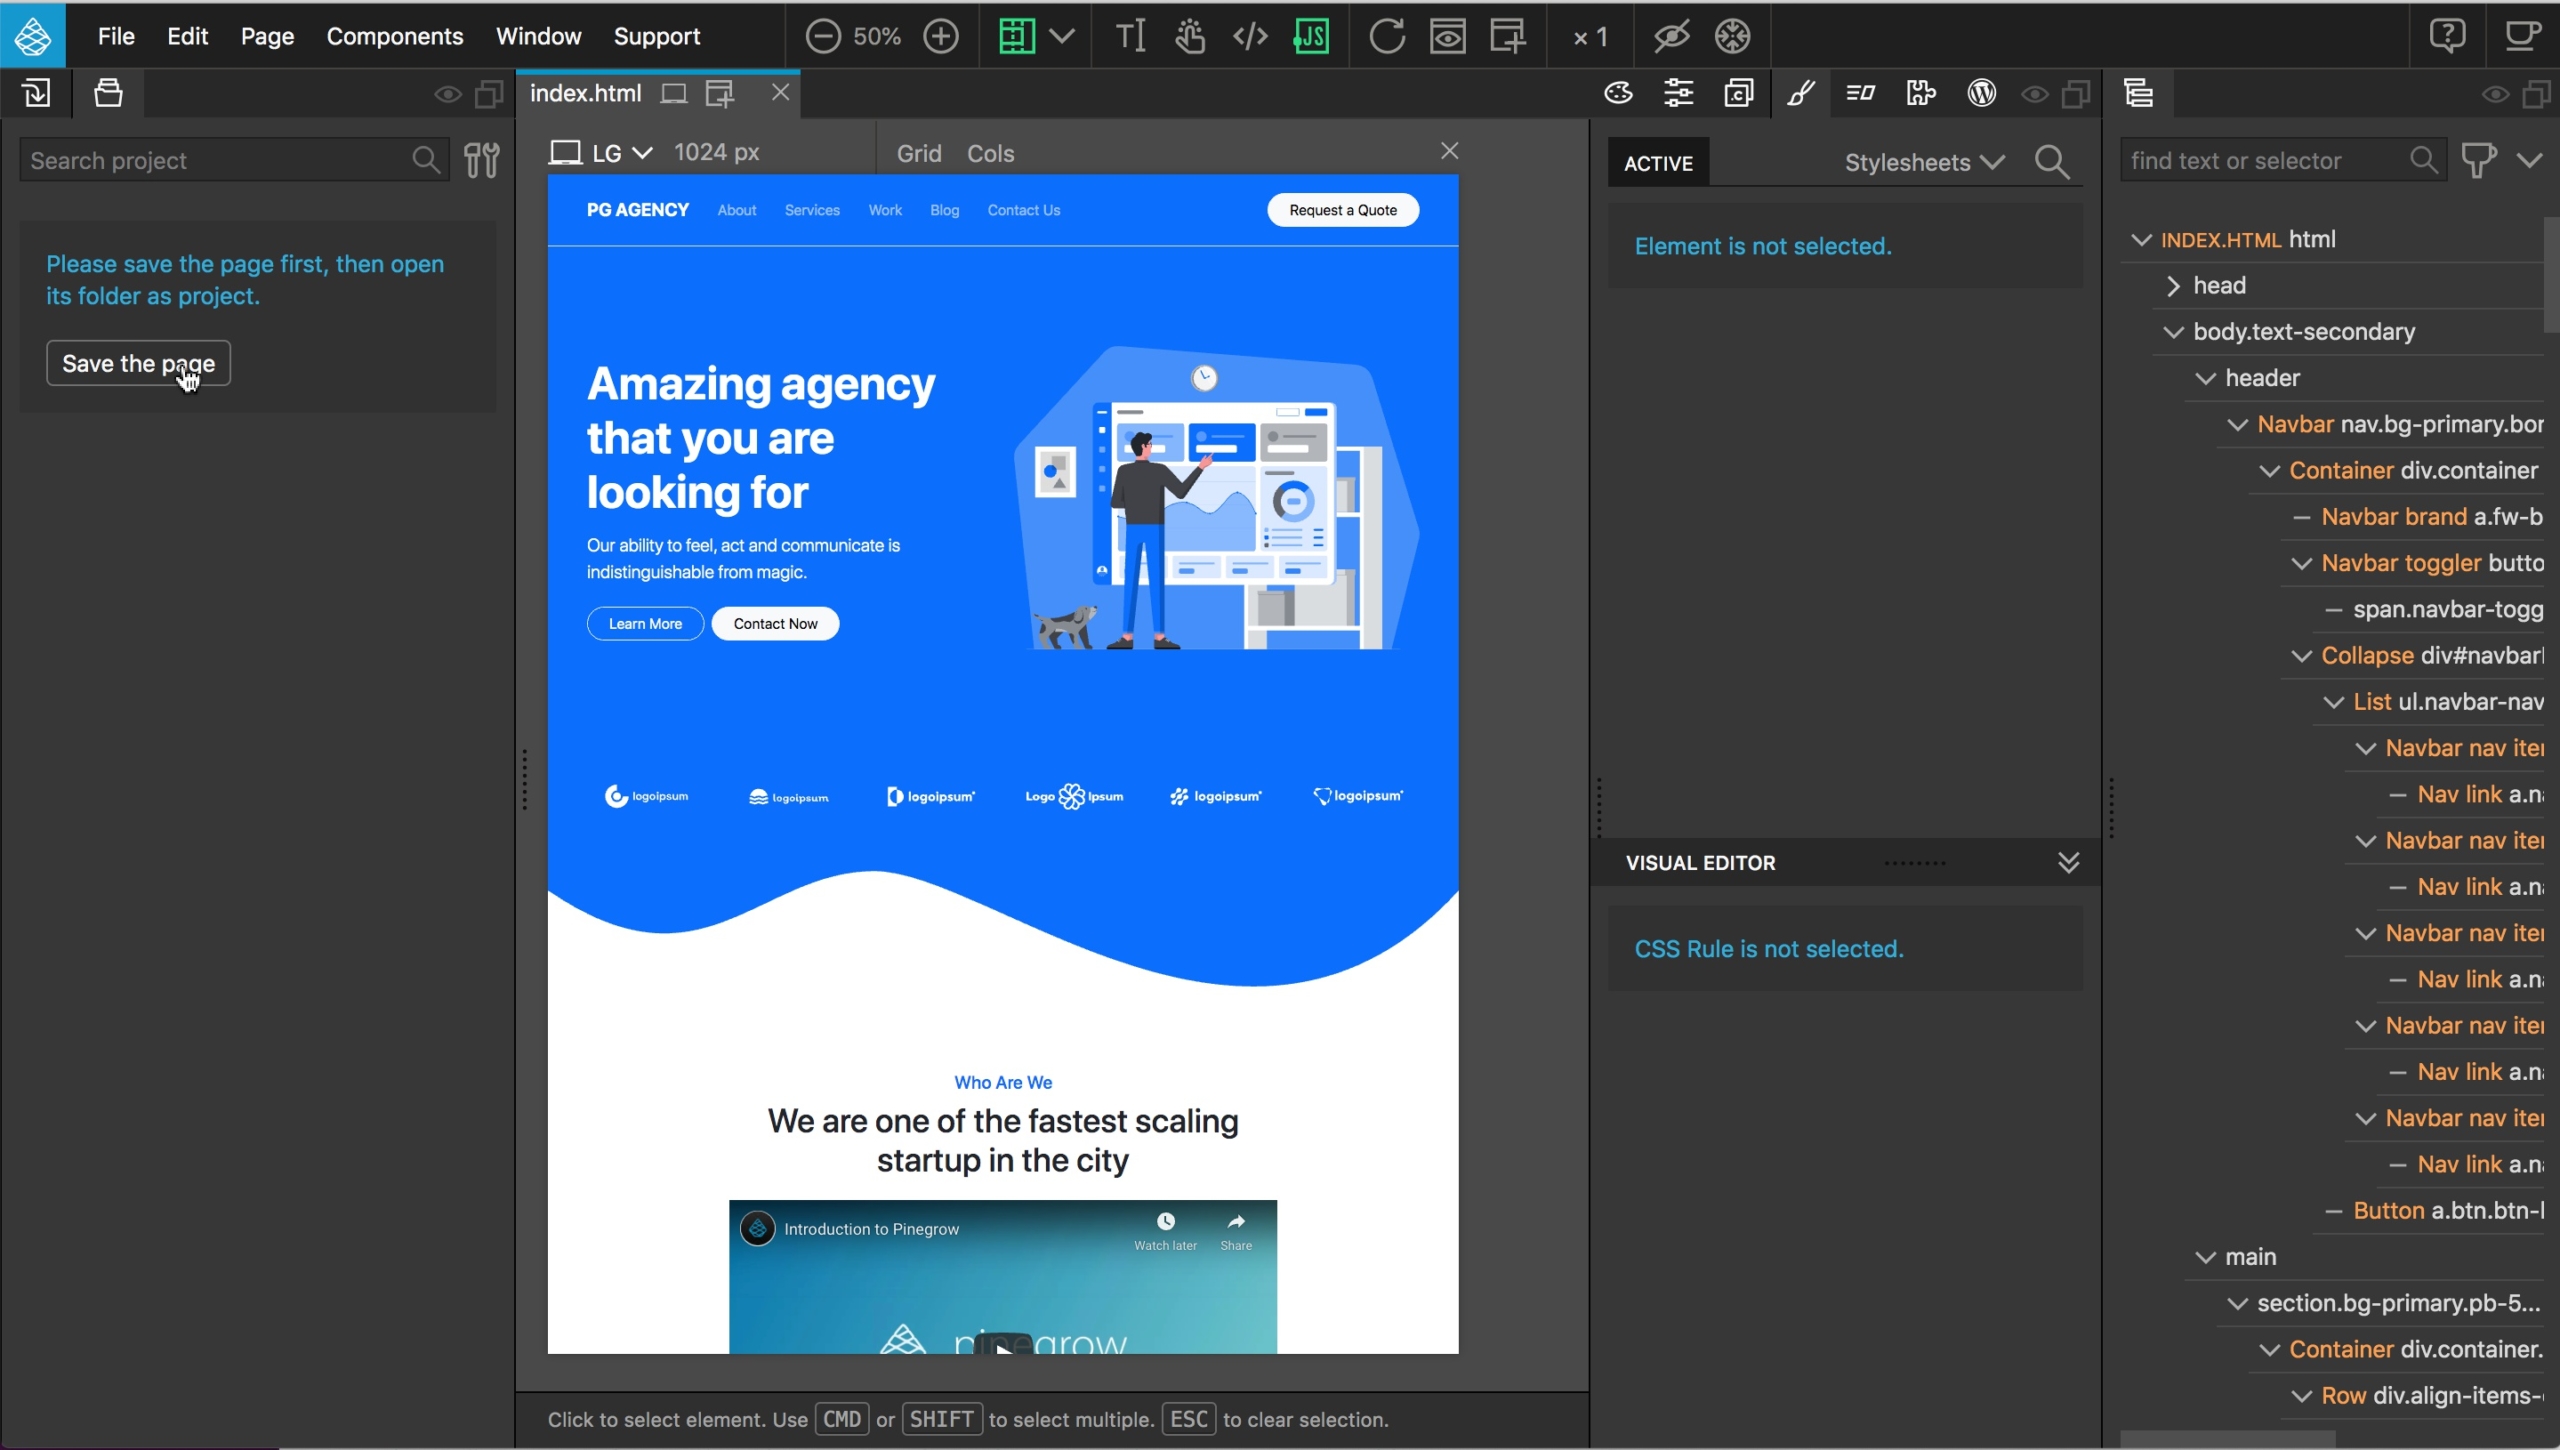
Once the page opens, save it by clicking on the button in the Project panel.
After saving the file, open it as a project by clicking “Yes” on the modal.

Activating WordPress Actions
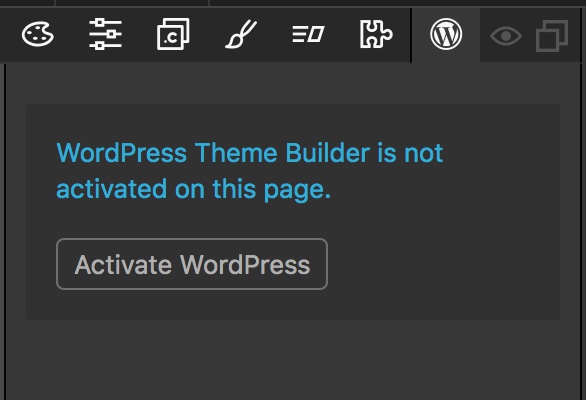
Next, we will activate WordPress actions for the page and define our export settings. Activation is accomplished by selecting the WordPress panel and then clicking on the “Activate WordPress” button.
This will trigger a new modal for our theme settings. The topmost input is for selecting to export our pages and blocks as either a theme or a plugin for another theme. In this case, we are going to leave it as “Theme”. Next, enter a Theme name and a Theme slug.
The theme name input can also take HTML elements and inline styling, but we are just going to name ours “PG Conversion” without any extra HTML.
The slug must be a single, lower-case string. It is convention to separate words in the slug with underscores and we will use “pg_conversion”.
The Theme folder is a folder located in your local WordPress installation. At Pinegrow we recommend using the Local WP app, but you can use other products like MAMP if preferred. Click on the folder icon and navigate to the wp-content -> themes folder and create a new folder for file export.
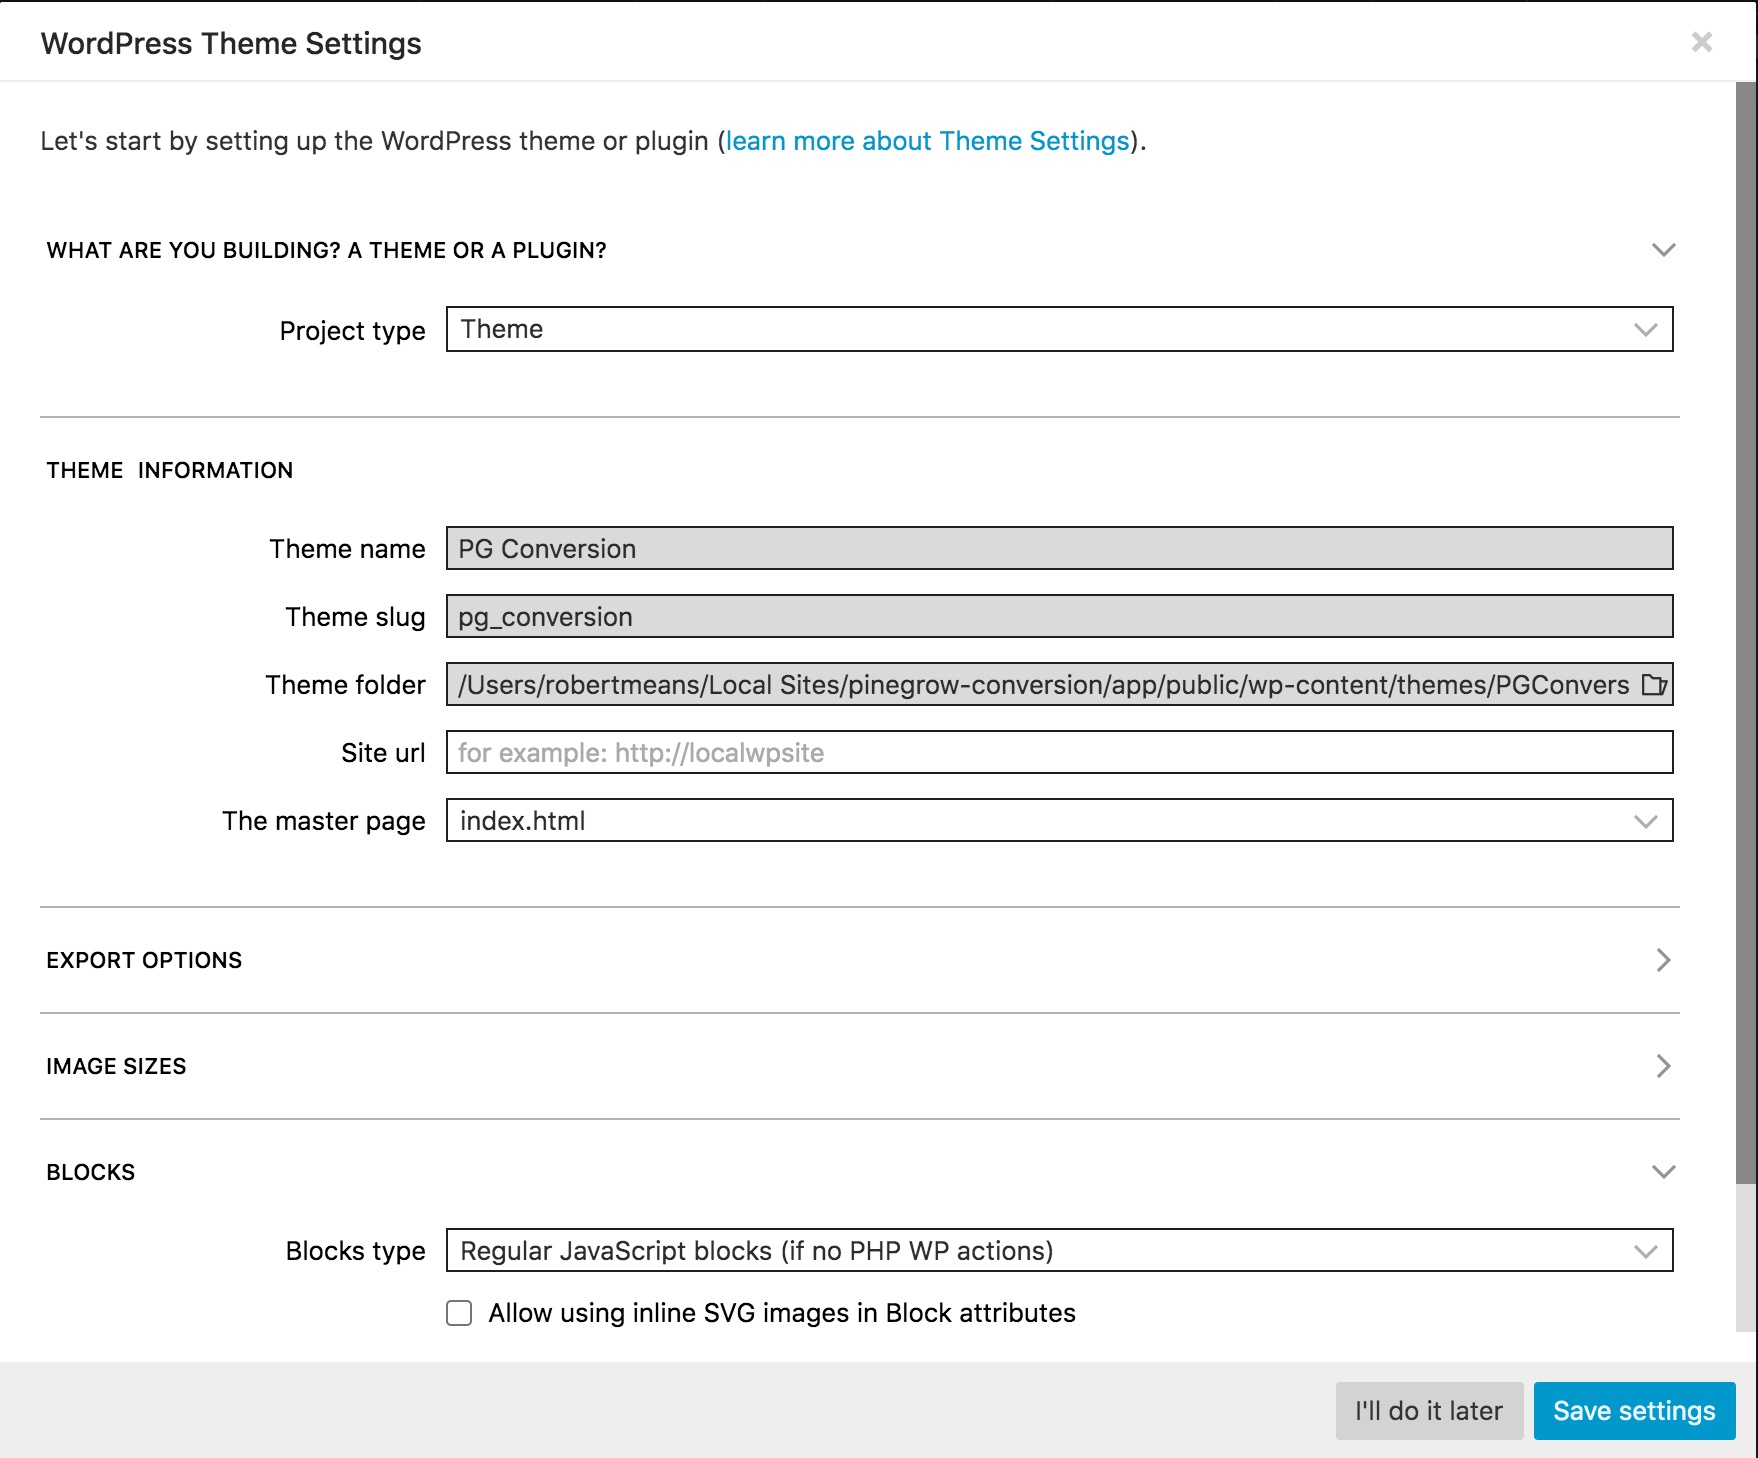
There are a number of additional settings in this modal in the “Export Options” and “Image Sizes” sections, but we aren’t going to alter them for now. We will also leave the blocks type as “Regular JavaScript blocks”. Finally, we will leave the “Allow using inline SVG images in Block attributes” unchecked. SVG images can be a potential security threat and by default they can’t be uploaded to the WordPress Media library. Finally, click on the “Save settings” button.
Identifying the page sections
WordPress divides pages up into various template parts. We will be reusing the navigation at the top on all of our pages. We will also want to reuse the footer section. Everything in between these two sections will be unique content. The Agency template is already divided into three semantic sections of “header”, “main”, and “footer”. Pinegrow helps us to quickly define the header, unique section and footer with a single WordPress action, “Site Content”.
Select the “main” section in the Tree panel. Next, within the WordPress Actions panel, open the “Site” subsection and select the “Site Content” action.
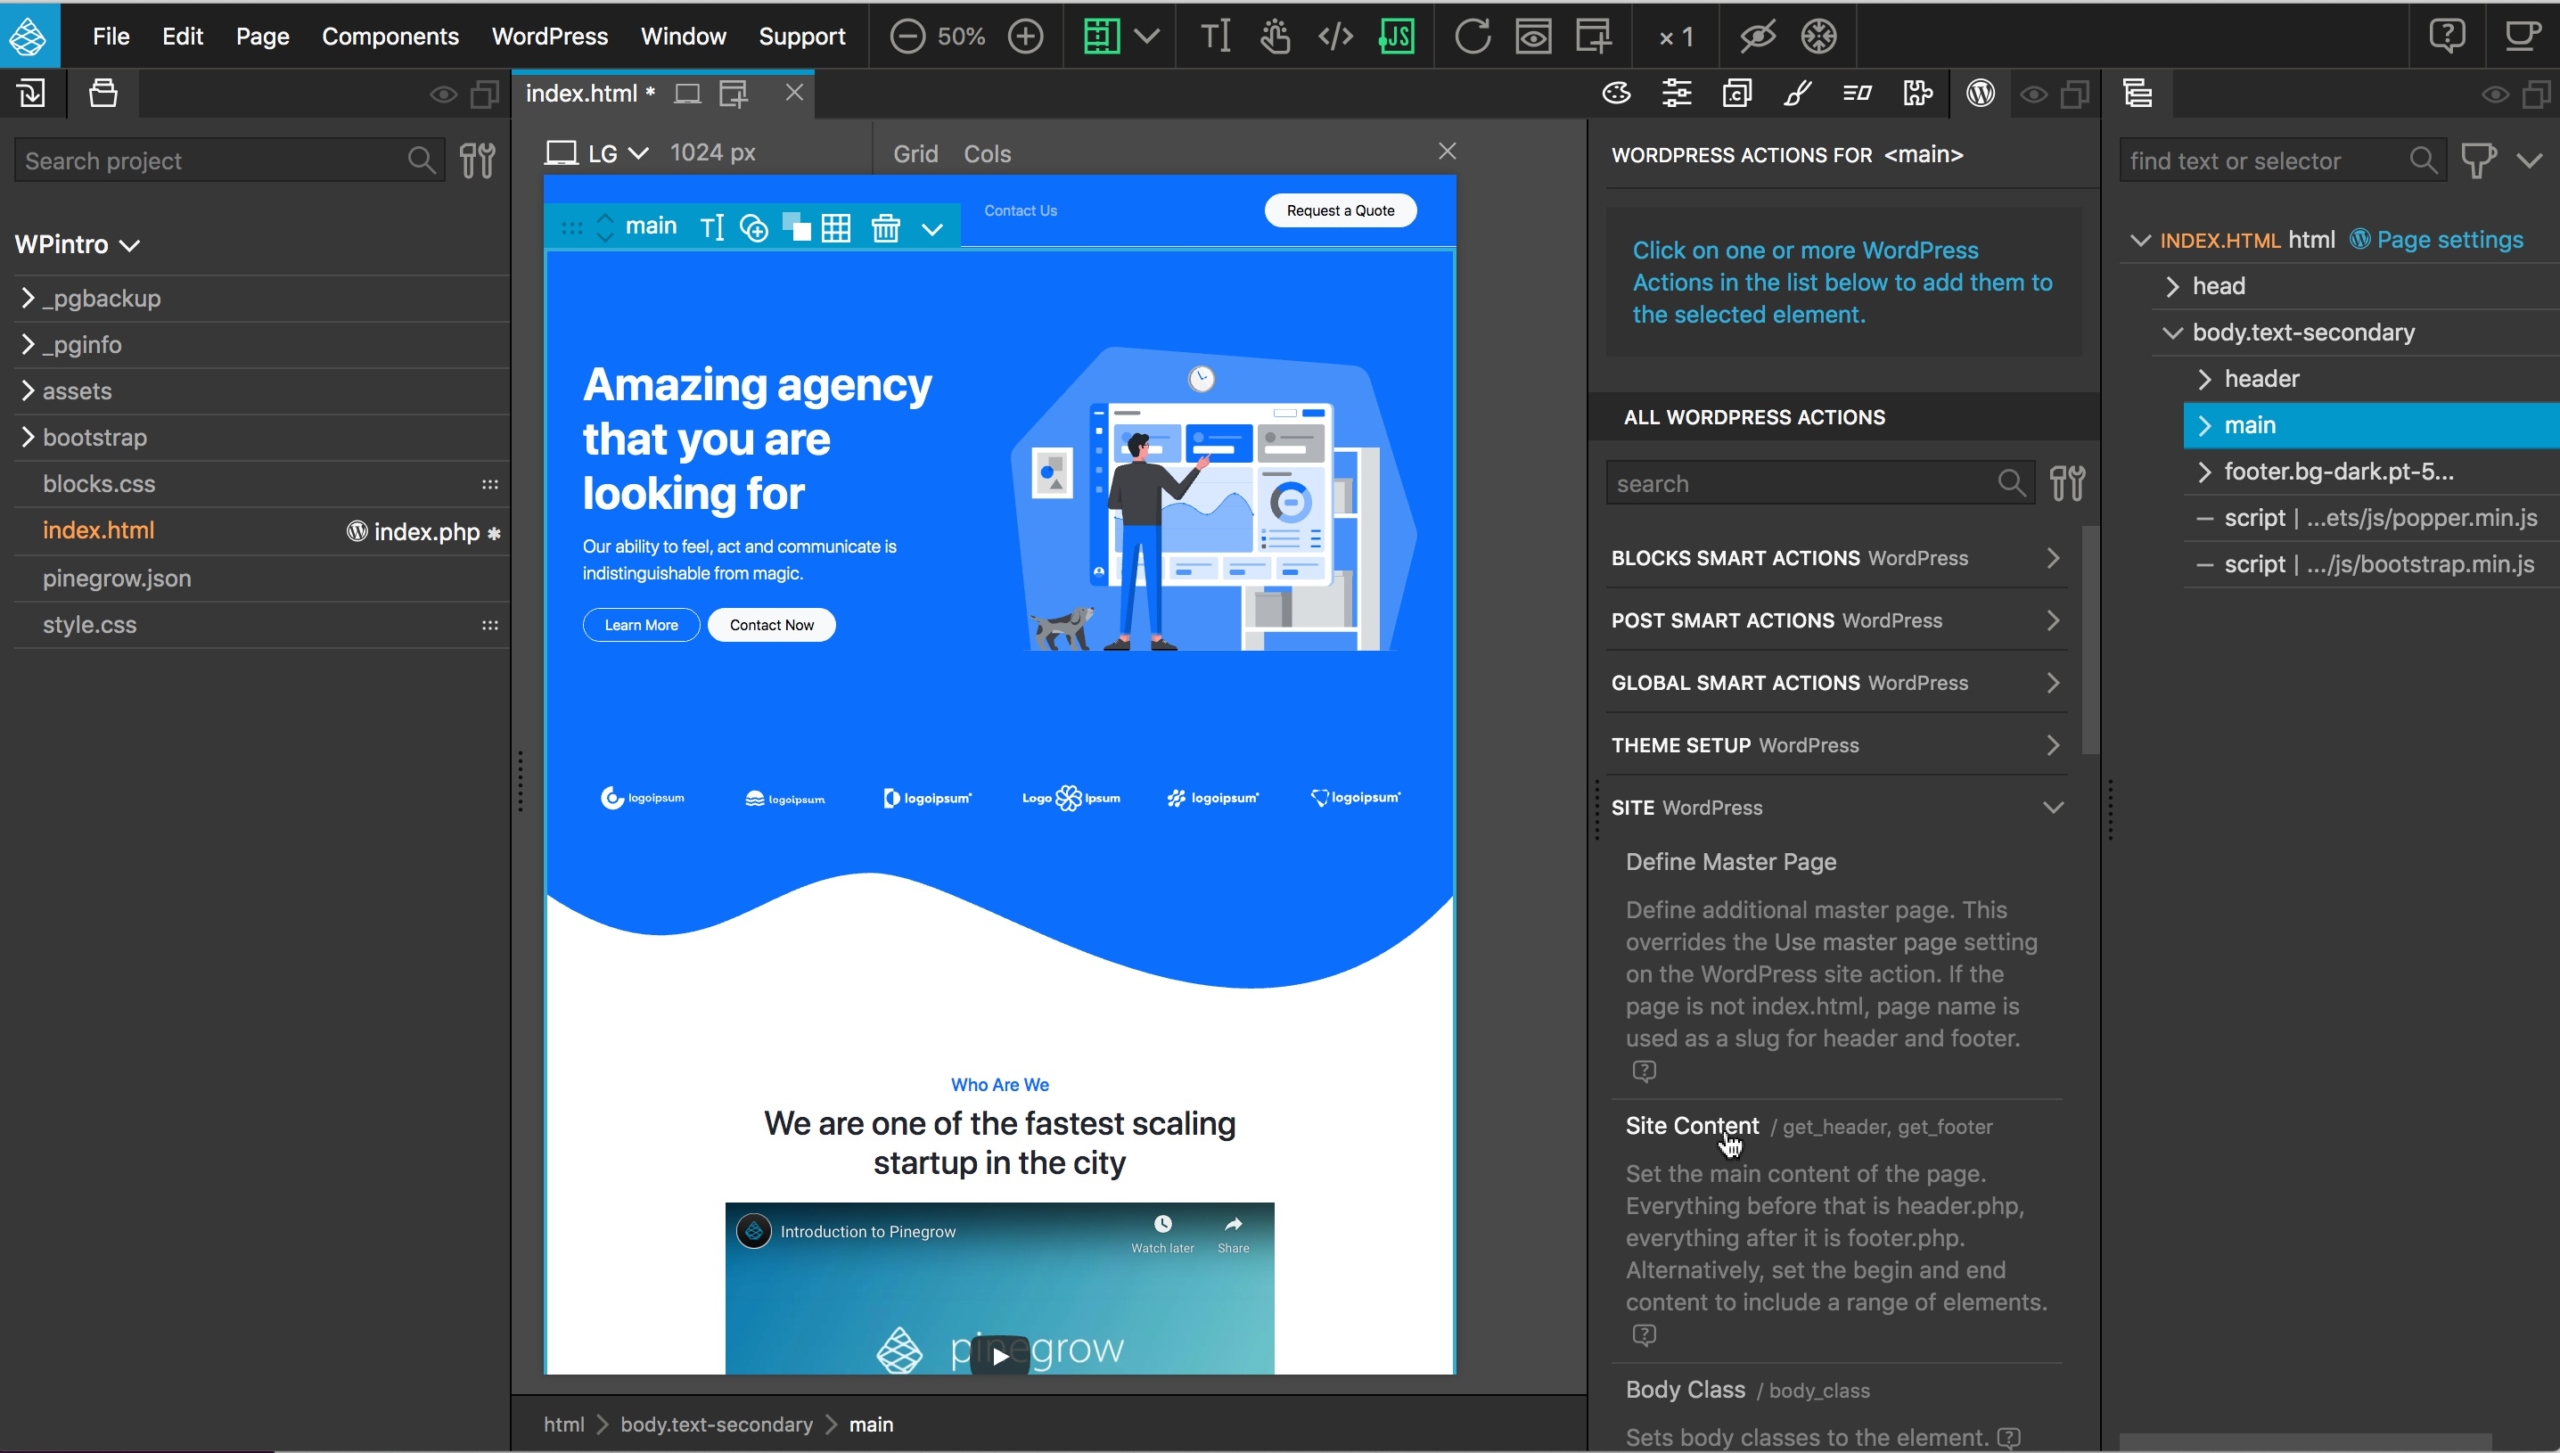
This will cause Pinegrow to generate three PHP template files – “header.php”, “footer.php”, and “index.php” – and add the correct hooks to the index.php file to add the header and footer.
Next, save the file and click on “Export the theme” from the WordPress menu.
Activating the new theme in WordPress
Without theme exported, we can now open up the admin section of our WordPress install and activate it for our site. Themes are activated from the “Appearance” menu.

From the selection of themes click on the “Activate” button located next to the theme name.
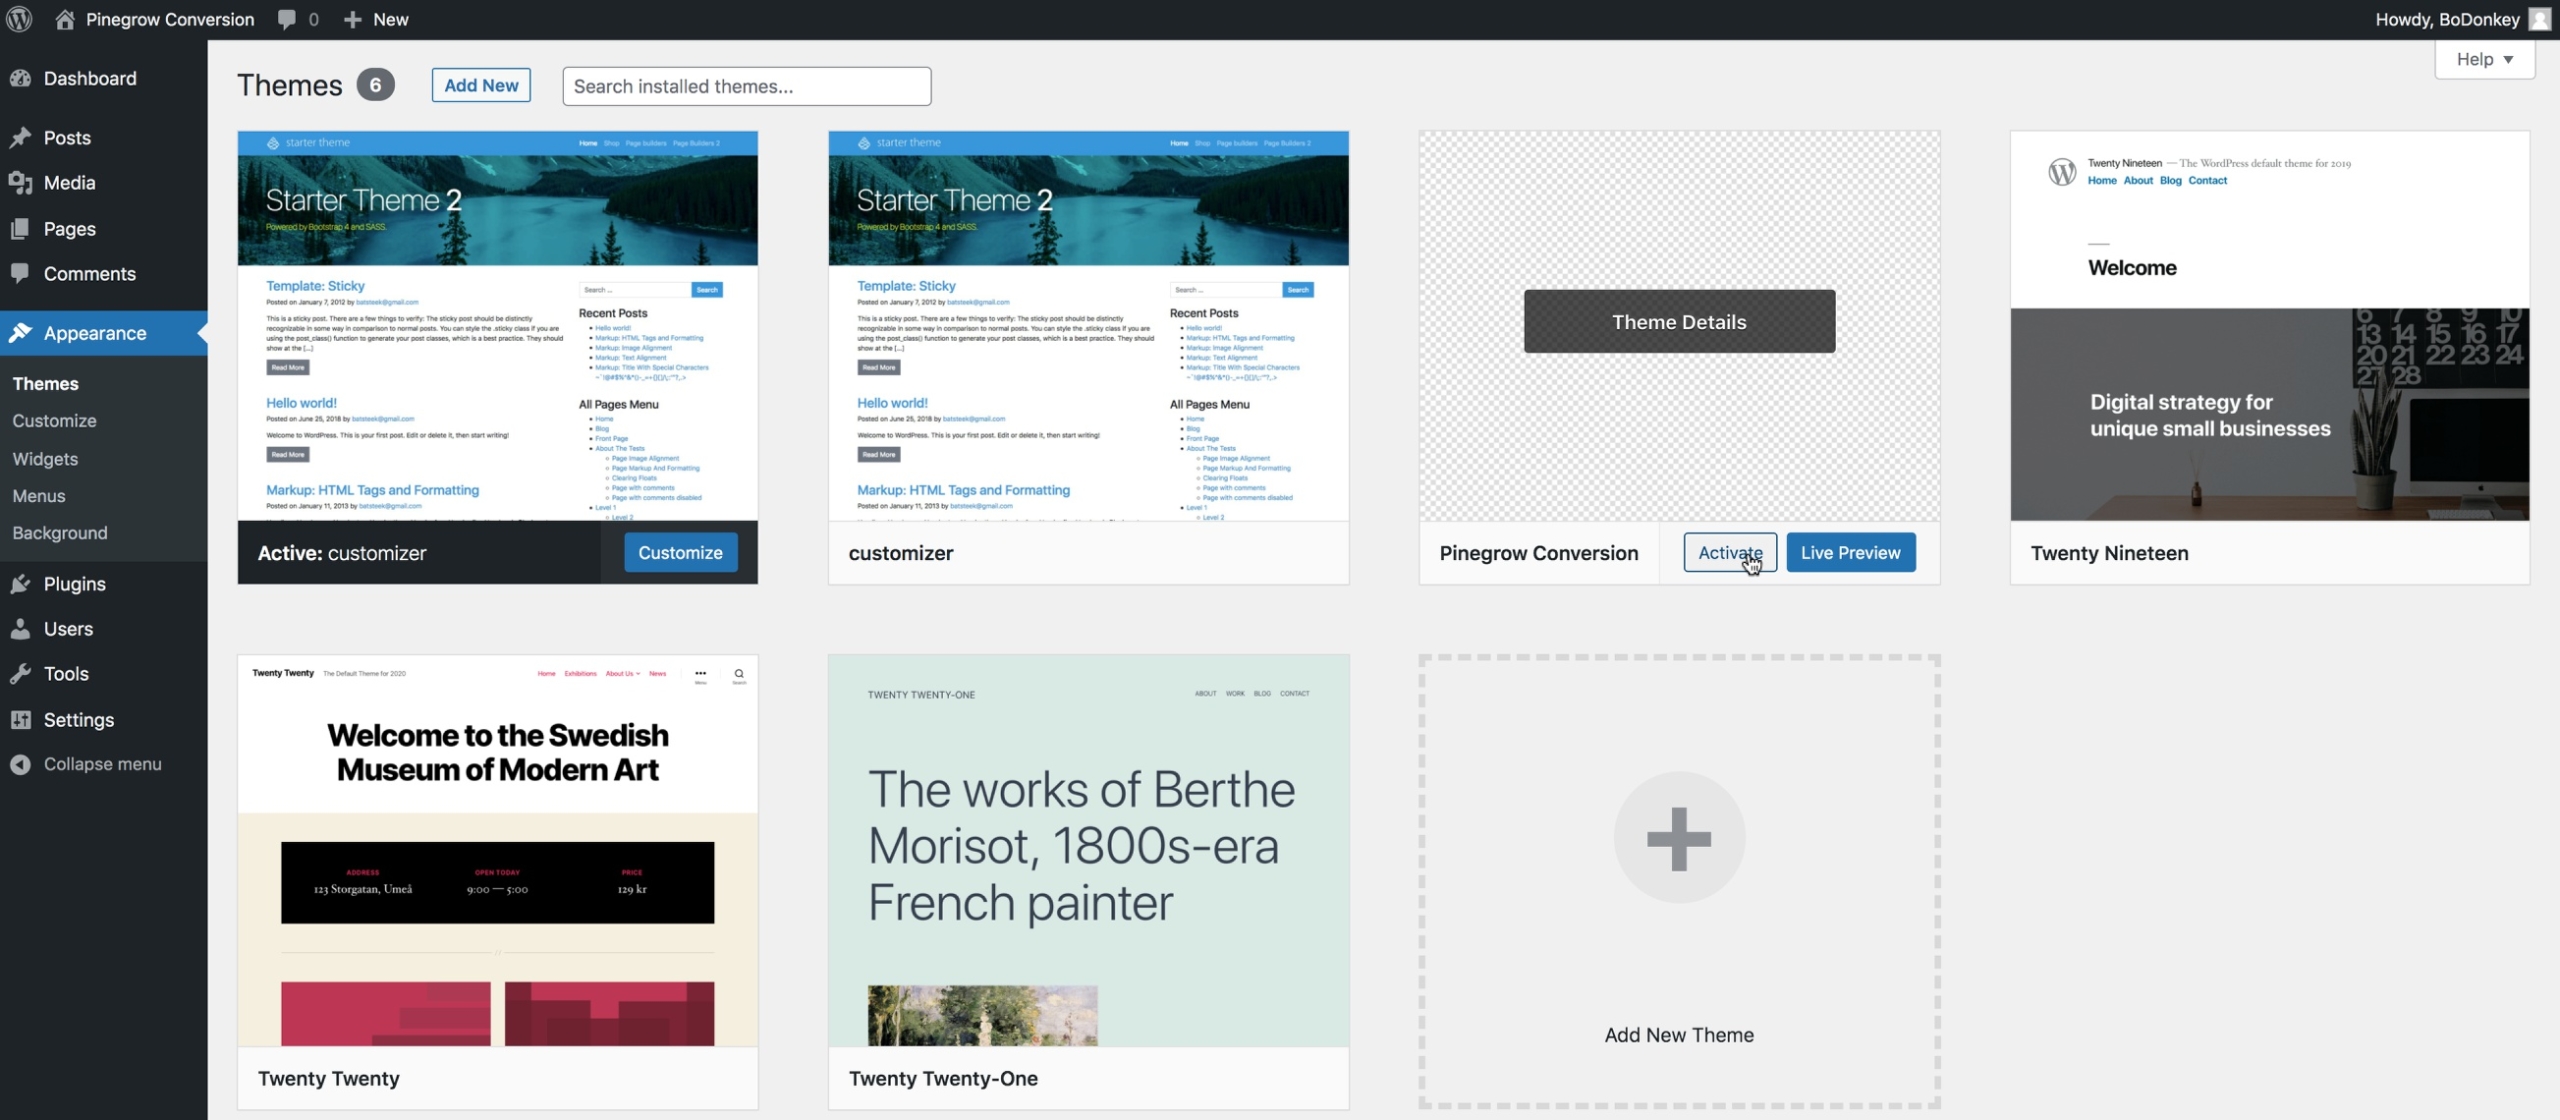
If we view our site we will see the full Agency template! Right now, nothing on the page will be editable since we haven’t assigned any WordPress actions to any of the elements. If we take a look at the files in our theme folder, we will see that in addition to the template pieces, there is also a folder for the Bootstrap resources and some other folders for some Pinegrow assets.
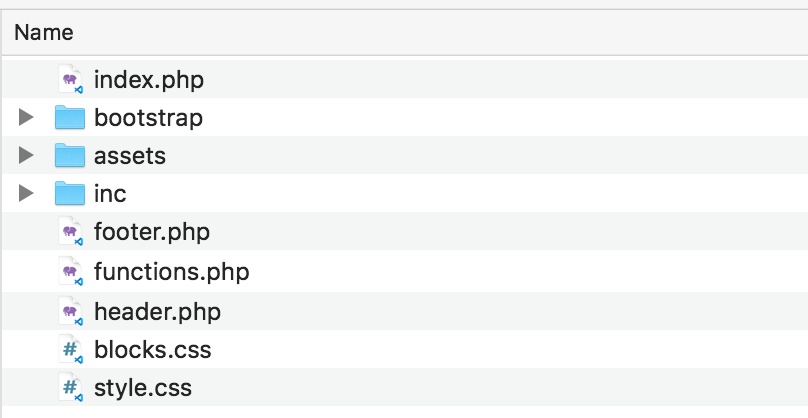
 All of these are essential for the functionality of your theme and will need to be uploaded onto your hosting server or included with your theme distribution.
Summary
In this tutorial we quickly set the Agency template up for converting into a WordPress theme. We added the main WordPress site content action to define our header.php and footer.php template parts for the next pages.
In the next tutorial, we will look briefly at customizer actions and begin converting our landing page content into Gutenberg blocks. Until then, have fun designing with Pinegrow!
Discuss this tutorial
Have questions or comments about this tutorial? Let’s talk about it on our forum.
Get in touch
Would you like to see your favorite theme or blocks library featured in the next tutorial? Let us know in the forum or by email!